This post may contain affiliate links. See our disclosure policy.
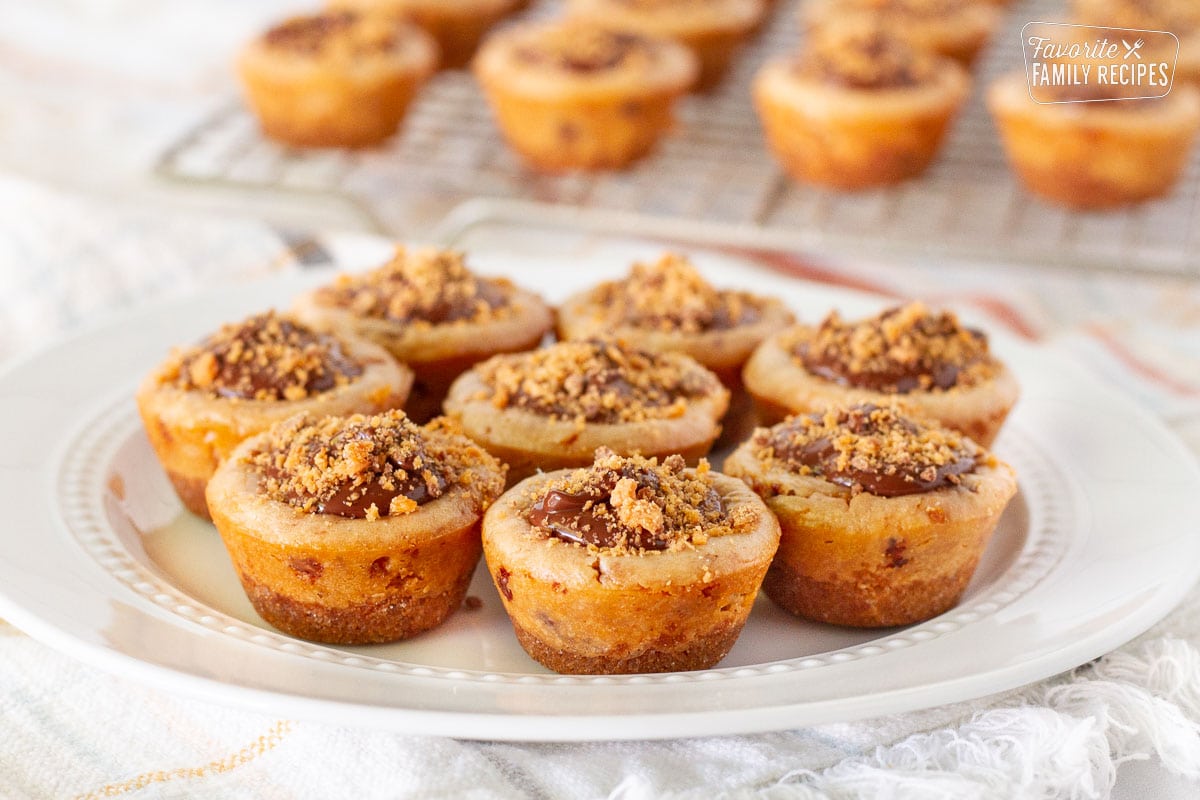
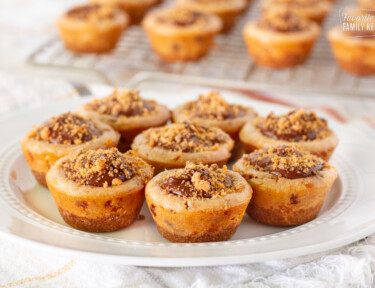
These Butterfinger Cookies let you experience your favorite chocolatey, peanut butter filled candy in a new way and with a chocolate cheesecake filling.
Featured with this Recipe
Homemade Butterfinger Cookies
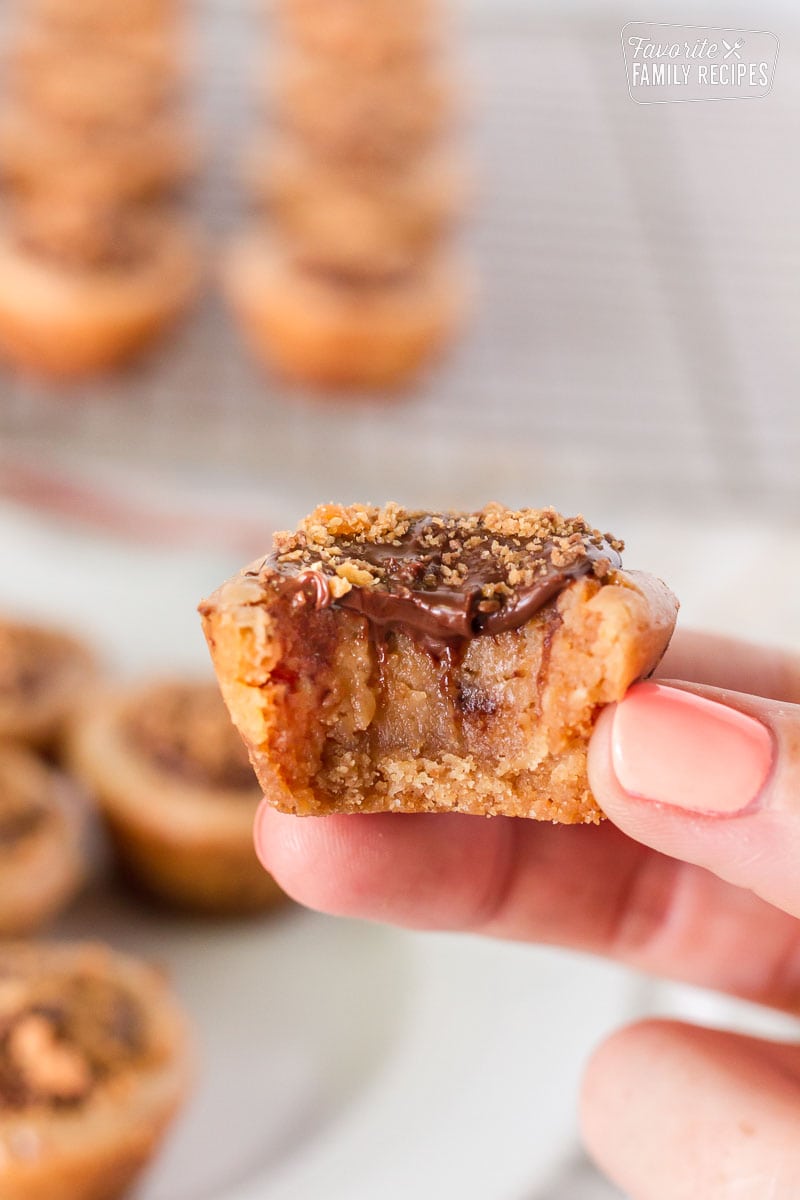
These Butterfinger Cookies take the uniquely delicious taste of Butterfinger and pair them with a buttery cookie crust and a chocolate cheesecake filling. One of my favorite candy bars in a bite sized chocolate and peanut butter cookie. Try them out for your next super bowl party, baby shower, girls’ night or family get together. They make perfect little bite size pieces. If you are in the mood for a bigger dessert, then you can always make them in regular size muffin tins. Just bake them a little longer.
Ingredients in Butterfinger Cookies
COOKIE CRUST
This isn’t your typical cookie dough base, it is so much easier! No all purpose flour, baking soda, or brown sugar required for this cookie base. The vanilla wafers take the place of your usual dry ingredients.
- Vanilla Wafers – finely ground
- granulated sugar
- unsalted butter
- kosher salt
FILLING
- cream cheese – softened
- creamy peanut butter
- granulated sugar
- egg
- heavy cream
- salt
- Fun Size Butterfinger Candy Bars – crushed
- optional: vanilla extract
TOPPING
- semi sweet chocolate chips
- Fun Size Butterfinger bars – crushed
All Kinds of Candy Bars
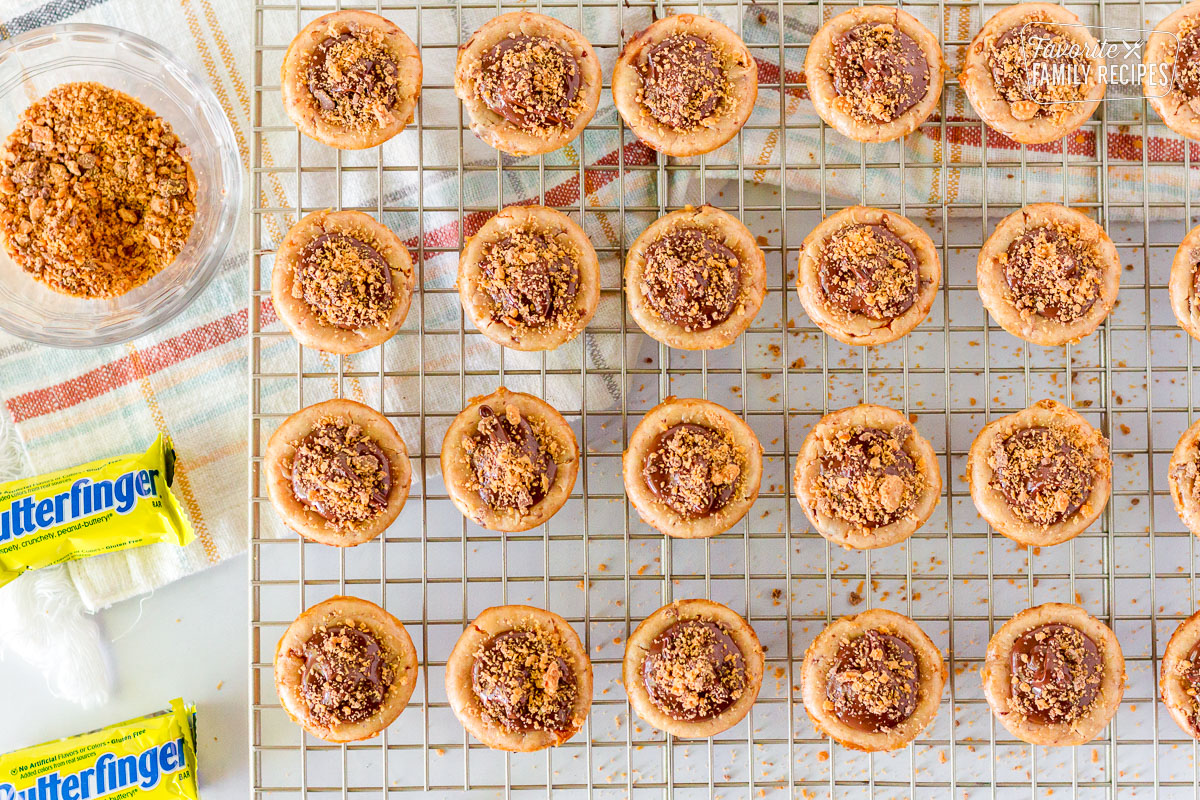
For those of you that aren’t crazy about Butterfinger but still want to make something similar to these chewy Butterfinger Cookies, you can use any kind of candy bar in its place! These taste really good with Heath bars or mini M&Ms or chopped up Snickers. A great way to use that leftover Halloween candy. Try it with your favorite and let us know how it works out.
Frequently Asked Questions
That crispy, crunchy Butterfinger filling consists of peanut butter mixed with cooked sugar. When that mixture is spread out thin it makes up those crispy layers. The little bits of Butterfinger sprinkled on top of each bite tastes so dang good!
In a lot of Butterfinger recipes, you find candy corn on the ingredients list. This is because candy corn contains the cooked sugar that is needed for the Butterfinger filling. It can be a shortcut to get that texture.
The candy bar got its name from a contest. The term Butterfinger refers to a sports insult meaning someone who can’t hold on to the ball.
These are a little different than regular cookies that are made on a baking sheet, these cookies are made in mini muffin tins or silicone muffin molds. You will still use a large bowl, electric mixer or hand mixer, and wire rack for cooling to room temperature.
More Candy-Inspired Treats
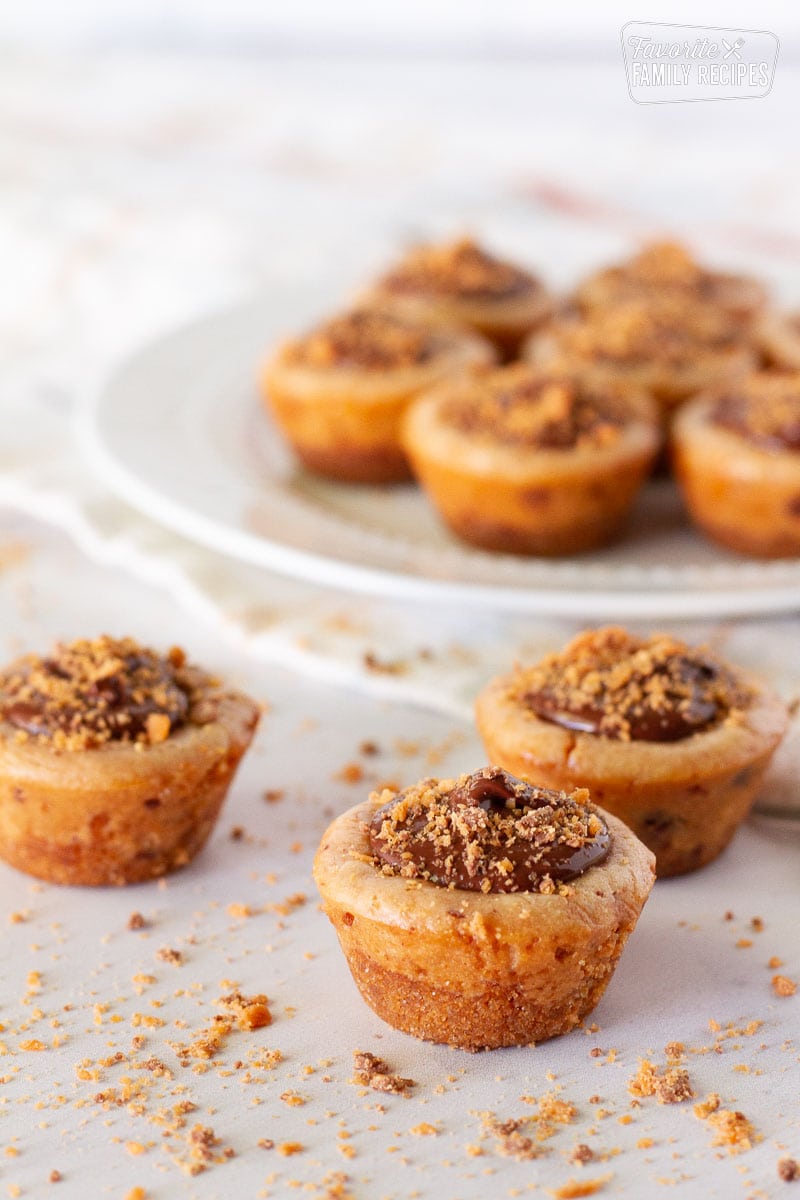
There are so many ways, including these Butterfinger Cookies, to take the natural amazing-ness of your favorite candy, and enhance it. If you’re looking to satisfy a sweet tooth, then try some of these!
How to Make Butterfinger Cookies
Butterfinger Cookies
Video
Equipment
- Miniature muffin pan
- Electric Mixer
Ingredients
CRUST:
- 1 cup Vanilla Wafers finely ground
- 2 tablespoons granulated sugar
- 2 tablespoons butter
- 1/8 teaspoon salt
FILLING:
- 8 ounces cream cheese softened
- 1/4 cups creamy peanut butter
- 1/2 cup sugar
- 1 egg
- 2 tablespoons heavy cream
- 1/8 teaspoon salt
- 4 Fun Size Butterfinger Candy Bars crushed
TOPPING:
- 1 cup semi sweet chocolate chips
- 2 Fun Size Butterfinger bars crushed
Instructions
- Preheat oven to 350 degrees. Spray mini muffin pan with non-stick cooking spray. Place cookie crumbs, sugar, butter and salt into a bowl; mix to combine.
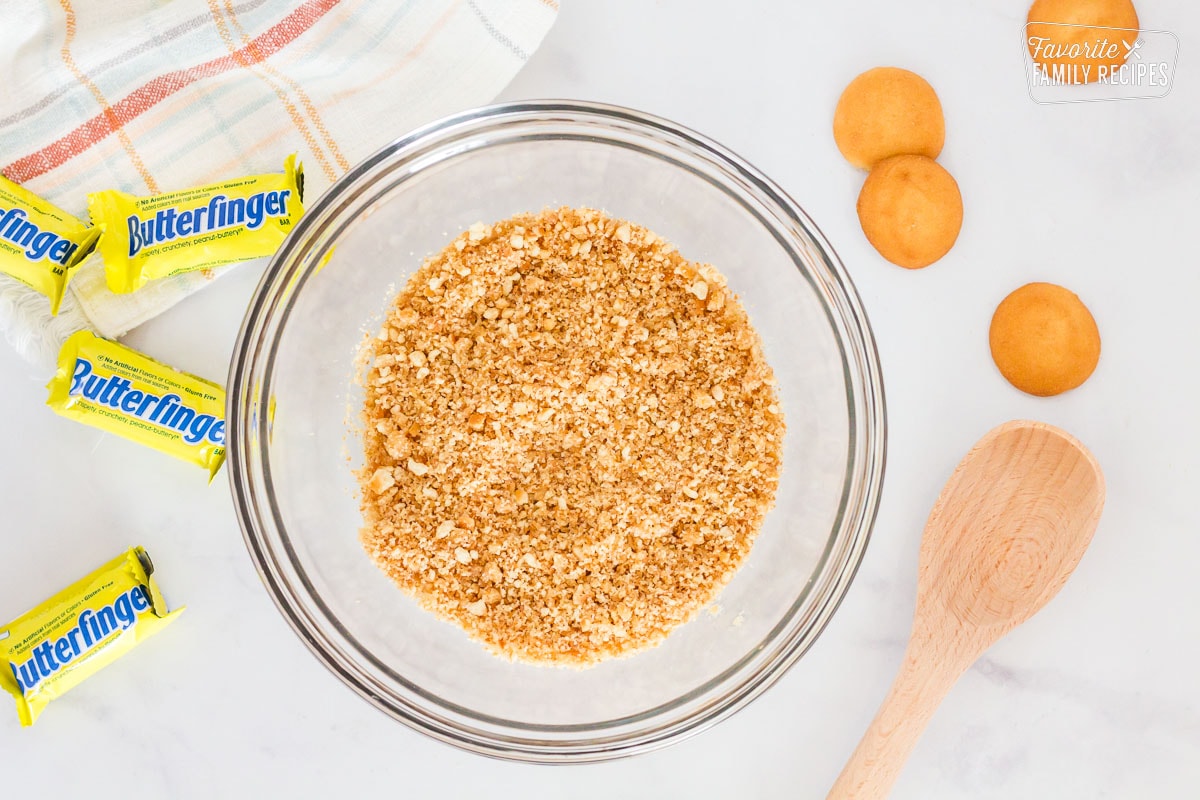
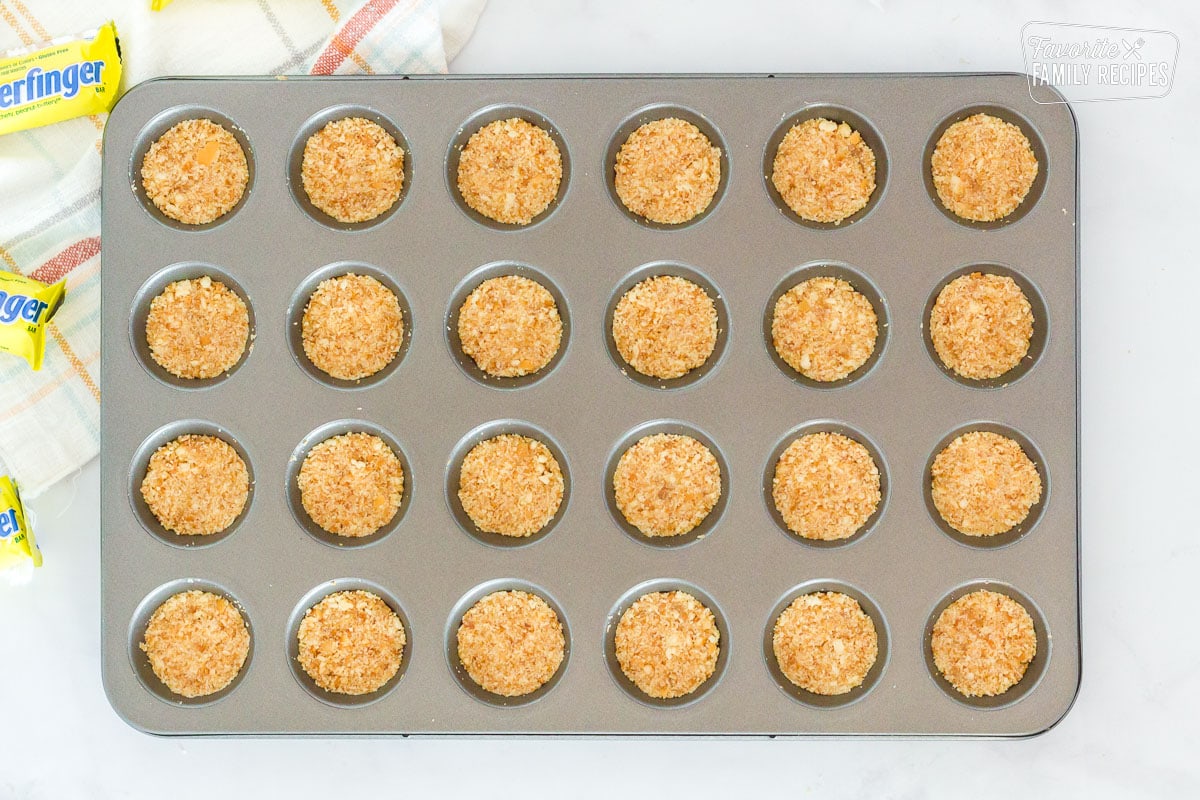
- Spoon mixture into bottoms of a mini muffin tin and press. Bake for 5 minutes and remove from oven.
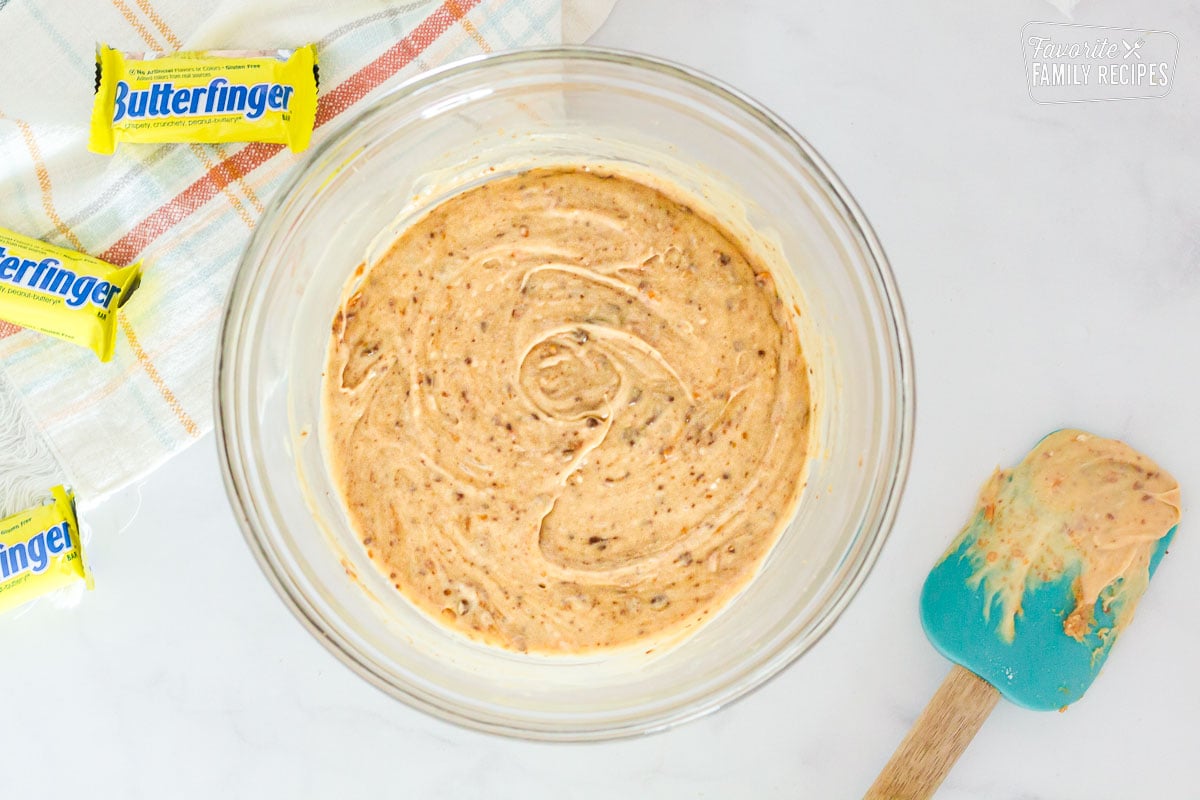
- Reduce heat to 300 degrees. In a stand or electric mixer, beat cream cheese and peanut butter until smooth. Beat sugar, egg, cream and salt until well combined. Slowly stir in crushed Butterfinger.
- Evenly pour batter over baked crust. Bake for 18-20 minutes or until cheesecake is set. Let cool for 2 hours, then remove from pan.
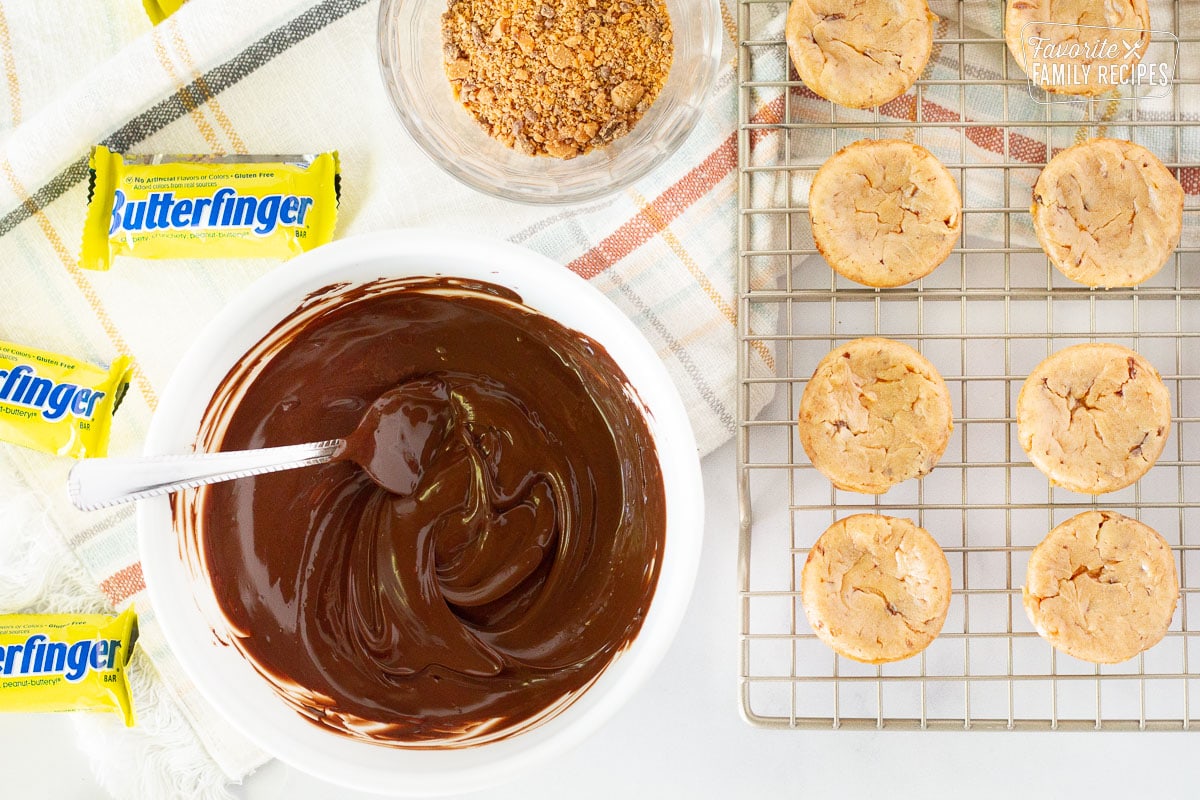
- Melt chocolate chips in microwave in 30 second intervals until smooth. If needed, return back to microwave for 15 seconds or so until smooth. Spoon chocolate mixture over tops of cakes then sprinkle crushed butterfinger over top.

These are everything I could want in a dessert! I think I may be addicted, they are so good!
what do you think of freezing them?
They should be fine if you freeze them 🙂
I made this last year and have a request for them this year. They are a big hit.
So glad you like them! Thanks for the 5-stars!
I have three size mini muffin pans. A 6, 12 and 24. If you give the number yield that would be very helpful. Thanks. Want to try this recipe.
You will want to use the 24..
They look fantastic! How many does this batch yield? And do you just press the crust in the bottom of the muffin cup, not the sides?
It made two pans, and yes, you press the crust into the bottom, but it’s ok if it goes on the sides too.
Oh my!! This looks super delicious!! Thanks so much for the recipe!! Pinning!!