This post may contain affiliate links. See our disclosure policy.
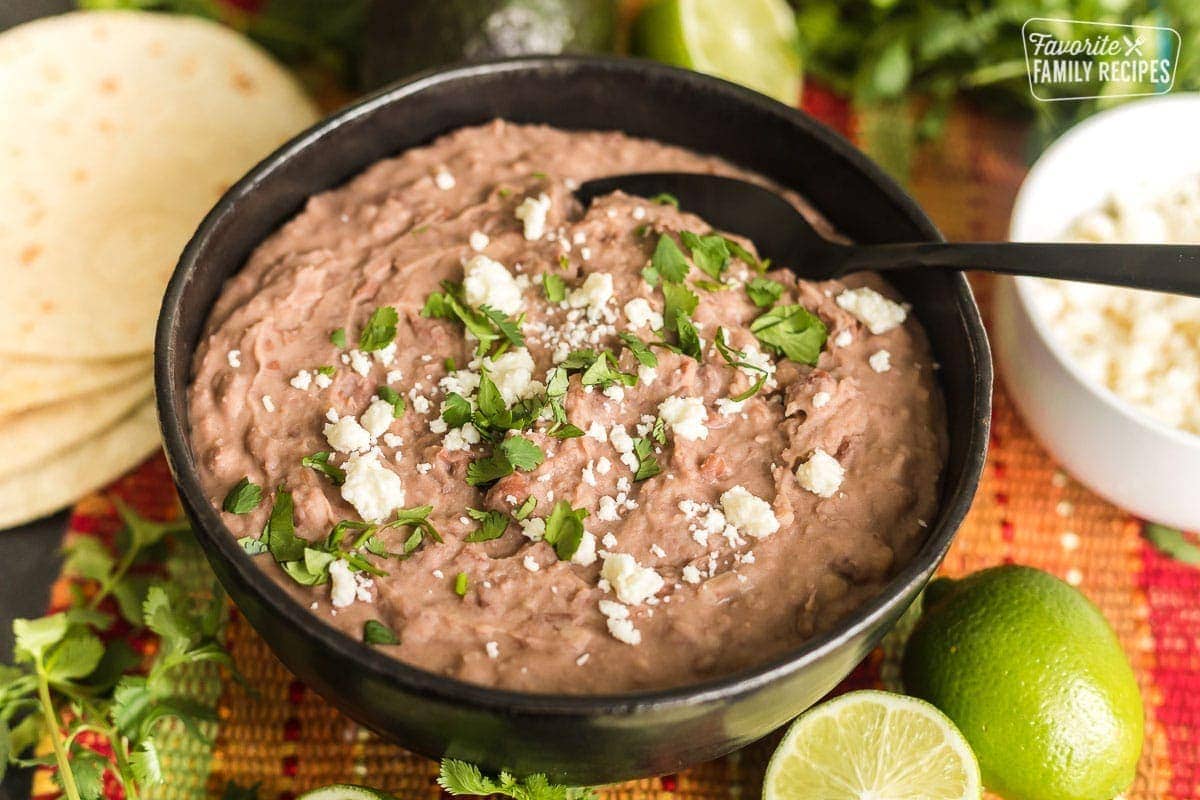
Preparing your own beans and adding fresh seasonings make homemade refried beans superior in taste and texture to canned. Once you try it, you’ll throw away the can opener!
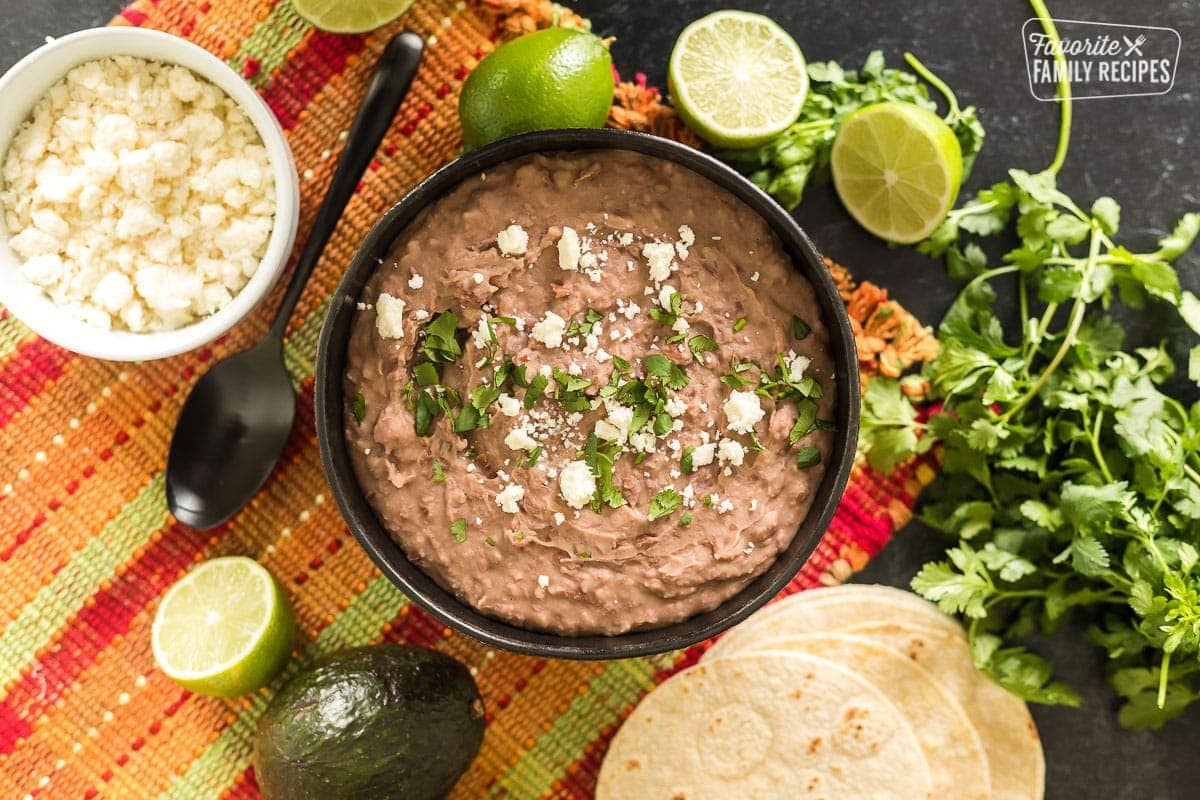
I will admit that homemade refried beans take slightly more effort than opening a can with a can opener, but I promise, the difference in taste and quality really can’t be beaten. When you have control of the seasonings and aromatics, the flavor possibilities are endless.
Not only is this recipe easy, but it is also foolproof. You don’t need exact measurements and you can always make the texture to your preferred consistency. This may sound cliché but once you start making your own from scratch, you will never be satisfied with canned refried beans again.
Ingredients
Only a few ingredients are needed to make homemade refried beans. They are very common and easy to find in grocery stores.
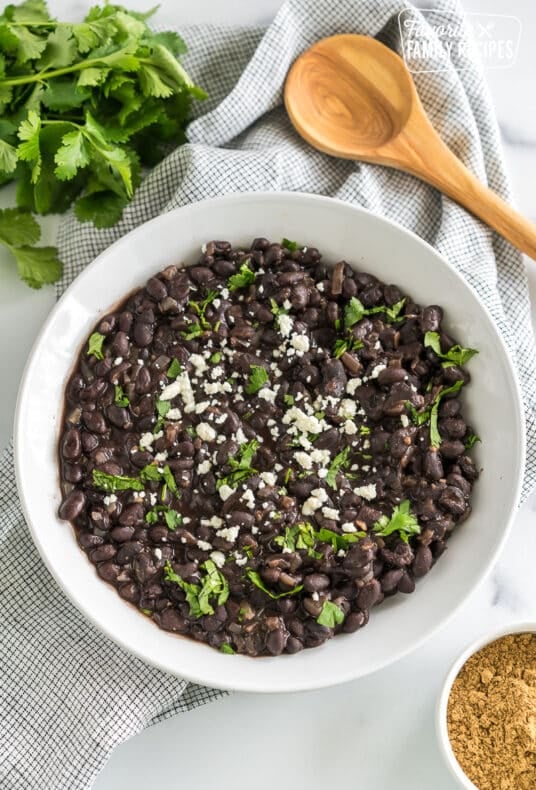
- Dried Beans – Pinto beans are the most common for making refried beans but you can also use black beans or cranberry beans. The pinto beans have a soft, buttery texture when cooked. As far as brands of beans go, we HIGHLY recommend Rancho Gordo beans.
- Fat – The most authentic “fat” to use is lard, but sometimes lard can be hard to find or it may not be the preferred choice of those trying to eat healthy. Bacon grease/fat can also be used but it can give the beans a bacony flavor (which may not be a bad thing). Corn oil, avocado oil, vegetable oil, and olive oil are also suitable substitutes.
- Onion – White or yellow onion will work great. Slice it thin or chop it up.
- Garlic – An optional ingredient that gives the beans a nice flavor.
- Water or Broth – Either one works. If you use broth, you may not need to salt as much later in the process. Vegetable broth and chicken broth are popular options. Water is obviously the cheapest option. Use whatever works best for you.
- Salt – Refried beans really only need to be seasoned with salt. You can great creative and add more fancy seasonings (see options below) but they aren’t necessary and can easily overpower the beans if you aren’t careful.
How to Make Homemade Refried Beans
These instructions give you step-by-step instructions on how to make refried beans perfectly, every time. It may seem like a lot of steps, but it’s worth it!
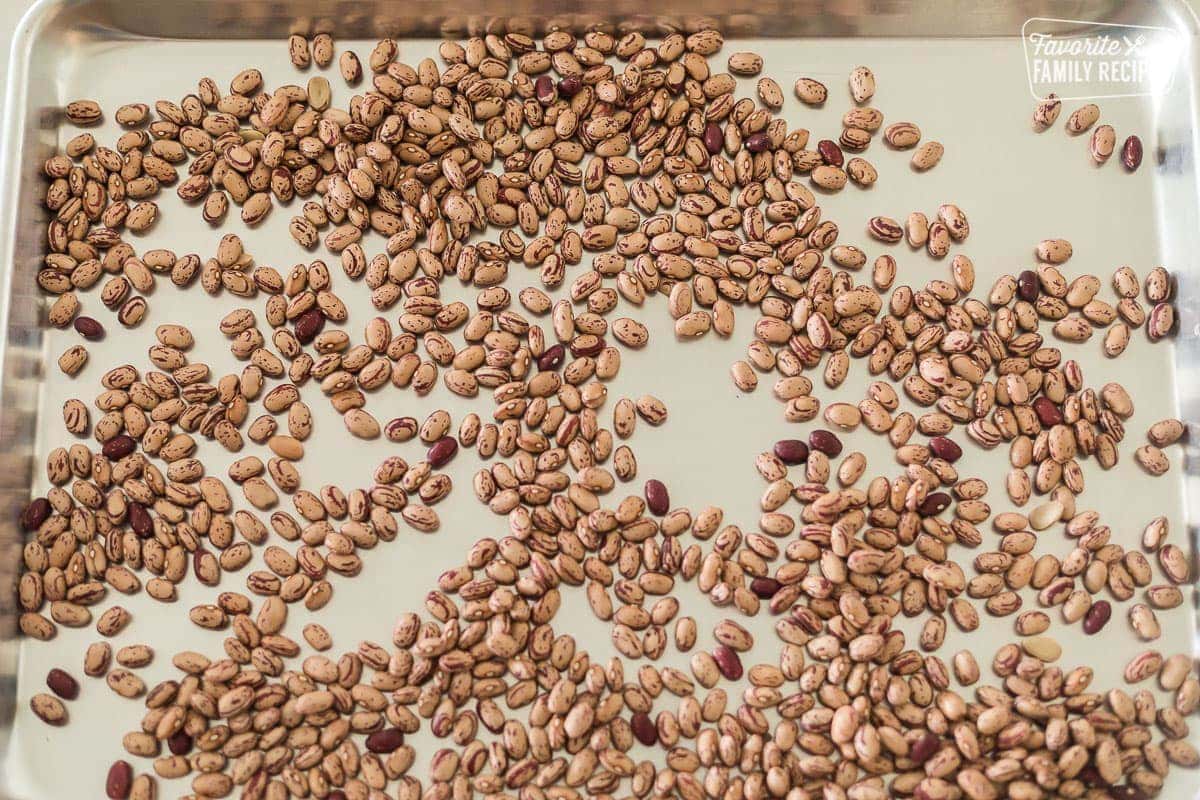
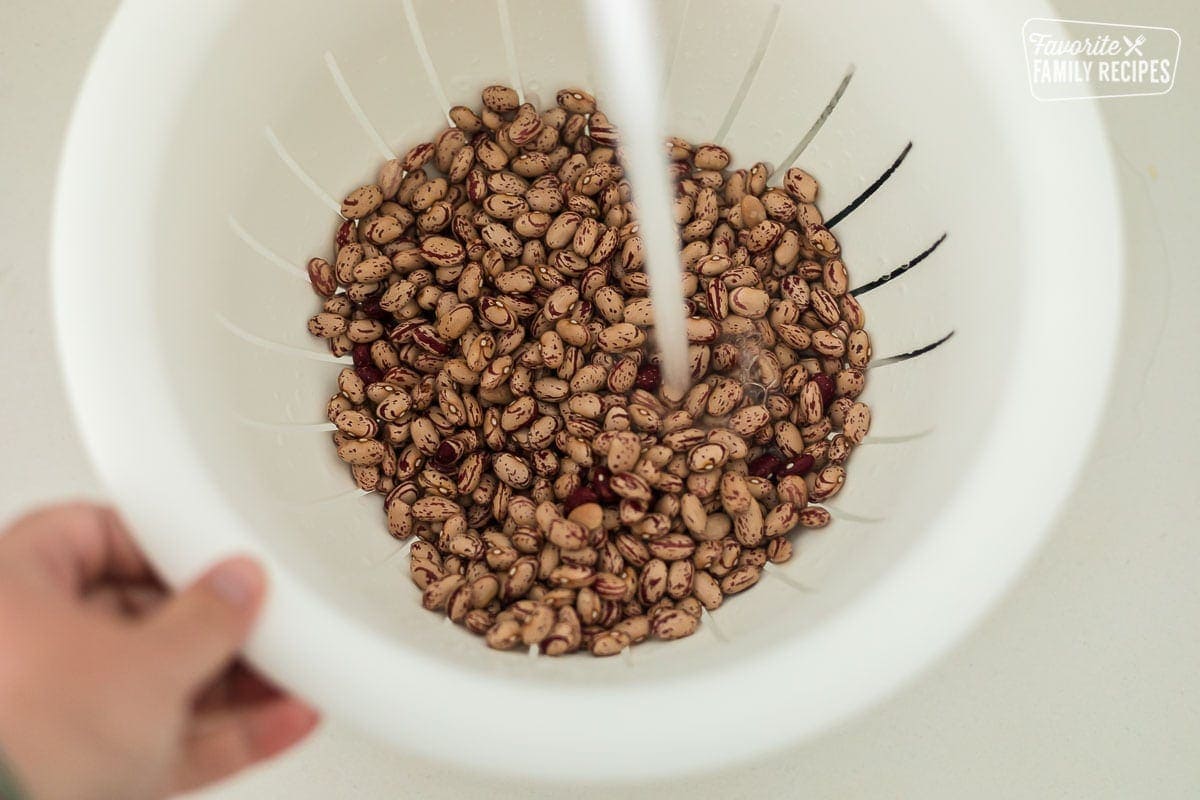
- Clean – Spread out beans on a baking sheet and pick out any debris. Place beans in a large bowl and cover with water, rinsing and replacing water 2-3 times. Drain beans in a colander and set aside.
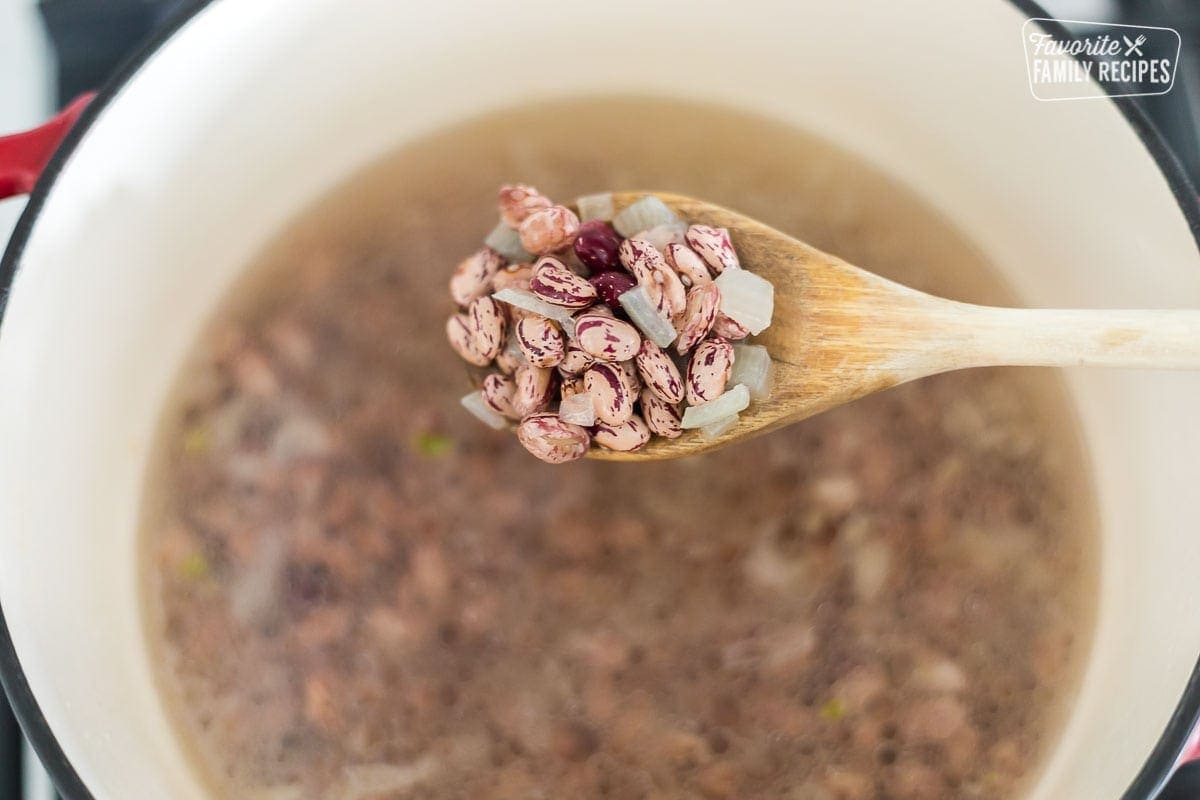
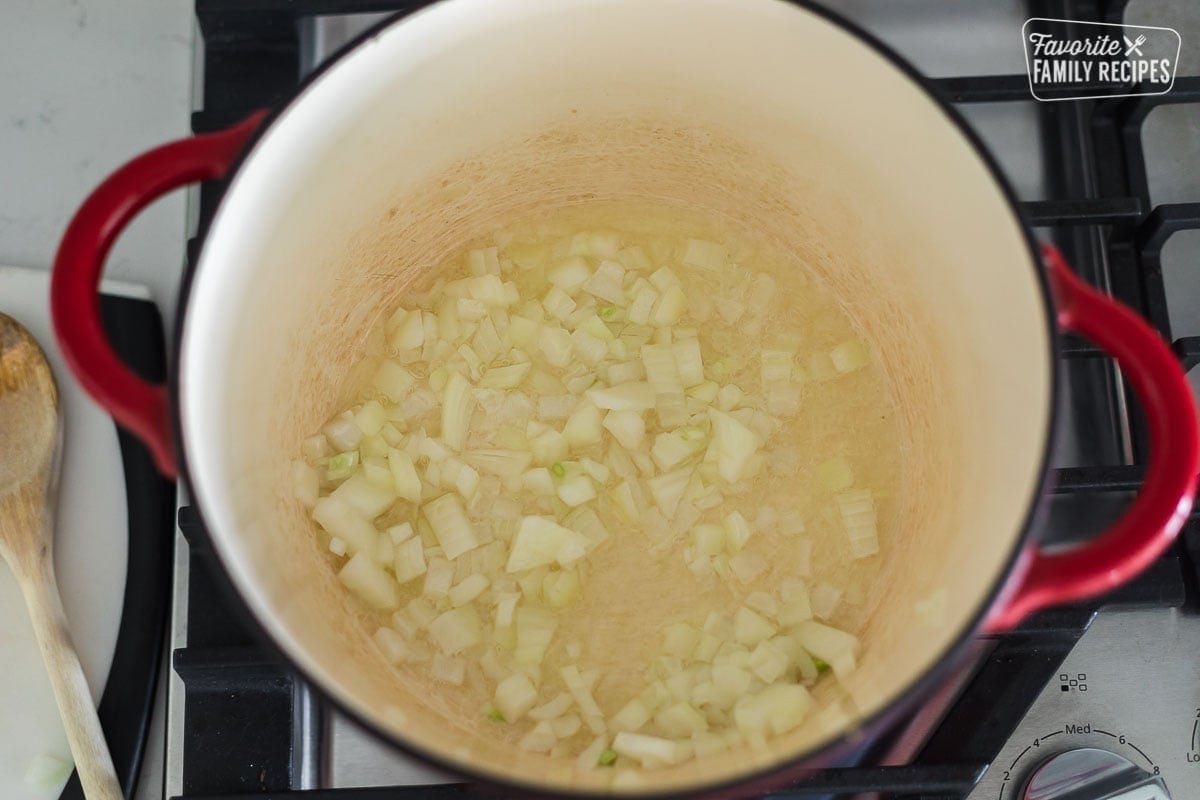
- Saute – In a Dutch oven or large pot, heat lard, bacon fat, or oil over medium-high heat. When the oil becomes hot, add in the onion. Sauté until onions become transparent and soft. Add garlic and sauté.
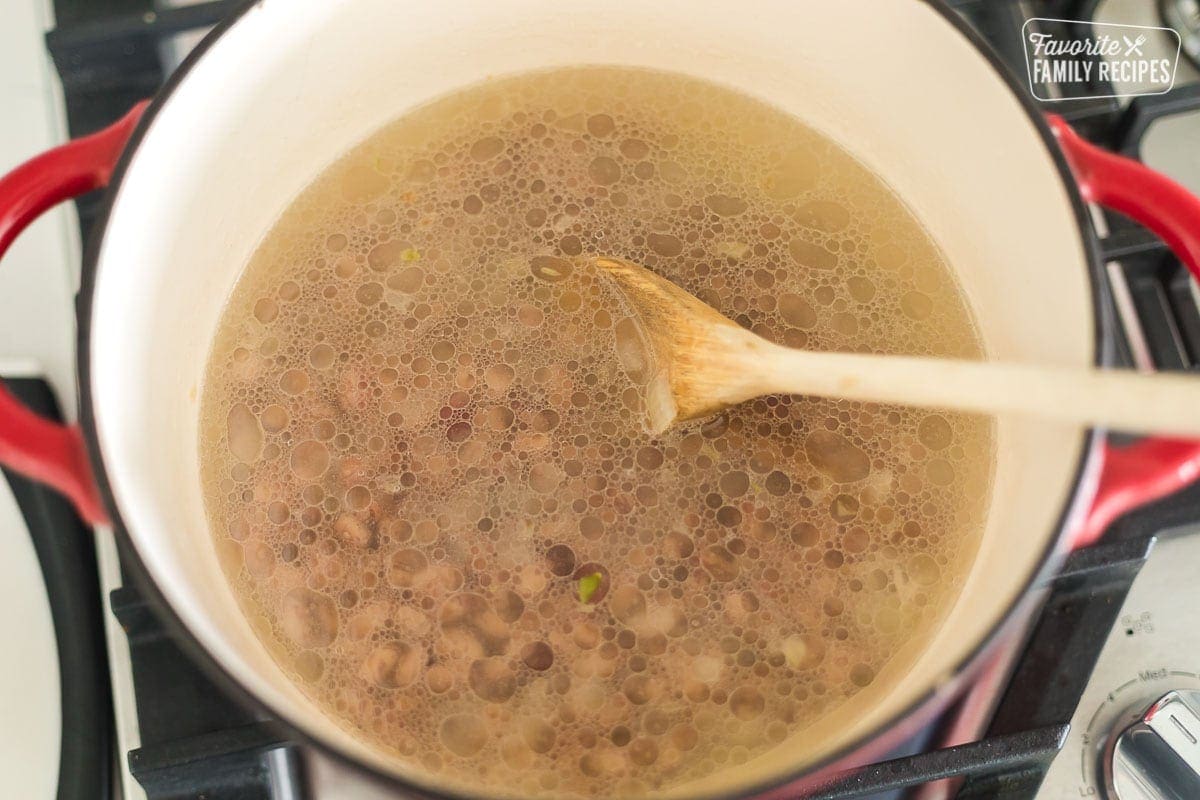
- Boil – Add beans and stir to coat in oil, then add enough water or broth to cover the beans. Bring to a rapid boil. Add in the salt. Reduce heat to a gentle simmer and simmer until beans become soft. Continue to salt, if needed throughout the process.
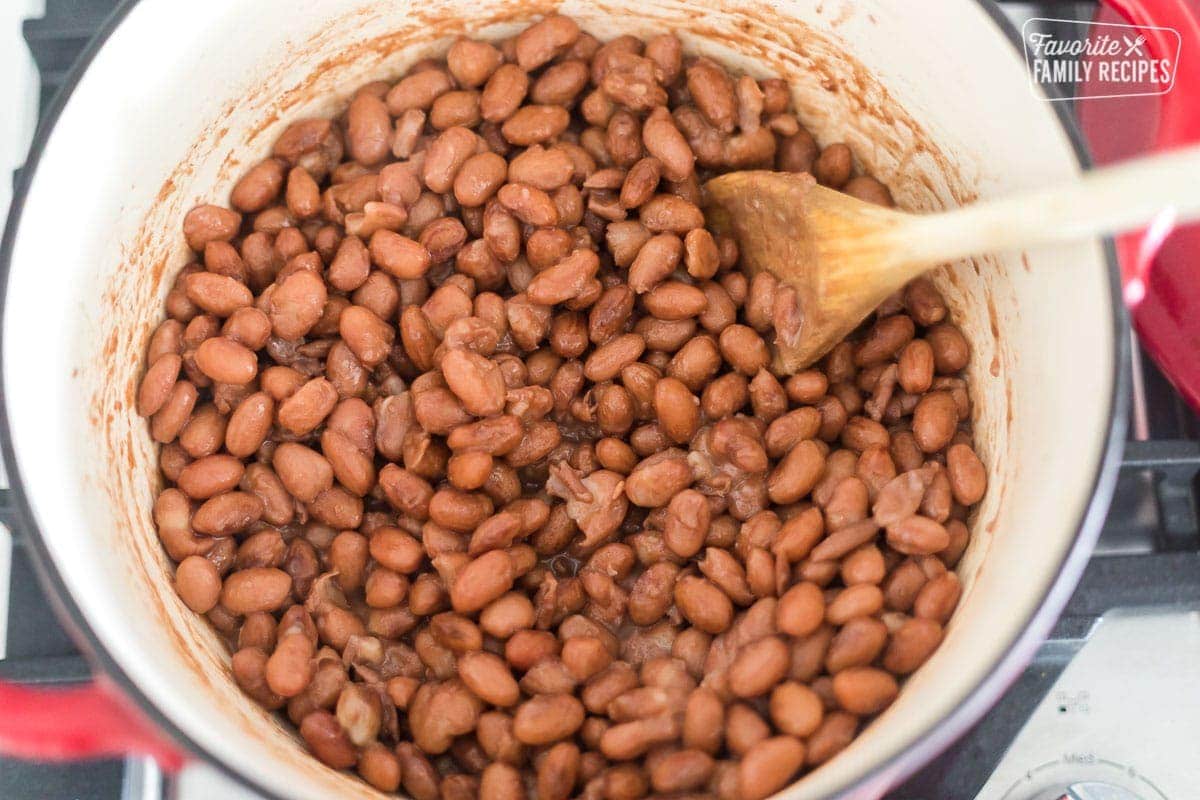
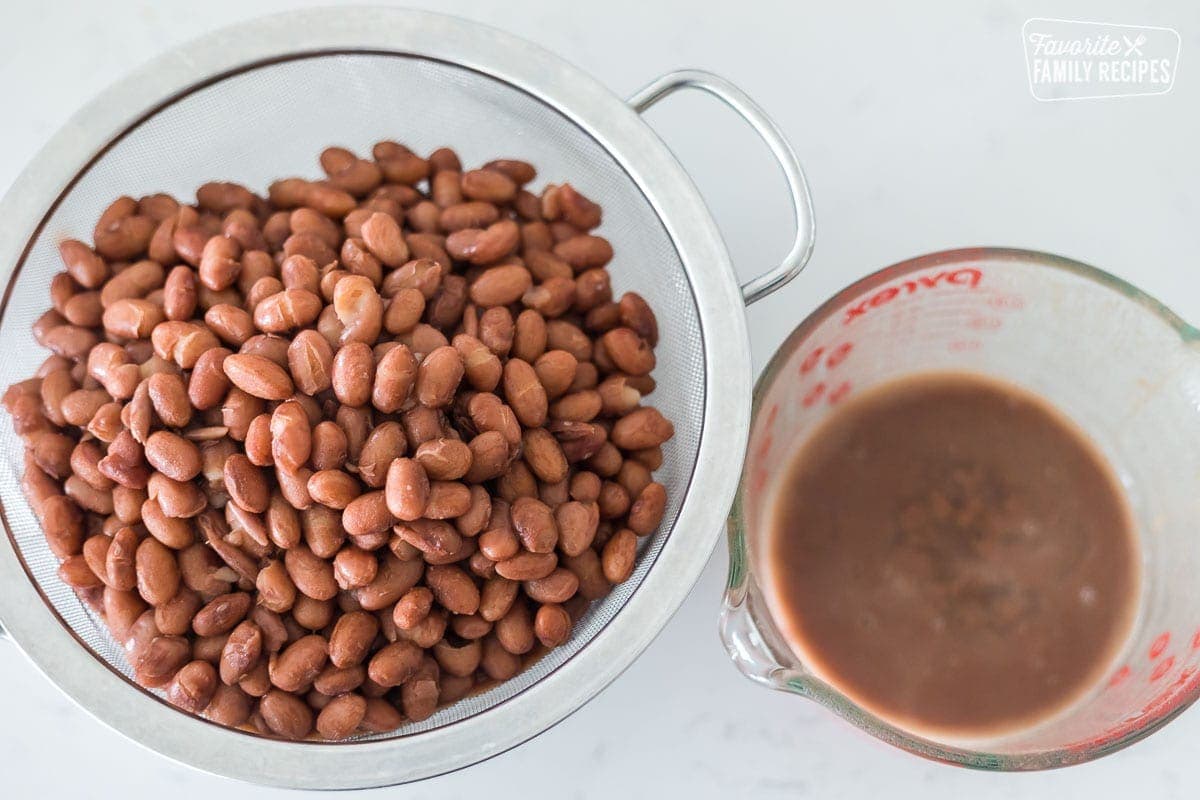
- Drain – When the beans have softened, remove them from the heat and drain the bean water into a bowl or liquid measuring cup. Do not discard. Place beans aside in a separate bowl.
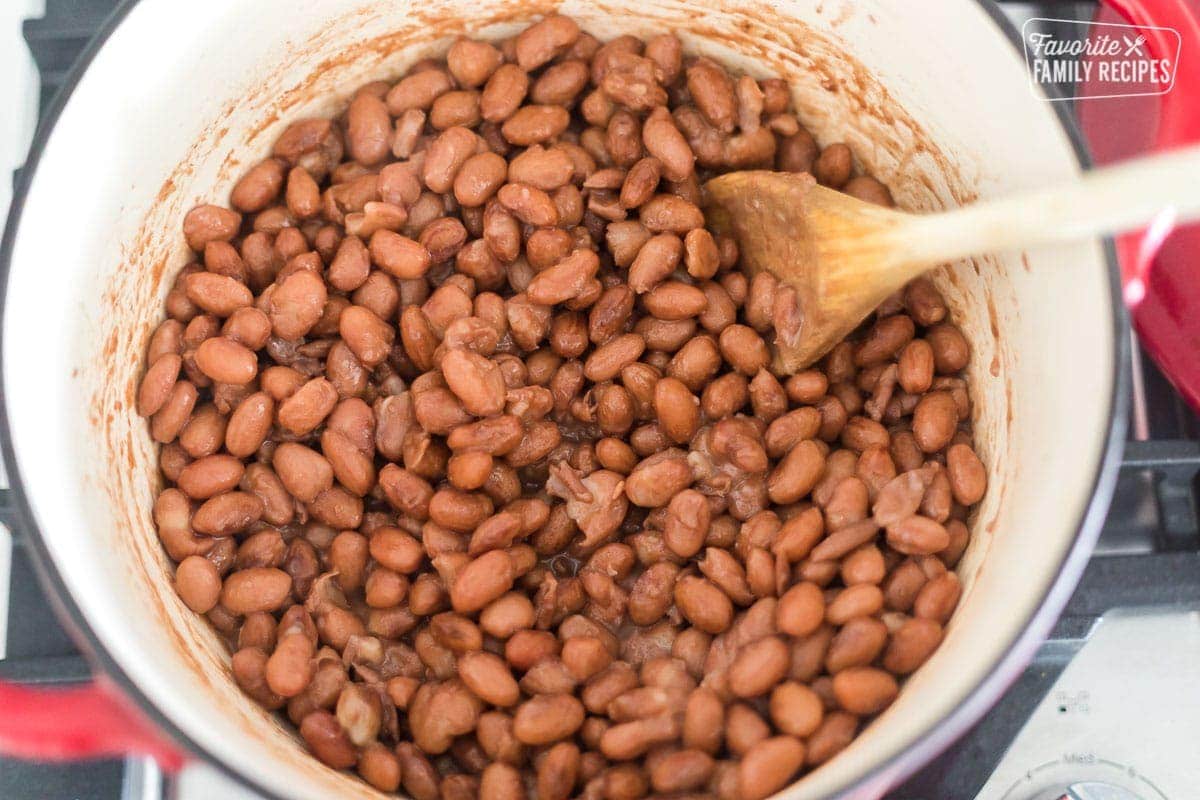
- Coat beans – Wipe the Dutch oven clean. Heat the remaining lard, bacon grease, or oil in the Dutch oven over medium-high heat. If you have extra onion or garlic, you can add it to the oil and sauté if you would like, but it isn’t necessary. When the oil is hot, add the drained beans and stir to coat in the oil.
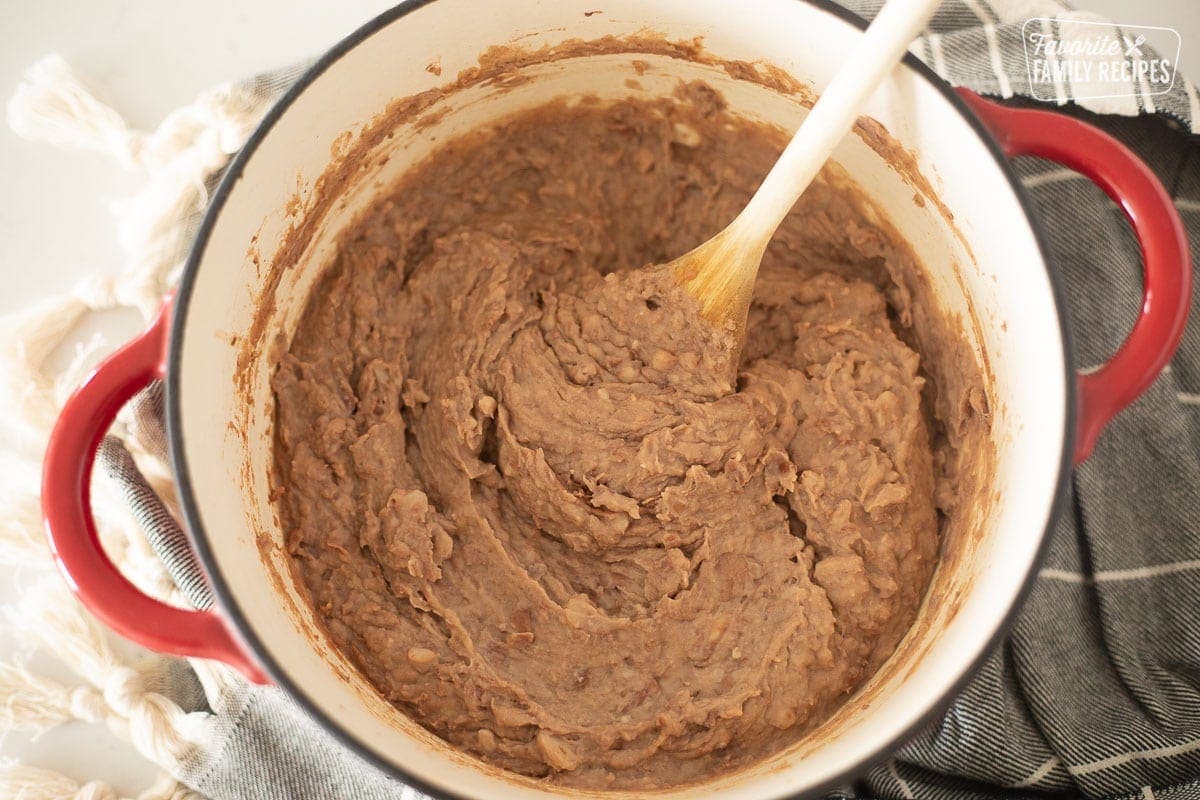
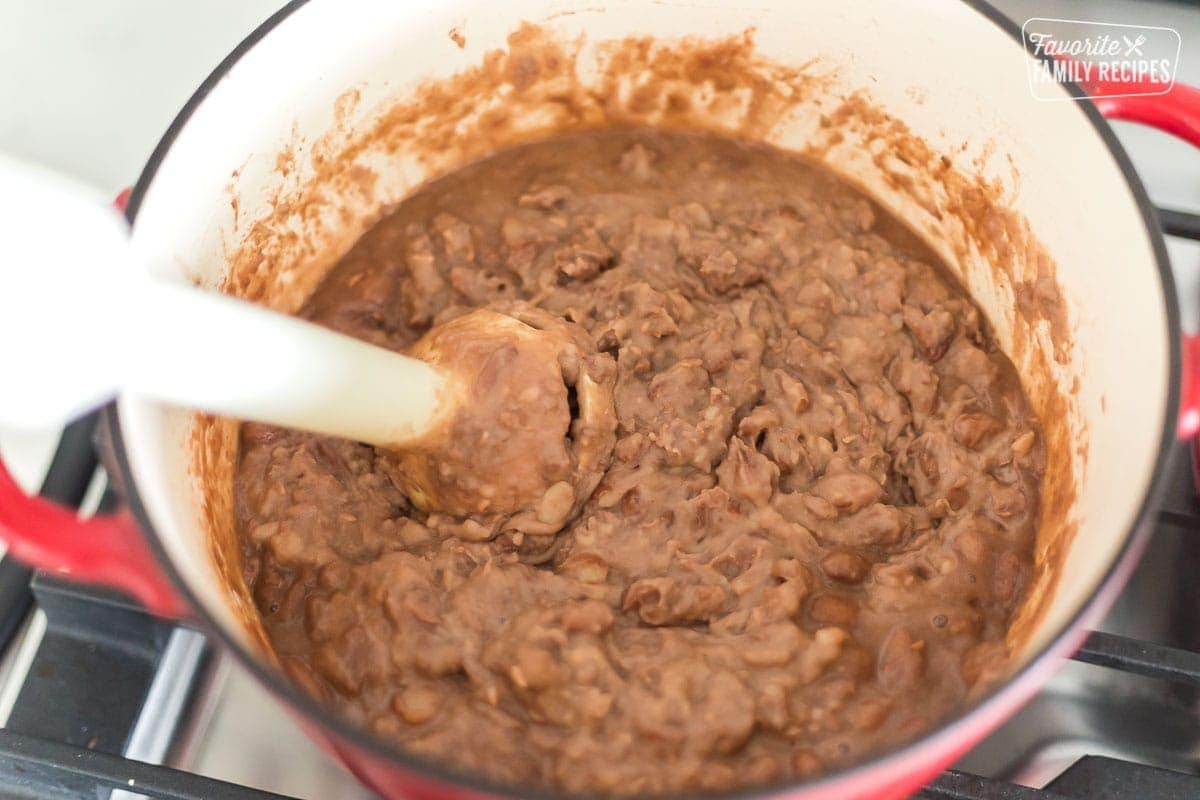
- Mash – Use a bean masher, potato masher, or immersion blender (hand blender), or a fork to mash the beans, adding some of the bean cooking liquid a little at a time while mashing. Keep mashing until you reach your desired consistency and texture. If you run out of bean water but still need to thin the beans, use water or broth.
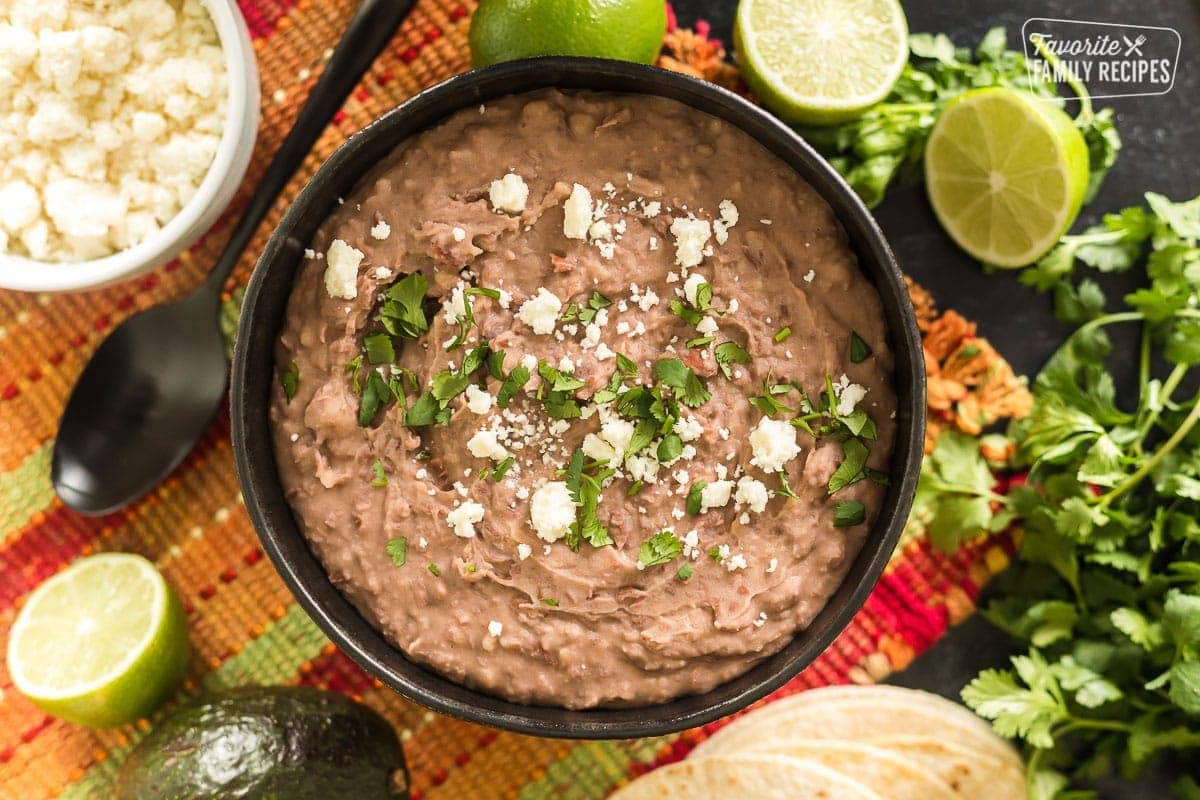
- Serve – Garnish with a squeeze of lime juice, queso fresco, cilantro, and/or jalapeños.
Instant Pot Refried Beans
If you want to speed up the process, you can cook your beans in an Instant Pot or pressure cooker. To do this, cover your beans with 2 to 3 inches of water, add sautéed aromatics, and cook on high pressure for 20 to 40 minutes depending on the size of your beans. Allow the Instant Pot to naturally release by moving the valve over.
Keep in mind that by cooking them in the Instant Pot, you won’t get as rich of a bean broth so you may want to simmer for an additional 20 to 30 minutes on the stovetop to develop a nice broth to mash your beans with.
CrockPot Refried Beans
To cook your beans in a crockpot or slow cooker, simply place the beans and sautéed aromatics in the slow cooker and cover using the ratio of 1 part beans to 3 to 4 parts water (so 1 cup of beans to 3 to 4 cups of water). Cook on high for 4 to 6 hours. I throw it all in the crockpot with the lid on in the morning and forget about it until the afternoon – so easy!
Recipe Tips
Make refried beans from canned pinto beans – In a rush? No worries. You can also make refried beans using canned pinto beans. Heat the oil in a large skillet and add onion and garlic. When onions are cooked through, add the canned pinto beans (liquid and all) to the skillet. Stir until beans are nice and hot and then mash according to the recipe below. Add water to thin the consistency, if needed. So easy!
Use additional seasonings – Optional spices and seasonings may include cumin, chili powder, cayenne pepper, oregano, smoked paprika, or bay leaves. I save the lime juice and fresh cilantro to use as garnishes over the top right before serving.
Add aromatics – The most common aromatic to use is onion, and really, that’s all you need. Other common aromatics are celery, carrots, ham bones, jalapeño peppers, and/or chiles.
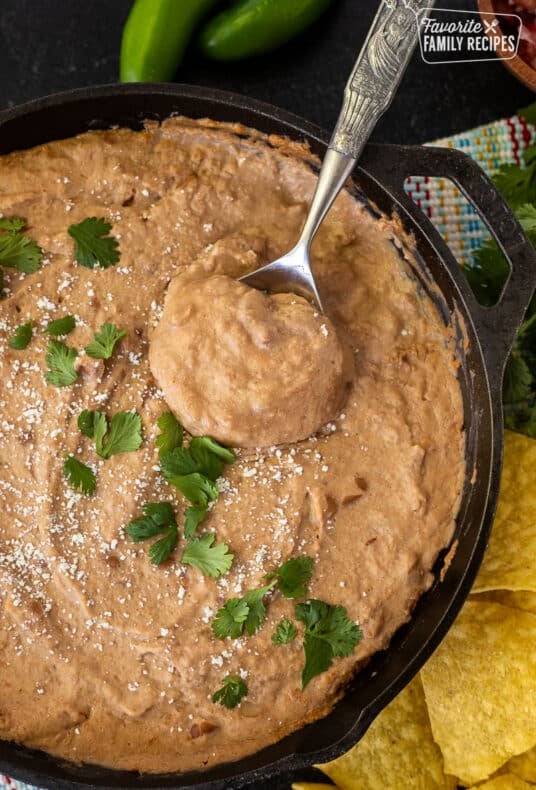
How to serve refried beans – I serve refried beans (frijoles refritos) plain, as a side dish, or as a bean dip. I like to squeeze fresh lime over our cooked beans and then top with queso fresco or Cotija cheese, then sprinkle with a little cilantro and some jalapeños.
Make it Tex-Mex style – My family enjoys topping our beans with shredded cheddar cheese and hot sauce for a more Tex-Mex style. Pair your beans with some Mexican rice or simply serve with tortilla chips. There are so many possibilities here, you can’t go wrong!
“These beans are so much better than anything I have ever eaten from a can. They are even better than my local restaurant favorite!”
-Whilhelmina
Frequently Asked Questions
Refried beans are basically mashed up and seasoned pinto beans. Not all refried beans are made from pinto beans though. Black beans, cranberry beans, and navy beans can also be used to make refried beans.
The word refried beans comes from the Spanish phrase “frijoles refritos”. Which translates to “well-fried beans”. Although they aren’t fried, they are cooked down to be extremely soft so they can easily be mashed.”
You don’t NEED to soak them but if your beans are old (more than 2 years) you may want to. One of the many reasons I love the Rancho Gordo beans is because they are very fresh and if you use them within 2 years, there is no need to soak them at all. Soaking and rinsing your beans may wash away some of the nutrients.
The main advantage of soaking is that it cuts down on the cooking time. For me, it doesn’t cut down on the time enough to make it worth soaking for hours. I don’t mind simmering them an hour or so longer if it means they don’t have to soak for 6+ hours.
Yes! Refried beans are just mashed beans (they aren’t actually “fried”). They are high in protein and fiber. If you make them at home, you can even control the amount of sodium added to make them even healthier.
Storing Homemade Refried Beans
Place the leftover refried beans into an airtight container and store them in the refrigerator for four to five days. When ready to make, place them in the microwave or warm them up on the stove top.
More Tasty Recipes with Beans
Beans are always a delicious way to add extra protein and nutrients with all the flavor! They are simple to make and come together with little amounts of ingredients. Add these bean recipes to your next meal for a complete meal!
Homemade Refried Beans
Video
Ingredients
- 1 pound dry pinto beans
- 6 tablespoons lard, bacon fat, or oil divided
- 1/2 onion chopped
- 4 cloves garlic (peeled and finely minced)
- 2-3 quarts water or broth (you may not need ALL of the liquid)
- sea salt to taste
Instructions
- Spread out beans on a baking sheet and pick out any debris.
- Place beans in a large bowl and cover with water, rinsing and replacing water 2-3 times. Drain beans in a colander and set aside.
- In a Dutch oven or large pot, heat 3 tablespoons of lard (or bacon fat or oil) over medium-high heat. When the oil becomes hot, add onion. Sauté until onions become transparent and soft (not browned). Add garlic and sauté another 30 seconds.
- Add beans and stir to coat in oil, then add enough water (or broth) to cover the beans by 2-3 inches. Bring to a rapid boil and boil for 10-15 minutes. Add a pinch to two of salt. Reduce heat to a gentle simmer and simmer until beans become soft, about 1-3 hours. Continue to salt, if needed throughout the process.
- When beans have softened (the easiest way to tell if they are done is to just taste one), remove from heat and drain the bean water (pot liquor) into a bowl or liquid measuring cup. Do not discard. Place beans aside in a separate bowl.
- Wipe the Dutch oven clean (or use a separate large skillet). Heat the remaining lard (or bacon grease or oil) in the Dutch oven over medium-high heat. If you have extra onion or garlic, you can add it to the oil and sauté if you would like, but it isn't necessary. When the oil is hot, add the drained beans and stir to coat in the oil.
- Use a bean masher, potato masher, or immersion blender (hand blender) to mash the beans, adding some of the bean water a little at a time while mashing. Keep mashing until you reach your desired consistency/texture. If you run out of bean water but still need to thin the beans, use water or broth.
- Garnish with a squeeze of lime juice, queso fresco, cilantro, and/or jalapeños (all optional).
Notes
- Keep in mind, as the beans cool, they will thicken up. You may want to keep some of the bean water on hand until beans have cooled a little.
- If you want your refried beans to have a fine, pureed texture, place your beans in a food processor and process, adding liquid if needed, until your desired consistency is reached.
I was wondering if anyone has canned these? It’s only hubby and I and even halving the recipe is still more than we would eat.
Refried beans are too thick to be canned, according to this article from Penn State it is unsafe to can refried beans at home. They CAN, however, be frozen. I would freeze them in sandwich-sized freezer safe baggies so you can thaw and enjoy smaller portions. Hope this helps!
This is so good! Way better than canned, for sure.
These beans are so much better than anything I have ever eaten from a can. They are even better than my local restaurant favorite!