This post may contain affiliate links. See our disclosure policy.
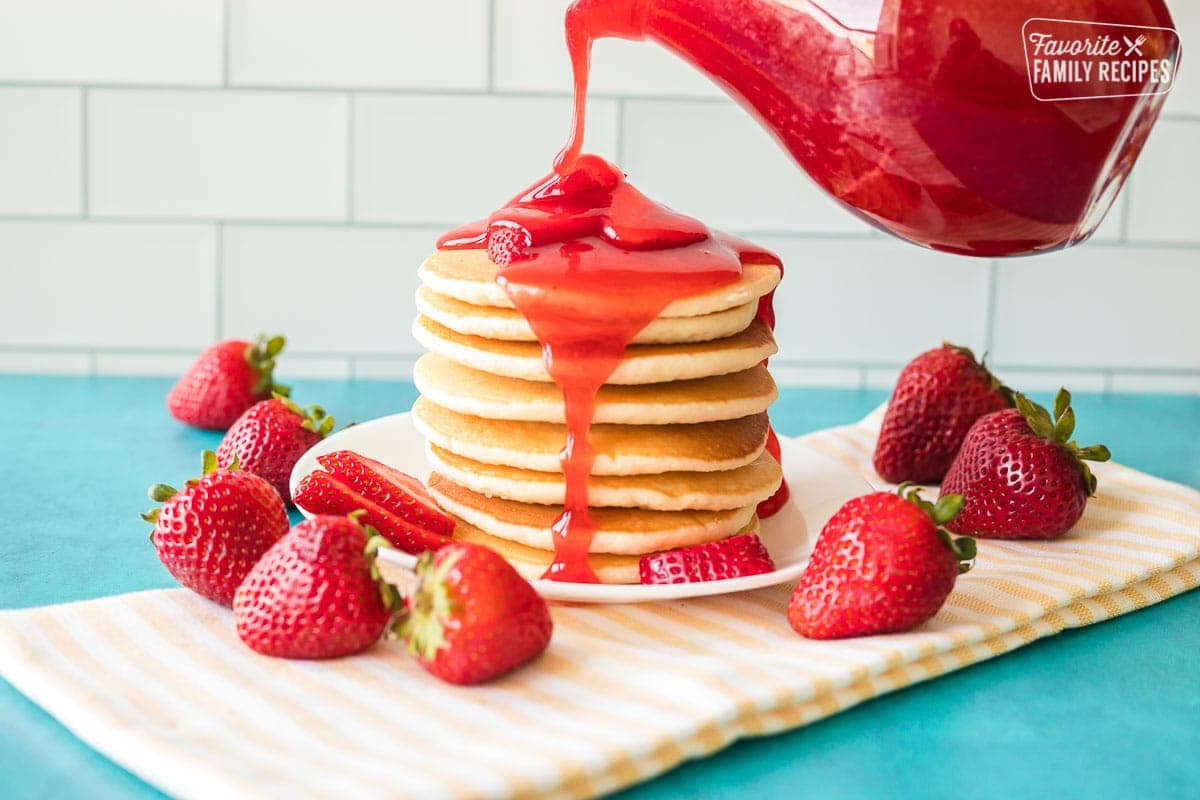
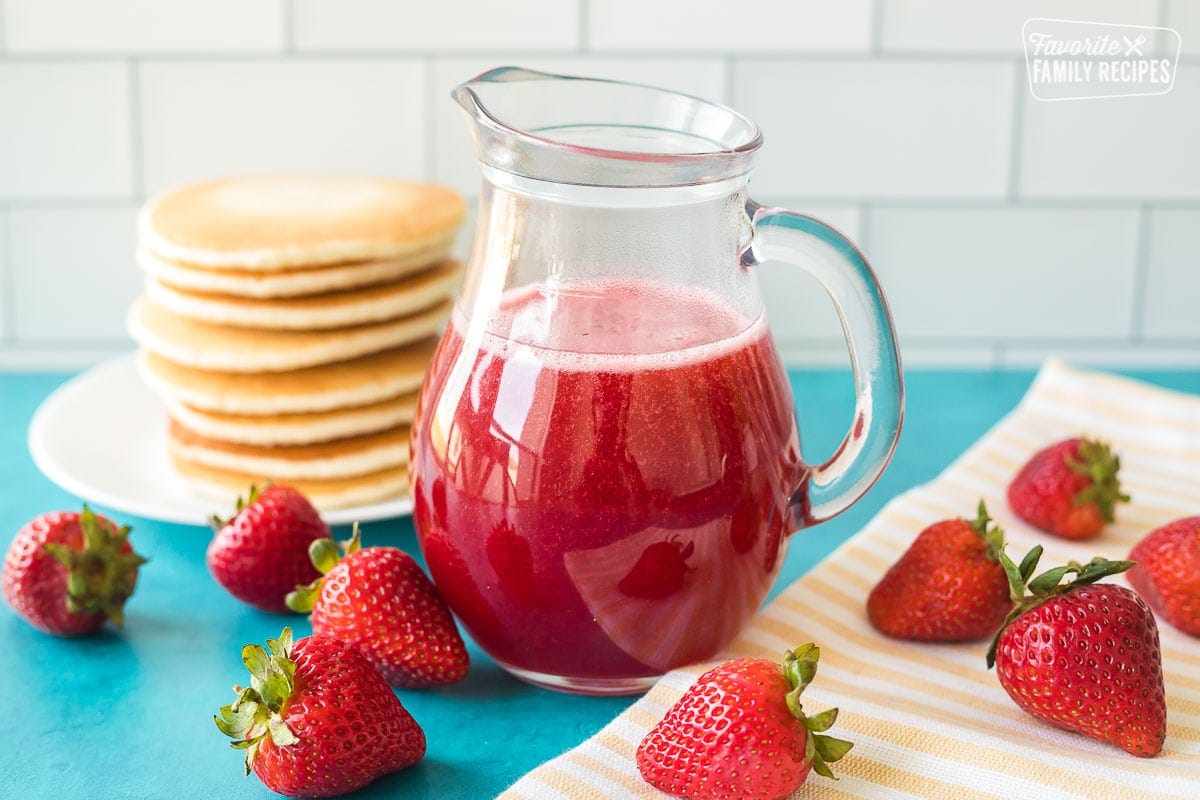
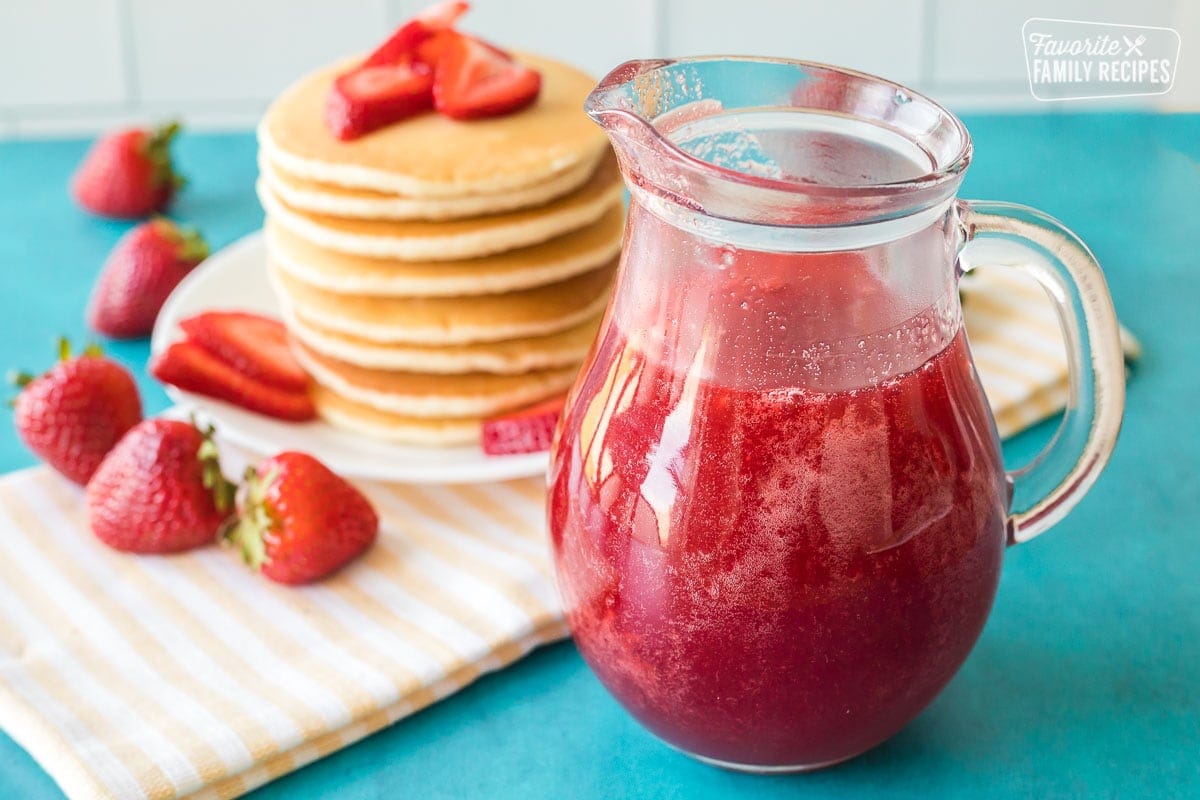
Make strawberry syrup with just a few simple ingredients. Enjoy over pancakes, ice cream, or stir into your favorite drinks!
Featured with this recipe
- Ingredients in Homemade Strawberry Syrup
- Preparing the Strawberries
- Getting the Right Consistency
- How To Make Strawberry Syrup Thicker
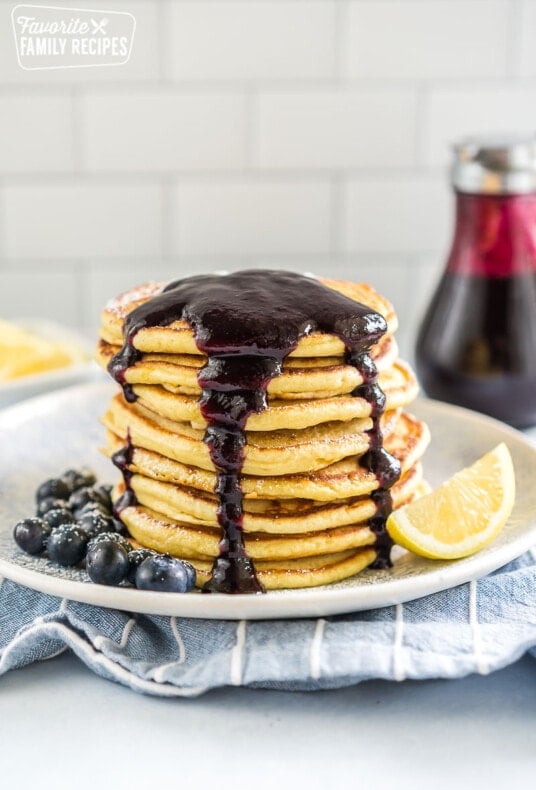
- Try it With Different Berries
- Can I Use Frozen Strawberries?
- What to Serve Strawberry Syrup With
- How to Store Strawberry Syrup
- Frequently Asked Questions about Strawberry Syrup
- More Tasty Syrup Recipes to Try
- How To Make Strawberry Syrup
- Strawberry Syrup Recipe
This simple Homemade Strawberry Syrup is perfect to have on hand for milkshakes, strawberry milk, Italian sodas, etc. It’s also delicious drizzled over ice cream, pancakes, waffles or French toast. It’s easy to make tastes better than anything you can find at the grocery store. Fresh is always best, and in this case, it’s just as easy!
Ingredients in Homemade Strawberry Syrup
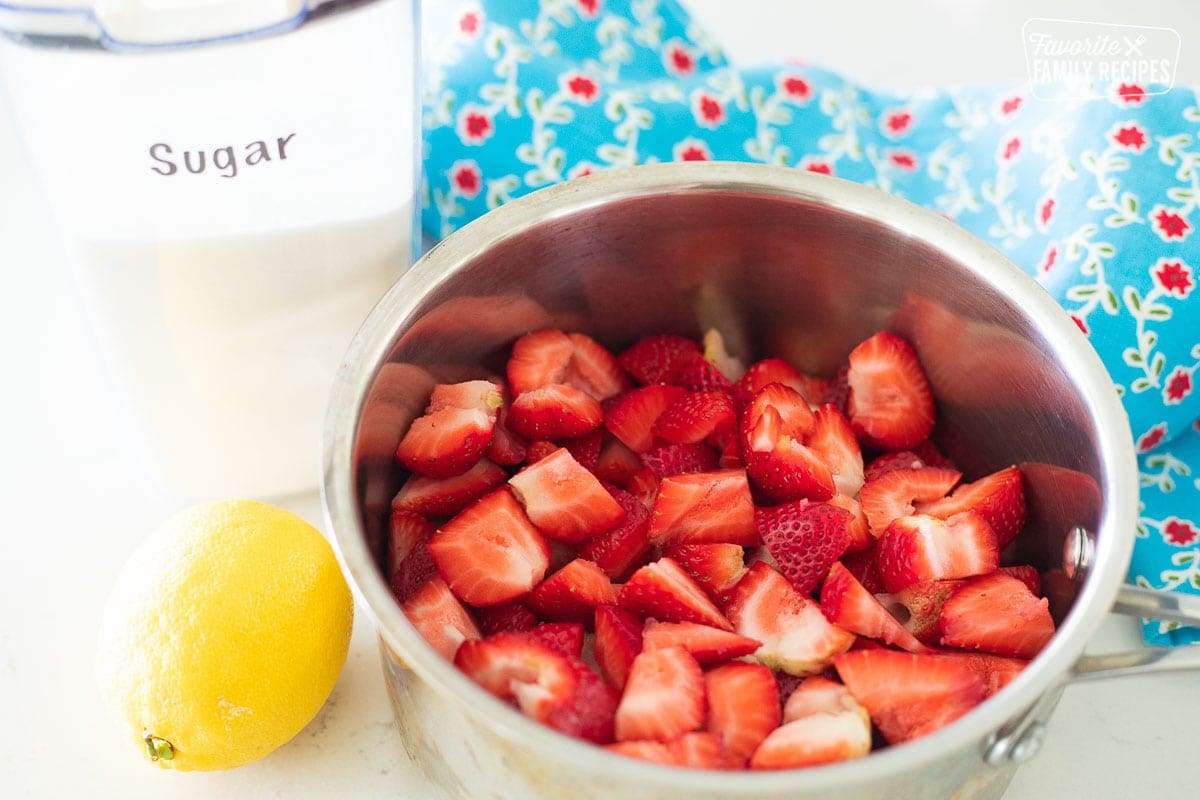
Strawberry syrup has just a few easy ingredients: strawberries, sugar, water, and lemon juice. You can get fancy and add vanilla extract, but in my honest opinion, it just doesn’t complement the taste of the strawberries. I really don’t think it is needed.
- Strawberries – one pound fresh or frozen strawberries, hulled and sliced.
- Sugar – one cup. You can also switch out sugar for your favorite low-calorie sweetener, if you like.
- Water – ¼ cup to dissolve the sugar.
- Lemon juice – two teaspoons of bottled lemon juice or the juice of one fresh lemon.
Preparing the Strawberries
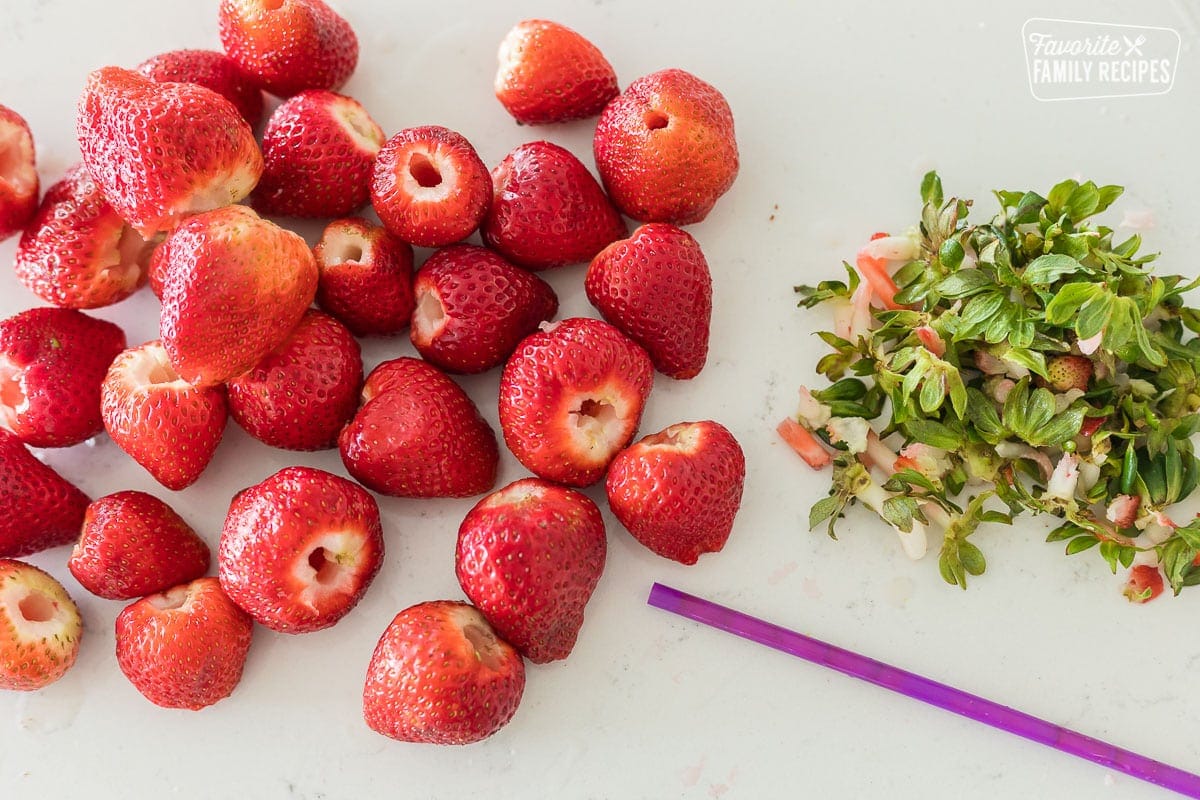
First of all you want to make sure you have good strawberries. The better the berries, the better the syrup. Wash them well and wipe them down with a paper towel. This will get any excess dirt or little hairs off. Remove the stems (see “pro tip” below for an easy way to do this) and hull if desired. Now your strawberries are ready to make into syrup!
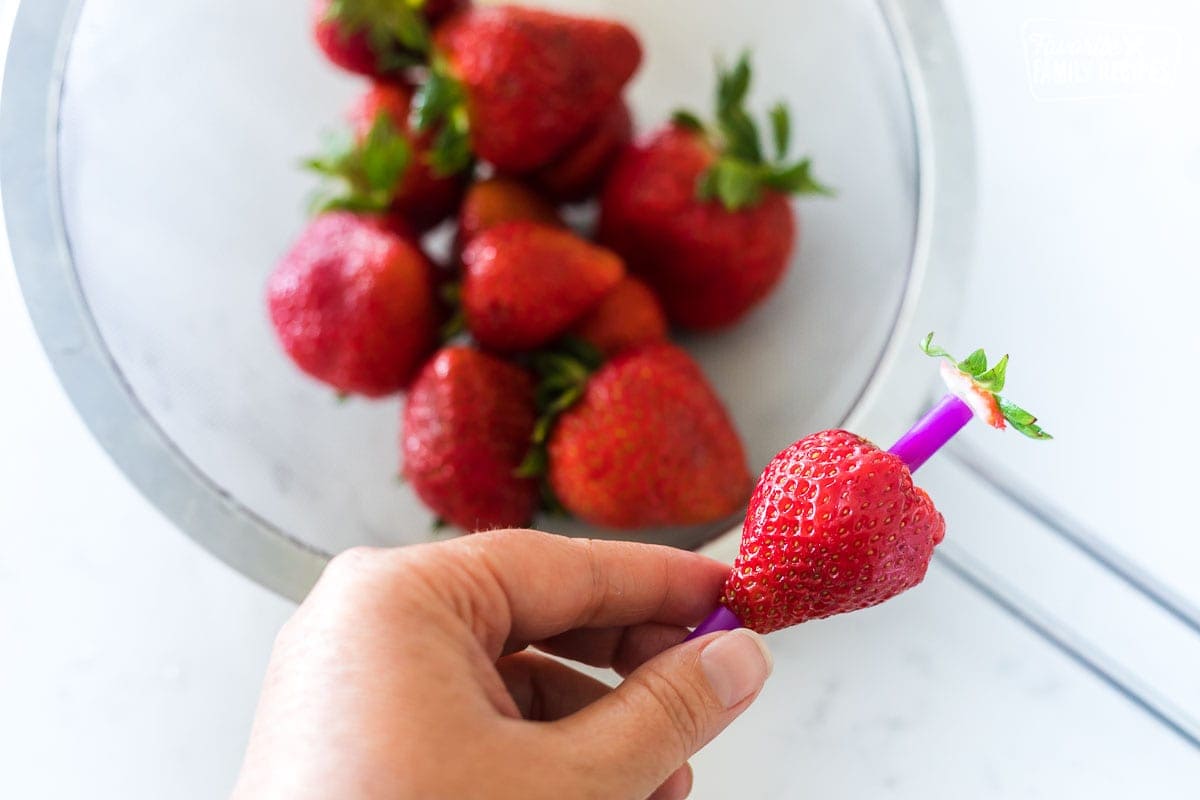
Pro Tip:
Easily hull your strawberries by sticking a straw through the bottom of the strawberry. The stem will pop right off!
Getting the Right Consistency
What are you going to use the syrup for? Or better yet, how do you like the syrup? Do you like it with fresh strawberry bits or do you prefer a more clear, seedless syrup? Here are the three different ways to make this strawberry syrup recipe:
1. Chunky Syrup (Strawberry Topping)
This is the easiest way to make your strawberry syrup. No straining or blending required. For this method you simply cook the berries down, mash them a little bit, then cool and serve. You keep the berries in the sauce so it has more texture from the strawberry pieces. It also has seeds, so if you don’t like seeds in your syrup, you may want to opt for one of the other methods. I like this kind of syrup best as an ice cream topping or stirred into muffin batter.
2. Smooth/Blended Syrup
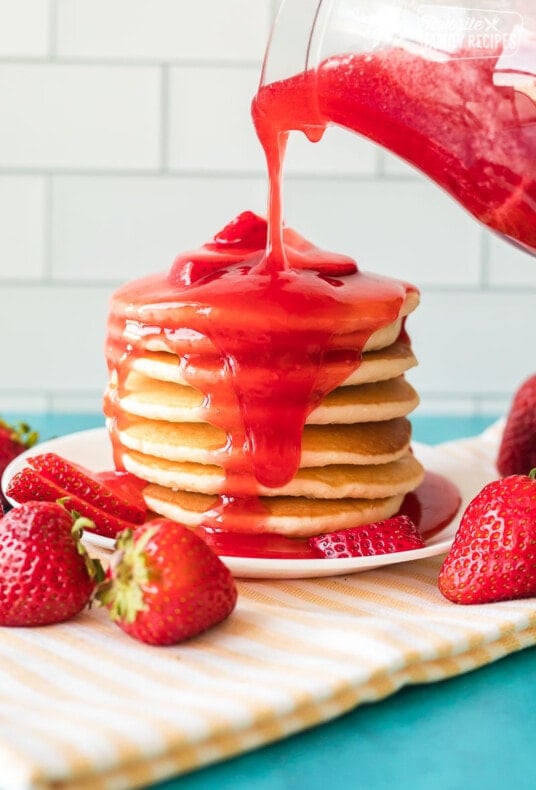
This method is extracts more of the juices from the berries and you don’t get big chunks of strawberries. It looks more cloudy than the simple syrup because it is blended but tastes very similar. You can leave the seeds in, or strain the mixture through a fine mesh sieve or strainer to separate the seeds. I think of this as almost more of a strawberry sauce. This type of syrup goes well over French toast, waffles, pancakes, etc… or you can stir it into cake batter to create strawberry cake.
3. Simple Syrup
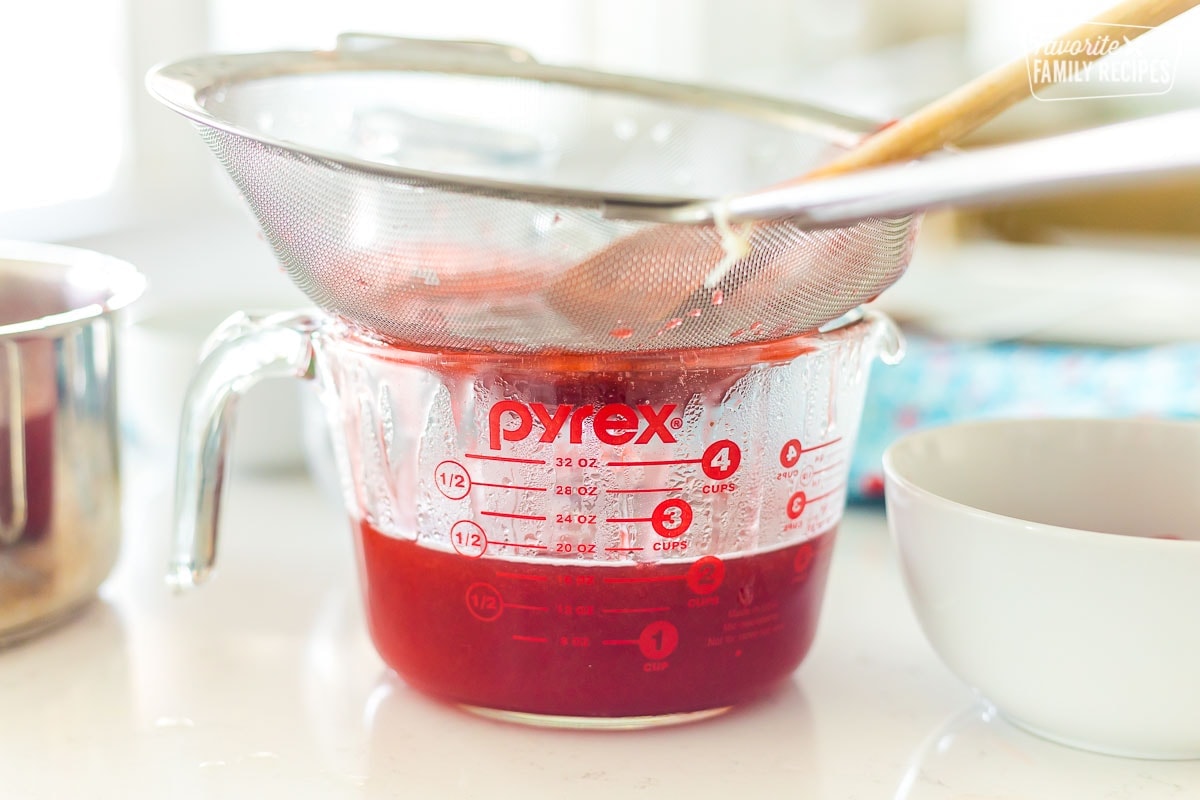
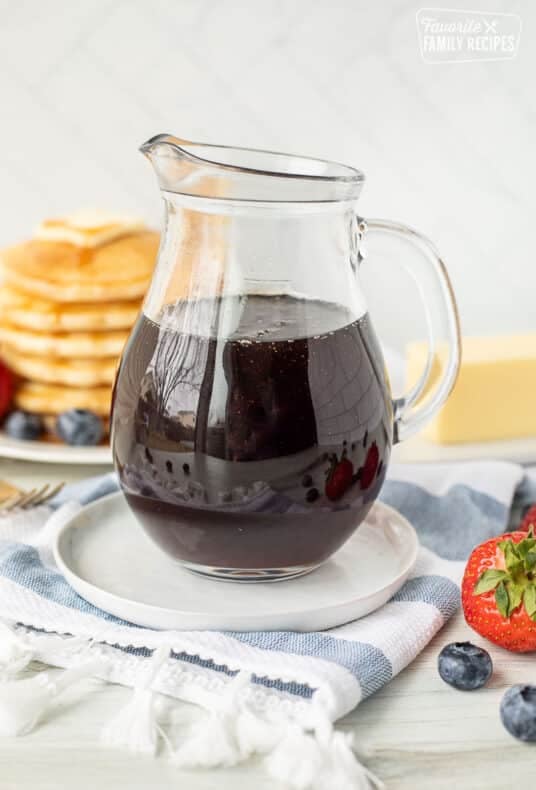
Simple syrup (full recipe below), just takes a step or two more than the methods above. Once the strawberries are done cooking, you strain the syrup directly into a jar or liquid measuring cup. This separates both the strawberry pulp and the seeds from the syrup. After the syrup is separated, you can thicken to your desired thickness using one of the methods below.
This kind of syrup is the prettiest (in my opinion) because it is the most clear. It can be used over pancakes, ice cream, and it is gorgeous over a fresh slice of cheesecake. It is also the best syrup to stir into drinks because there are no seeds or pulp. Use it to make Italian sodas, strawberry lemonade, or even strawberry milk!
How To Make Strawberry Syrup Thicker
There are a couple different ways you can make your fresh strawberry syrup thicker:
- Thicken with cornstarch – Combine ¼ cup water with 1-2 tablespoons cornstarch and SLOWLY add to the syrup until you reach the right consistency. If you are making a simple syrup (like the recipe below), strain the strawberries FIRST, return the syrup to the sauce pot, re-heat, and THEN add the cornstarch mixture. Otherwise, the thicker syrup may be difficult to strain. If you don’t want to strain the berries, add the cornstarch at the end of the cooking process.
- Add more sugar and cook longer – Not my favorite way because it takes longer to get the right consistency. It also makes the syrup sweeter (some may argue too sweet).
Try it With Different Berries
Want to mix it up a little? Or try a different flavor? Toss in some different berries! You can add blueberries, raspberries, blackberries, huckleberries… whatever you like! Simply add the berries to the strawberries as they are cooking, adding more sugar if needed. Cook the berries down with the strawberries and continue with the recipe as written.
Can I Use Frozen Strawberries?
Yes! If you can’t find fresh strawberries, you can always use frozen. If you decide to do frozen, the only adjustment you need to make is to reduce (or even eliminate) the water.
What to Serve Strawberry Syrup With
There are probably a million different ways you could serve this strawberry syrup. Here are just a few different ideas that you can serve your syrup with:
- Pancakes
- Waffles
- French Toast
- Ice Cream
- Drinks/Cocktails
- Cheesecake
- Cakes
- Strawberry Lemonade
- Italian Soda
How to Store Strawberry Syrup
If you aren’t able to enjoy your fresh syrup right away, there are some easy options for storing and enjoying later:
- Refrigerate – Refrigerate the fresh syrup for up to a week in the fridge. Keep the syrup in a jar or liquid measuring cup with a lid.
- Freeze – Place syrup into a freezer-safe container with a lid or a freezer-safe plastic bag and freeze for up to 3-4 months. Thaw in the refrigerator before using.
- Can & Process – *NOTE – Syrup thickened with cornstarch CAN NOT be safely canned. Strawberry syrup is easiest to can when the syrup is still piping hot from being on the stove. Prepare and sanitize pint-sized canning jars and add 1 teaspoon lemon juice to the bottom of the jars (if using 8 oz. jars, just use ½ teaspoon lemon juice). Add hot syrup and place lids over the top. Process in a water bath canner for 10-12 minutes, remove from canner and allow to cool until lids seal. Store in a cool, dark place for up to 1 year.
Frequently Asked Questions about Strawberry Syrup
Pancake houses like IHOP generally use syrups that are packed with corn syrup, strawberry puree and lots of artificial colors and flavors. Trust me, making your own at home tastes SO much better!
Strawberry syrup is thicker than strawberry puree and is sweeter, thickened with a simple syrup. Strawberry puree is made from fresh or frozen strawberries that have been mashed or blended into a smooth sauce.
Just like anything that isn’t made with a bunch of preservatives, strawberry syrup does have a shelf life. Fresh strawberry syrup can be stored in a sealed jar in the refrigerator for up to three weeks.
READ NEXT: 33+ Breakfast Ideas
More Tasty Syrup Recipes to Try
How To Make Strawberry Syrup
Strawberry Syrup
Video
Equipment
- fine mesh strainer (optional)
Ingredients
- 1 pound strawberries
- 1 cup sugar
- 1/4 cup water
- 2 teaspoons lemon juice
Instructions
- Wash strawberries well. Remove stems, hull, and cut into quarters.
- Place strawberries, sugar, ¼ cup water, and lemon juice in a large saucepan and heat over medium-high heat.
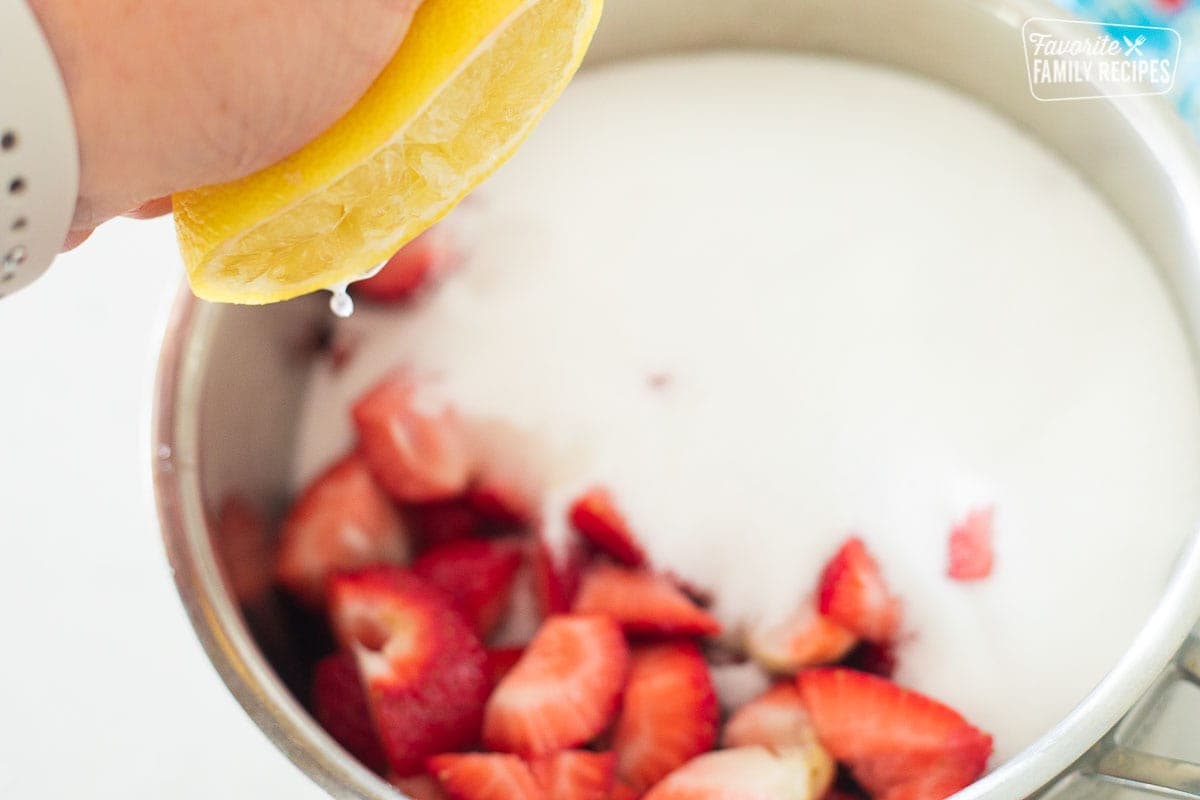
- When the mixture comes to a light boil, reduce heat and simmer 8-10 minutes or until strawberries become soft and syrup thickens.
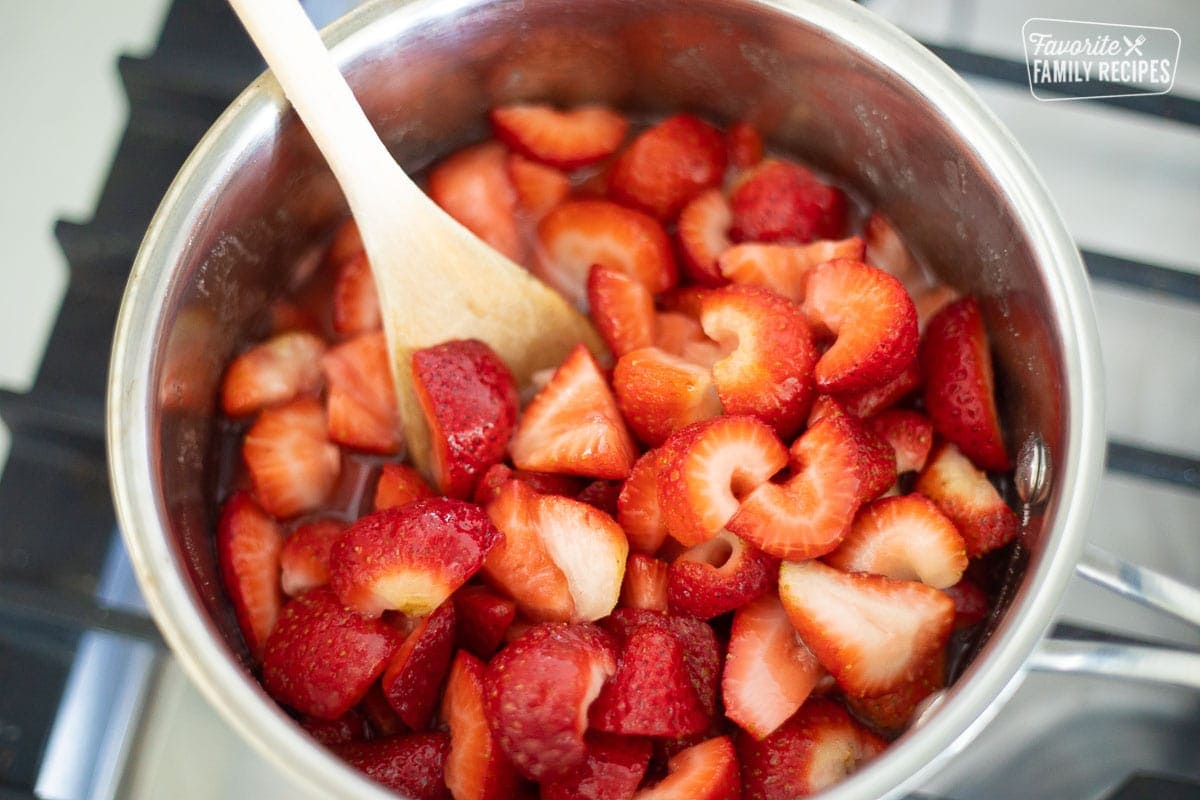
For Chunky Syrup / Strawberry Topping:
- Follow steps above for tips on thickening if needed. Allow to cool before serving.
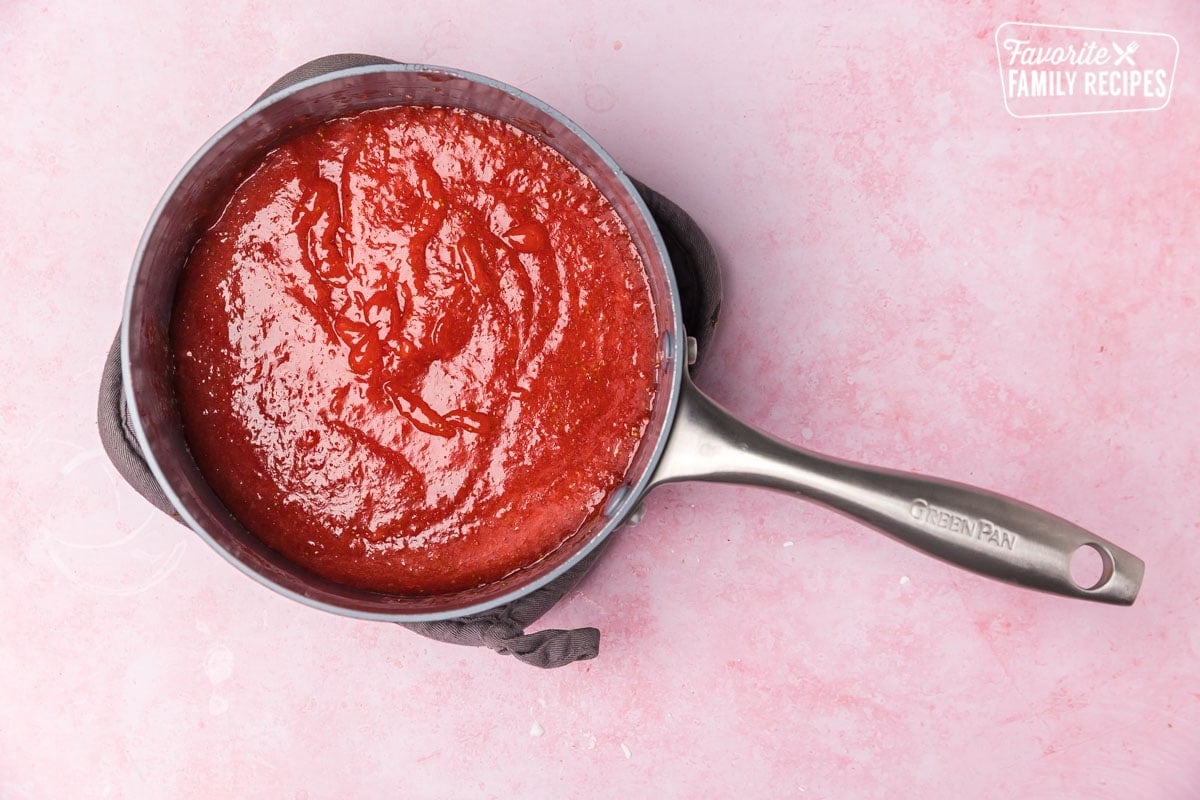
For Blended Syrup:
- Use a blender, immersion blender, or food processor to blend strawberry mixture to desired consistency. Pour mixture into liquid measuring cup or jar through a fine mesh strainer (this will help remove the seeds) and allow to cool before serving.
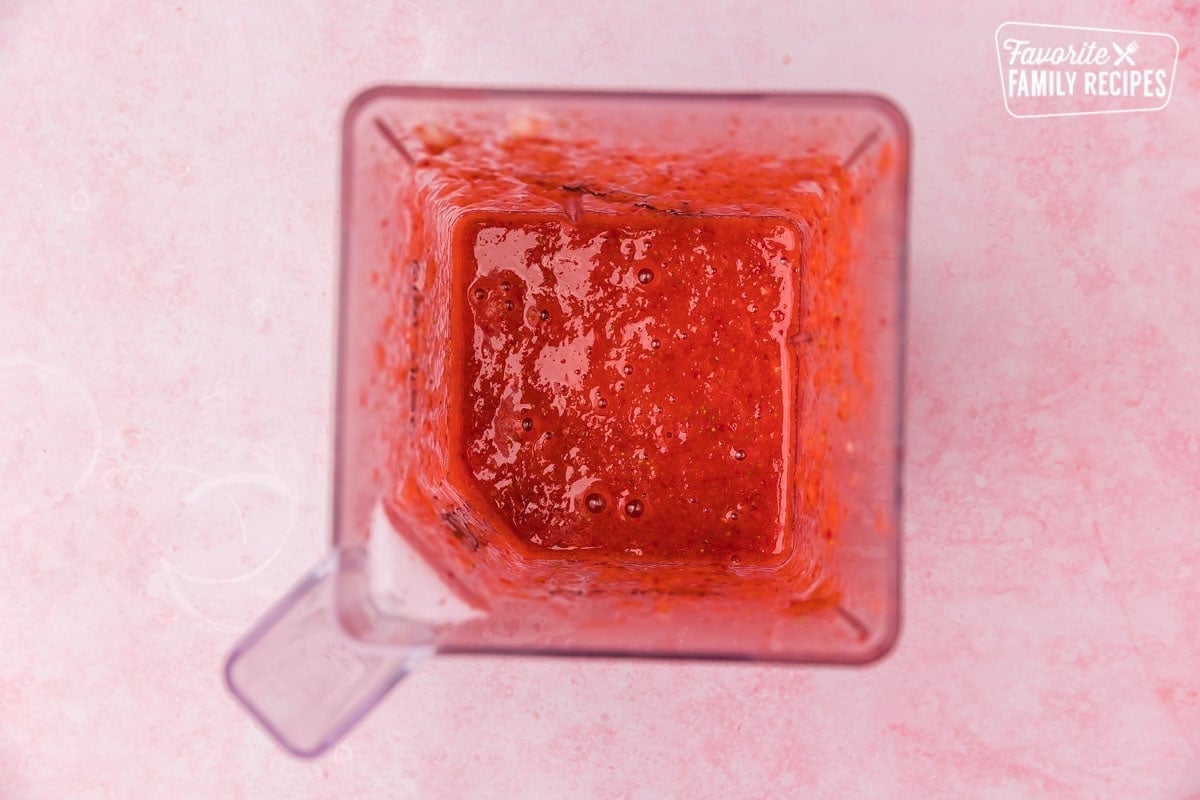
For Simple Syrup (No Seeds, No Strawberry Bits):
- Drain the liquid from the strawberries into a large liquid measuring cup or jar. Press the strawberries gently to release excess juices. Skim foam from the syrup if needed. If syrup is too thin, return to sauce pan and bring to a simmer. Thicken by combining ¼ cup water and 2 tablespoons cornstarch. Add slowly, stirring constantly, until desired thickness is reached. Allow to cool before serving. Use excess strawberry pulp leftover in strainer as a spread if desired (It is SO good on toast or biscuits).

Notes
- Refrigerate – Refrigerate the fresh syrup for up to a week in the fridge. Keep the syrup in a jar or liquid measuring cup with a lid.
- Freeze – Place syrup into a freezer-safe container with a lid or a freezer-safe plastic bag and freeze for up to 3-4 months. Thaw in the refrigerator before using.
- Can & Process – *NOTE – Syrup thickened with cornstarch CAN NOT be safely canned. Strawberry syrup is easiest to can when the syrup is still piping hot from being on the stove. Prepare and sanitize pint-sized canning jars and add 1 teaspoon lemon juice to the bottom of the jars (if using 8 oz. jars, just use ½ teaspoon lemon juice). Add hot syrup and place lids over the top. Process in a water bath canner for 10-12 minutes, remove from canner and allow to cool until lids seal. Store in a cool, dark place for up to 1 year.
I just bought the Shaved Ice attachment for my KitchenAid Stand Mixer from QVC. I wanted to make my own syrups so I bought the Shining Craft Syrup Dispenser bottles from Amazon. I browsed the web for a syrup recipe that made sense to me. I saw some that used only 1 or 2 cups of fruit or packets of Kool-Aid but that was not what I wanted. I found your recipe that called for 1-lb of fruit. I tried it and am so glad I did. I made three batches. For my first two batches, I used frozen strawberries (Great Value brand from Walmart). For my third batch, I used fresh blueberries. The only thing I did different was I strained the syrup without mashing the fruit. My husband and son love strawberry topping on their ice cream and your recipe inspired me. I strained the syrup without mashing the fruit and I set the fruit aside. With each batch, I filled one dispenser with strained syrup and added the remaining syrup back to the fruit. I returned the fruit to the pot and thickened it with a little cornstarch slurry. Each batch made a pint of fruit topping and a bottle of syrup—a bottle held about 1-1/2 cups of syrup. We had the strawberry topping last night with ice cream, and I had the blueberry topping with my homemade yogurt this morning. The blueberry topping had the consistency of preserves. I cannot wait to try this with blackberries! I plan to make shaved ice later today with syrup and fruit topping. Thank you so much!
I have made this recipe numerous times. I prefer the simple syrup versus the chunky. Of course, they both taste fabulous, but the simple syrup just looks so pretty. I use the simple syrup for my Dutch baby pancakes and cheese blintzes. I use the leftover strawberries to spread on bagels. Thank you for the fabulous recipe.
Have you ever tried ‘clear jel’? I’ve been using it for years and it cans beautifully
We haven’t! Good to know!
This is sooooo good! Perfect with waffles.
I can’t even tell you how much I enjoy this strawberry syrup! Easy to make and so incredibly tasty. I’m going to make this for my next brunch. Everyone is going to love it!
Hi. This says 1/4 cup of water in the ingredients list, then says 1/2 cup in the instructions. Which is it? Thanks!
Whoops, it’s 1/4… I will change it. Thanks for catching that!