We may earn a commission when you click on the affiliate links in this post.
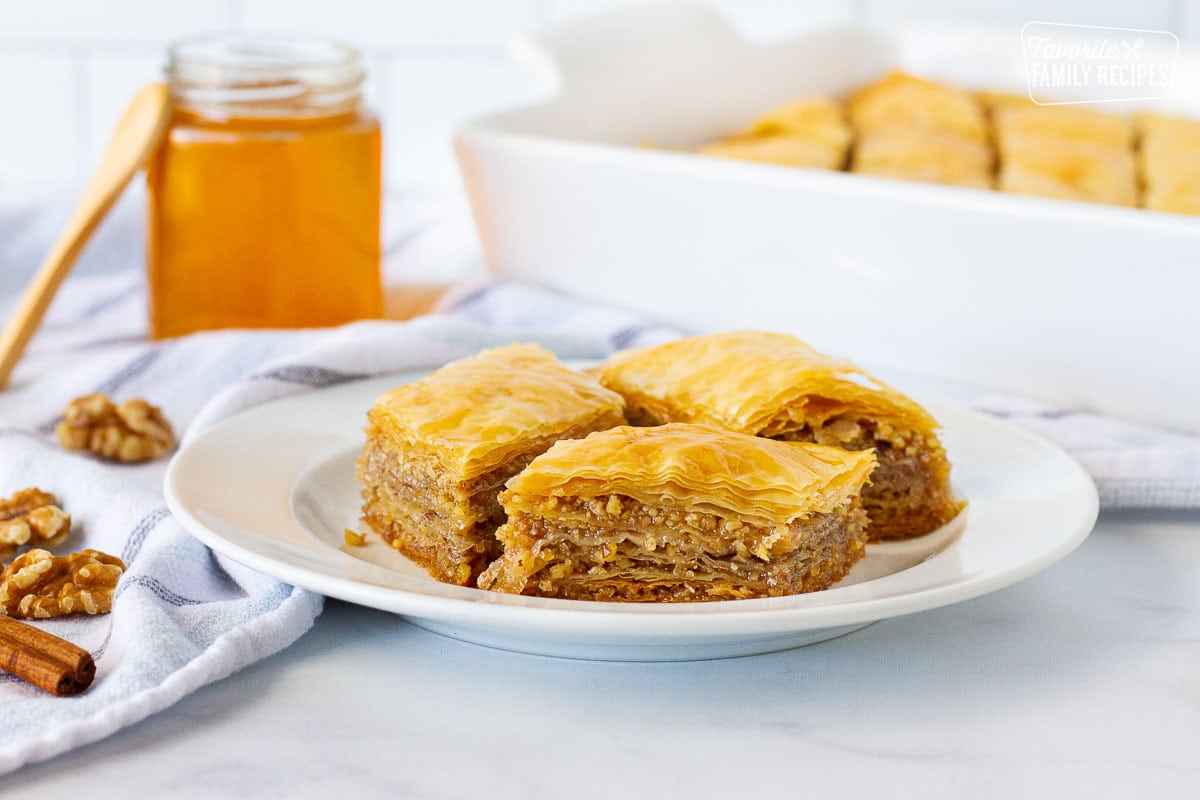
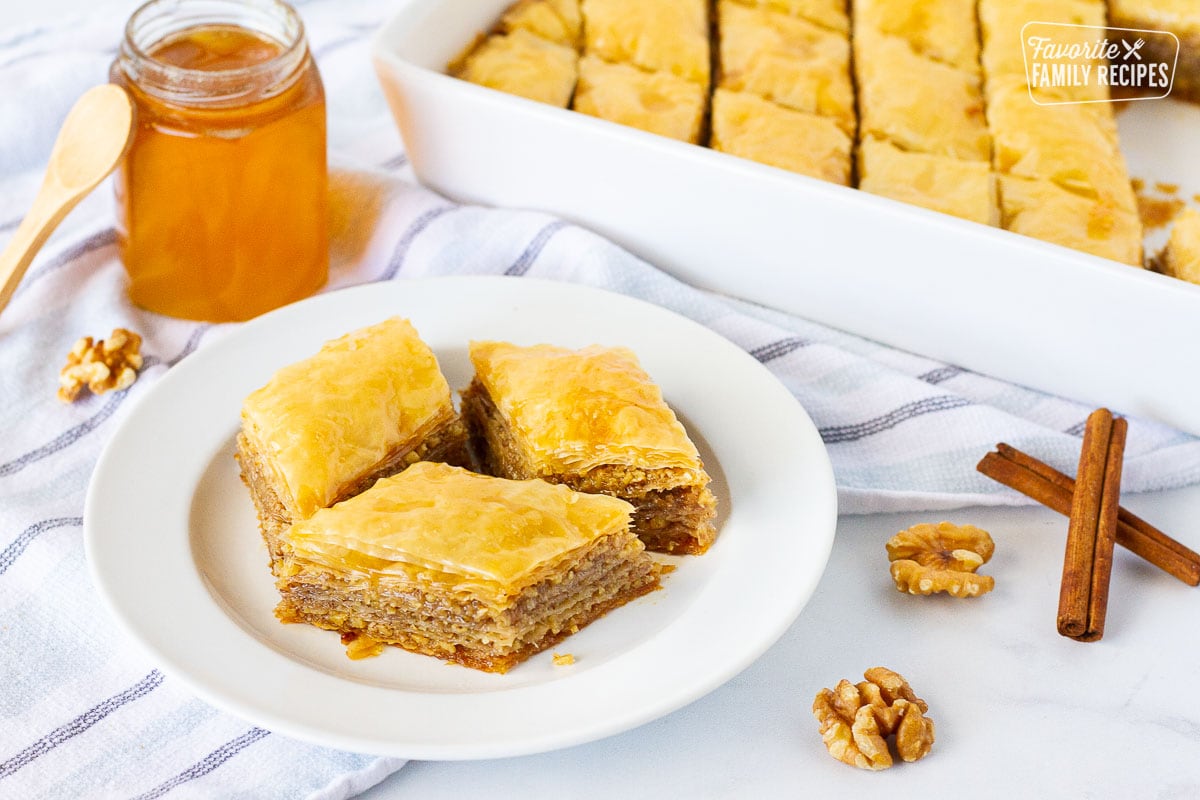
Baklava is a divine, melt-in-your-mouth pastry. Thin layers of phyllo dough, sweet nutty filling, and a decadent honey syrup. How about a little more baklava?
Featured with this recipe
Who else is singing the Aladdin song right about now? (“How ’bout a little more Baklava?”) Baklava is one of those desserts that is unforgettable once you try it. I first tasted Baklava at a Christmas party years ago and immediately I was hooked.
The unique dessert is not chocolatey or fruity, but more nutty and savory. Originally from Turkey, you can now find flaky pastry at most bakeries in the United States. And of course, you can make it in your own kitchen! Try it and wow your guests with a fabulous pastry that will have them singing your praises, just like the Genie.
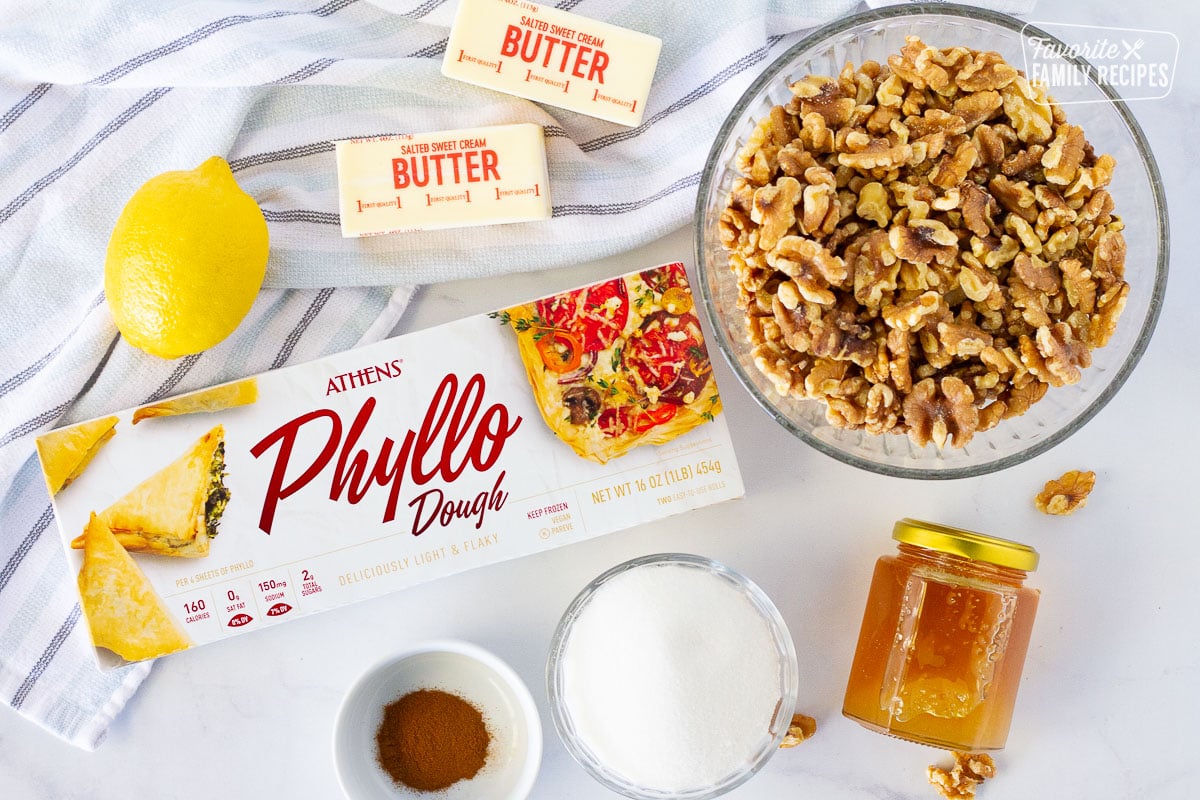
Ingredients in Baklava
Layering the phyllo dough is key to this recipe. Each layer is covered with melted butter, cinnamon, and chopped nuts. Every bite you take will have a savory and nutty flavor that will melt in your mouth! The layers are worth every bite!
- Sheets of phyllo dough – This will be found in the frozen aisle at a grocery store. Follow the instructions on the package for thawing phyllo pastry before using it on the baklava.
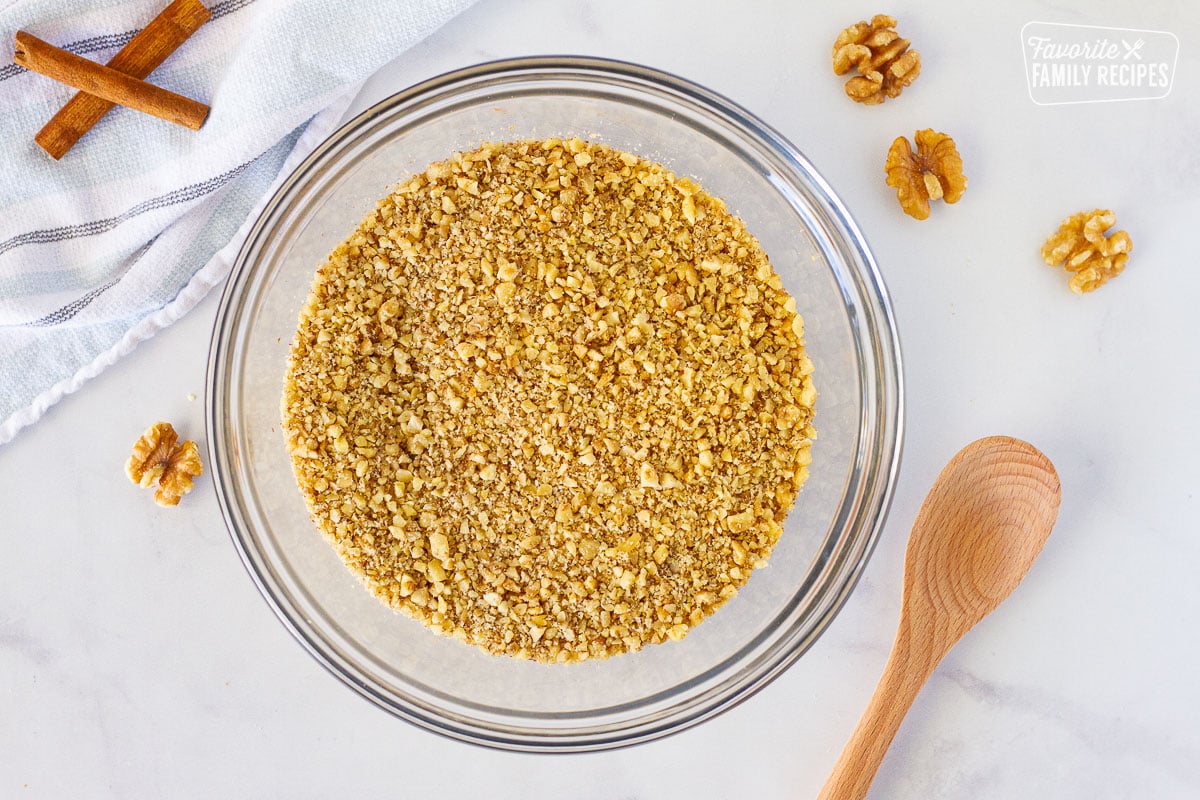
- Walnuts – Use a food processor or blender to finely chop the walnuts. If you like pistachios, you are welcome to add them to the walnut layer or substitute it for the walnuts.
- Cinnamon – Add in a hint of spice and flavor!
- Butter – Melt the butter in the microwave then brush the butter over each layer. You don’t want too much butter but just enough to brush on evenly for each layer.
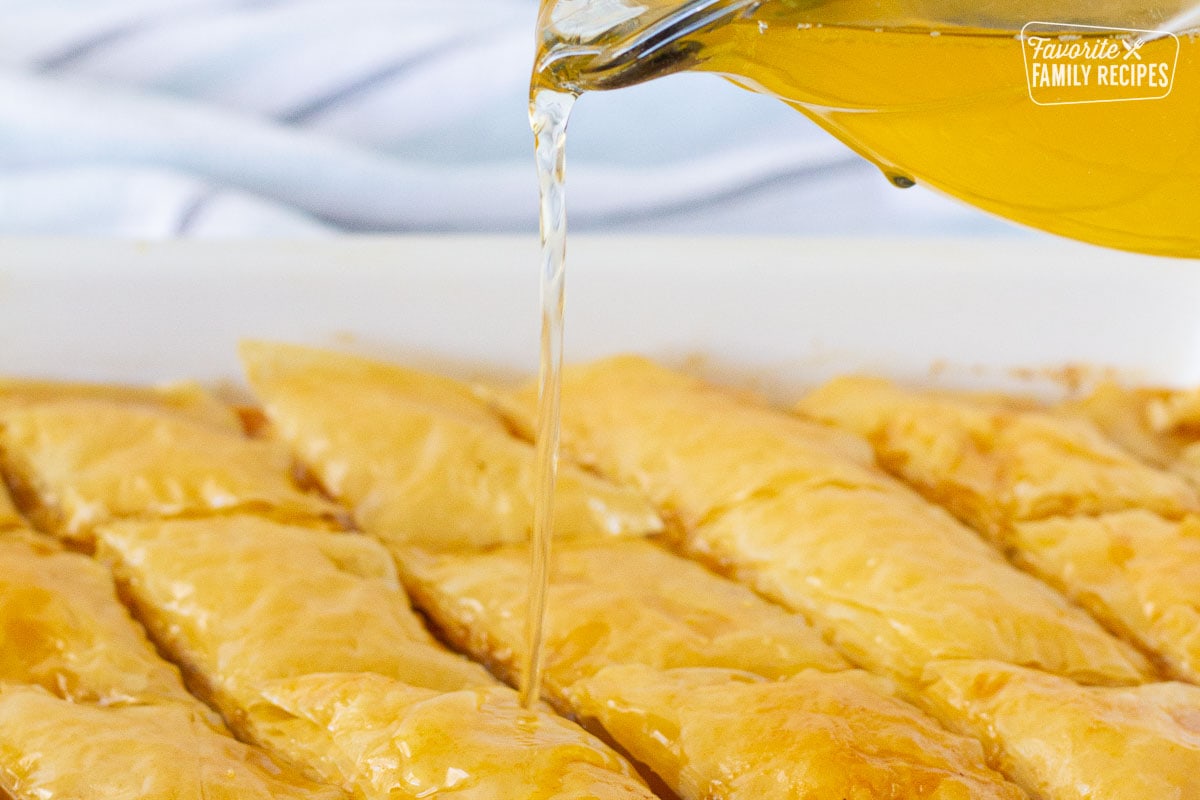
Making the Honey Syrup
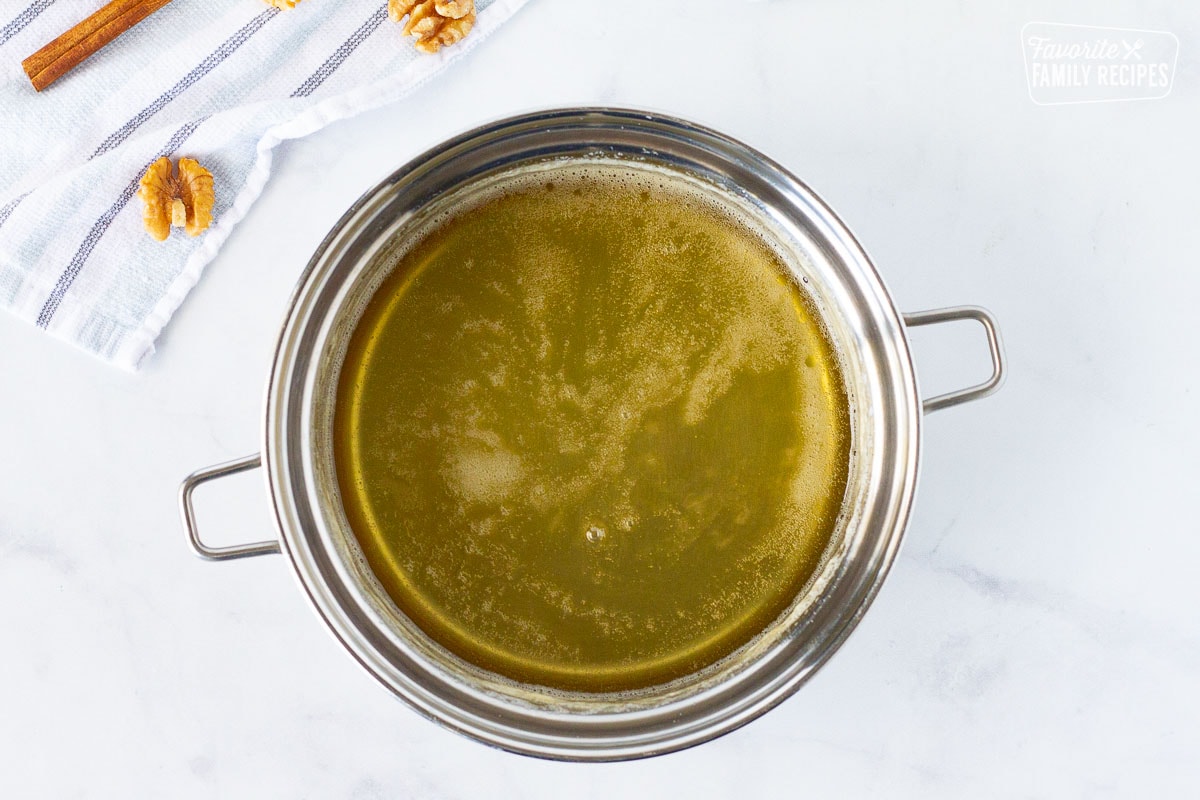
Combine all the syrup ingredients in a medium saucepan and heat until the sugar has dissolved. The sugar will dissolve at high heat, then simmer for a bit. Once the baklava is out of the oven, pour the warm syrup over the top layer and the whole thing of the baklava pan. You will smell a delicious sizzling baklava aroma in your home!
- Sugar – This will need to be fully dissolved before pouring on the top layer.
- Honey – The honey gives it a brown glow and yummy sweetness when poured on top of the baklava.
- Lemon juice – This aids the sweetness.
- Water – Extra liquid for the syrup.
Working with Phyllo Dough
Working with phyllo dough for this Baklava recipe can be a little intimidating because of how thin it is, but this recipe is very forgiving. It has so many layers of the dough that a few small tears, even some big ones, can be easily covered up! A few tips for working with phyllo dough:
- Make sure that you thaw the dough correctly according to the package directions. This will help ensure that your dough is laying flat in the baking dish.
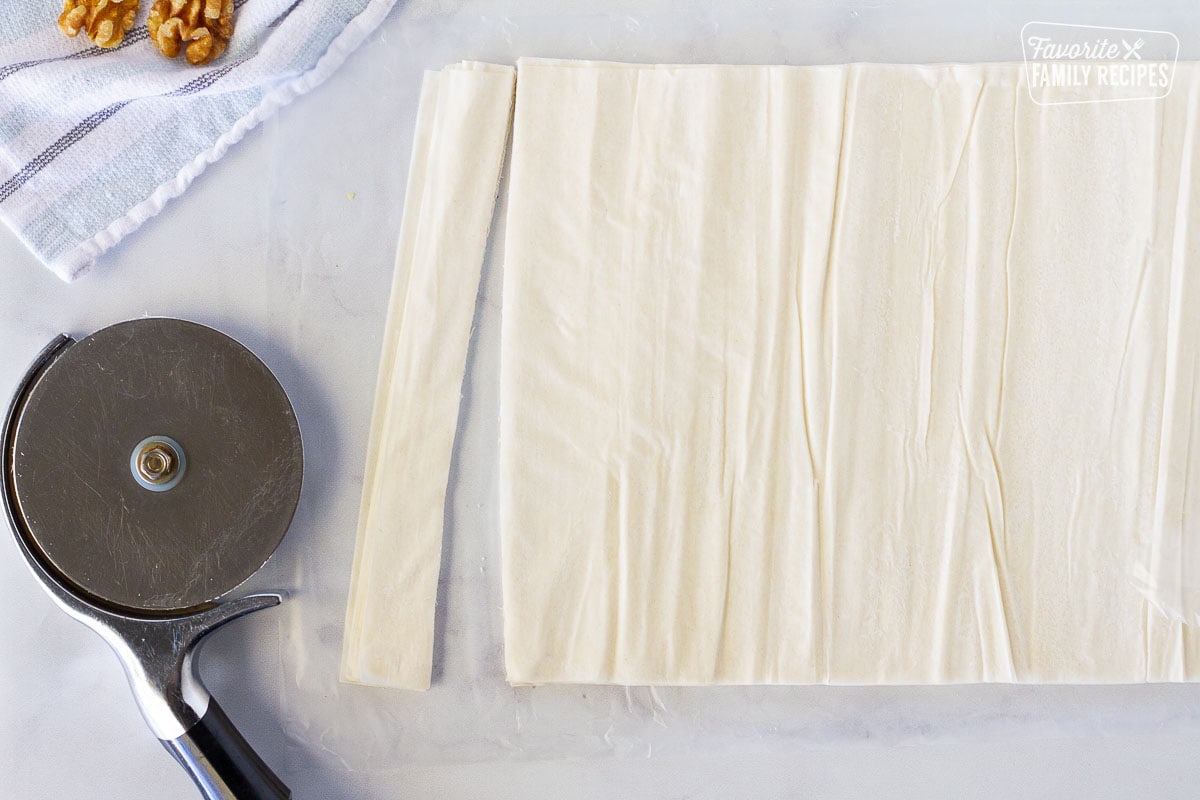
- Because the dough come 9×14 inch, I cut an inch off on the side in order for it to fit into my 9×13 inch pan.
- For this baklava recipe, phyllo needs to be at room temperature when you are ready to use it.
- Brush on the butter between layers, and don’t skip the corners and outside edges.
- Layering the individual sheets of dough can be a bit tedious, but TRUST ME it is so worth it!
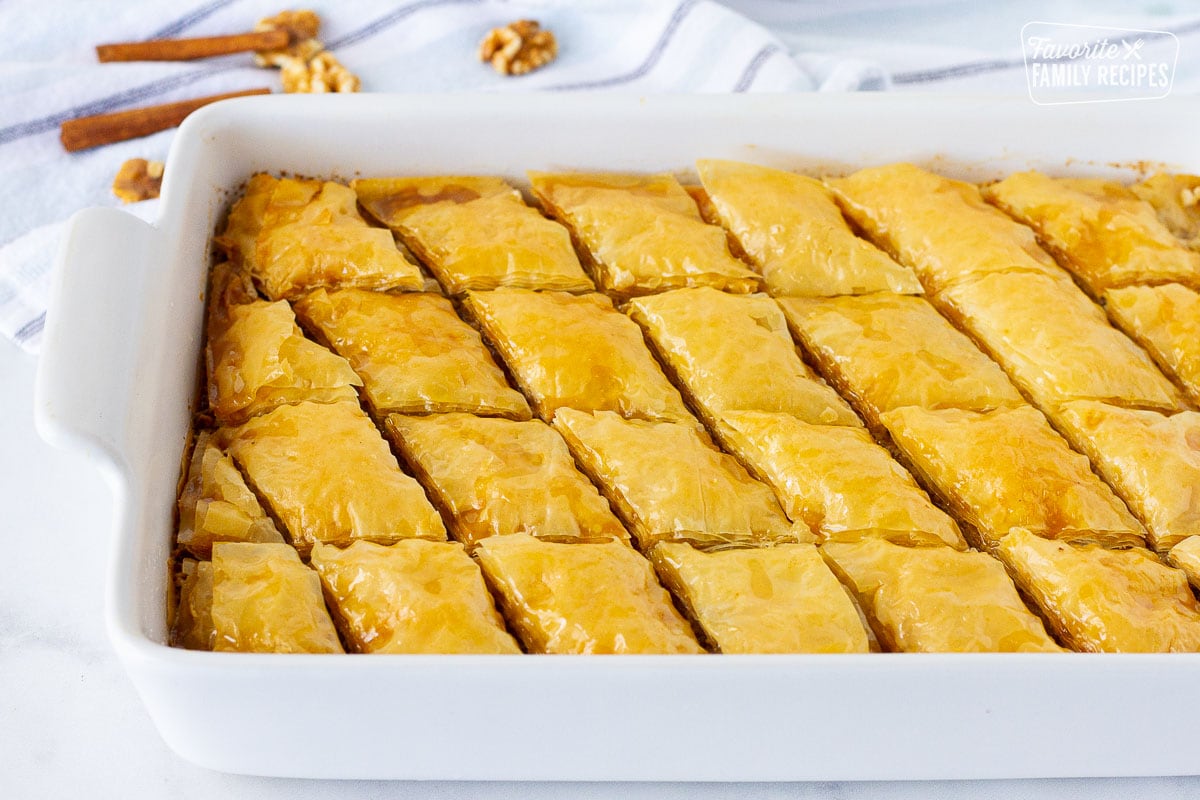
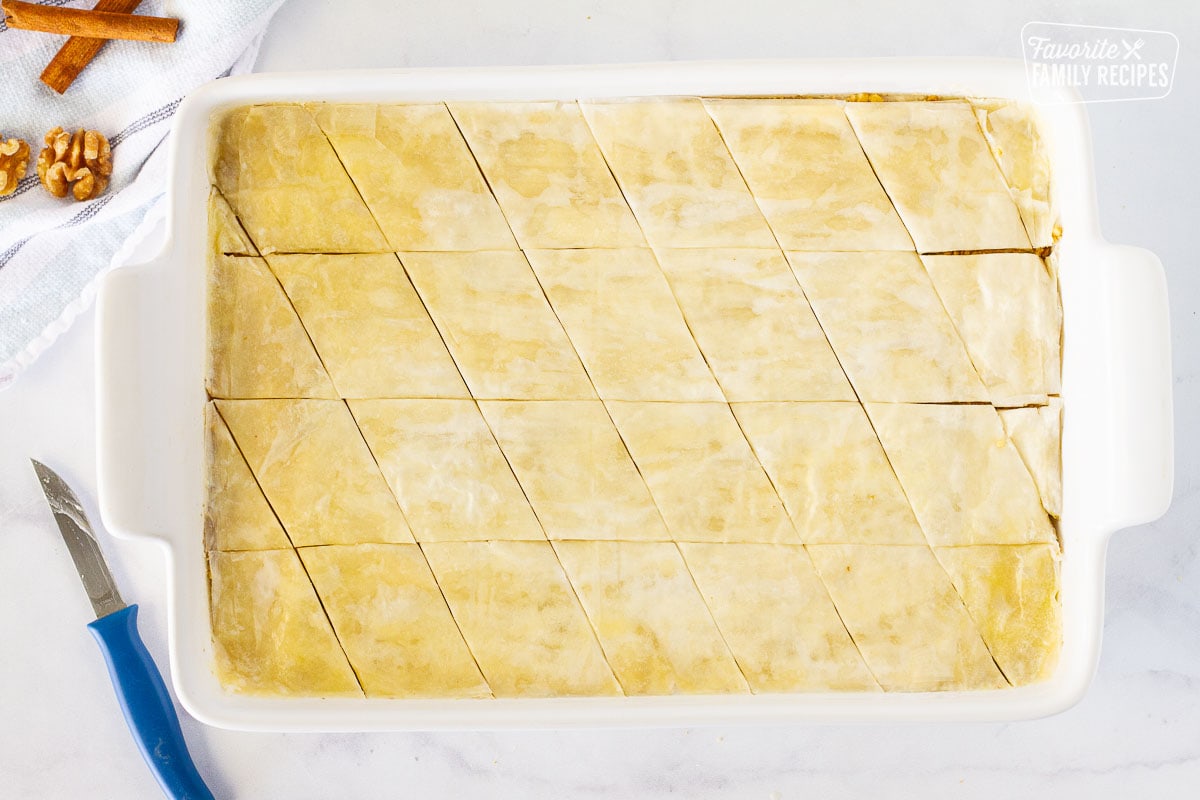
- When cutting the baklava into diamonds, it is best to use a very sharp knife to cut through all the layers. This will give the dessert a clean cut look without having it fall apart.
“Your recipe is so much easier than other baklava recipes I’ve tried. I will definitely be using this one from now on. It’s so tasty!!”
-Natalie
Frequently Asked Questions about Classic Baklava
This is always a tough question. Baklava dessert is found more often in Greek restaurants and delis. But the exact origin has not been named to one specific country. A modern style of baklava may have come from Turkey and then been modified in Greece.
Baklava is actually low in calories and free from both trans-fat and saturated fats because of the phyllo pastry that is being used. The honey syrup drizzle is actually helpful too by controlling blood sugar levels and even helps fight cancer.
Sure! Classic baklava is made with phyllo dough which takes a bit of time with layering but is worth it. Instead of the phyllo dough, you can use a store-bought puff pastry. It will keep the same flavor just thicker in the oven. Once it is out of the oven, rather than layering you will add all the toppings to the baked pastry.
I believe this is more of a decorative design in the dessert. It looks gorgeous and seeing all the layers is perfect in a diamond shape. Use a sharp knife or a serrated knife to create ridges on the edges. It is simple to create a diamond appearance with your lines.
How to Store Baklava
This baklava recipe is so easy to store and helps to make in advance if needed. Each way of storing baklava will actually have a change in its texture of it. Choose which one is best for you! There are many great options for a holiday dessert!
- Making ahead – You can make this recipe ahead of time and store it at room temperature for up to two weeks. Most desserts are stored in an airtight container; however, baklava is stored with a tea towel or kitchen towel lightly draped over the top of the baking pan.
- Refrigerating – Yes! Baklava can be stored in the fridge. It will have a chewier texture when ready to eat but it will still have all the flavor.
- Freezing – Once the baklava has cooled, wrap tightly in a few layers of plastic wrap and then place in a ziplock freezer bag or an airtight container. Freeze the baklava for up to four months in the freezer. It is best to wrap it in small batches. This will also help when you are ready to thaw it out, there is only a small batch rather than the whole pan.
More Pastry Recipes to Try
Once you get a few pastry recipes under your belt, you can make anything! Try a few of these decadent desserts!
Baklava
Video
Equipment
Ingredients
- 1 package phyllo dough frozen, 40 sheets, thawed according to package instructions
- 1 pound walnuts about 4 cups, finely chopped
- 1 teaspoon cinnamon
- 1 cup butter melted
For the syrup
- 1 cup sugar
- 1/2 cup honey
- 2 tablespoons lemon juice
- 3/4 cup water
Instructions
- Preheat oven to 325. Trim phyllo dough so that it fits in a 9×13 pan. (Most dough comes in 9×14 sheets, so I just trimmed 1 inch off the end of my sheets)
- In a large bowl, mix together the chopped walnuts and cinnamon.
- Layer the phyllo sheets one by one, brushing a thin layer of melted butter over each individual sheet.
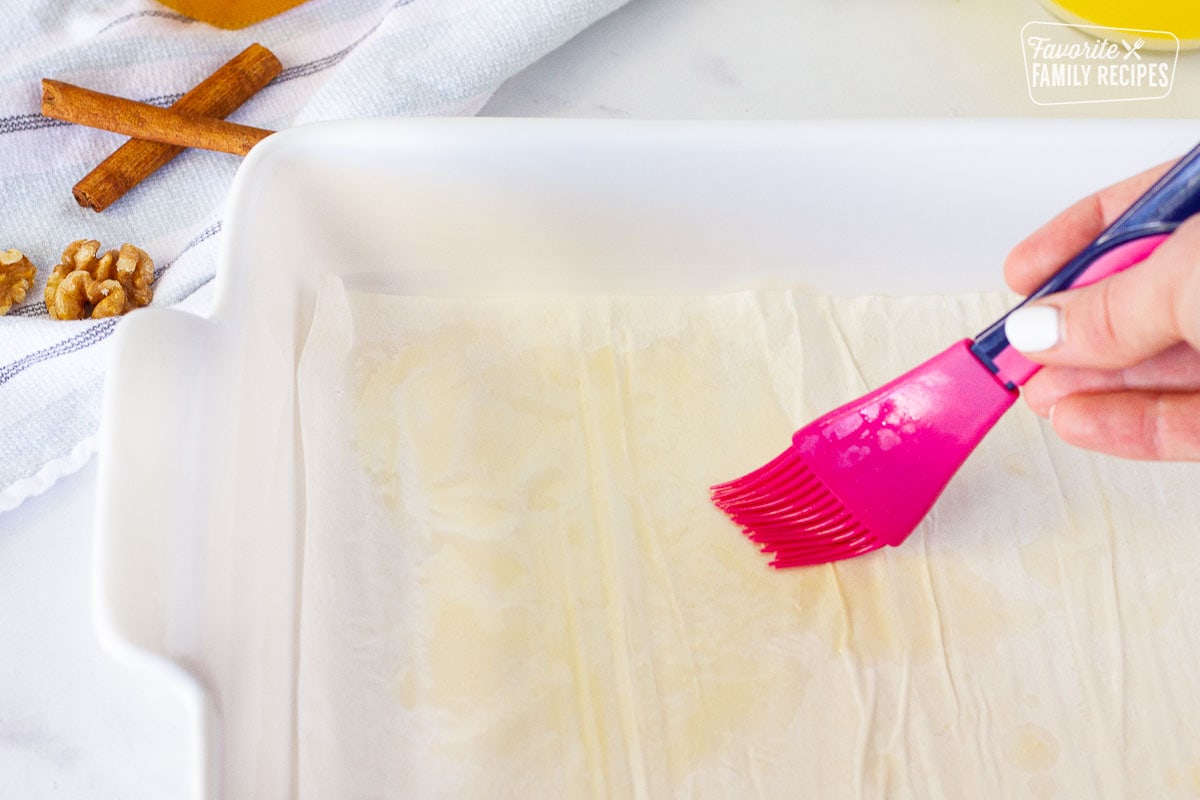
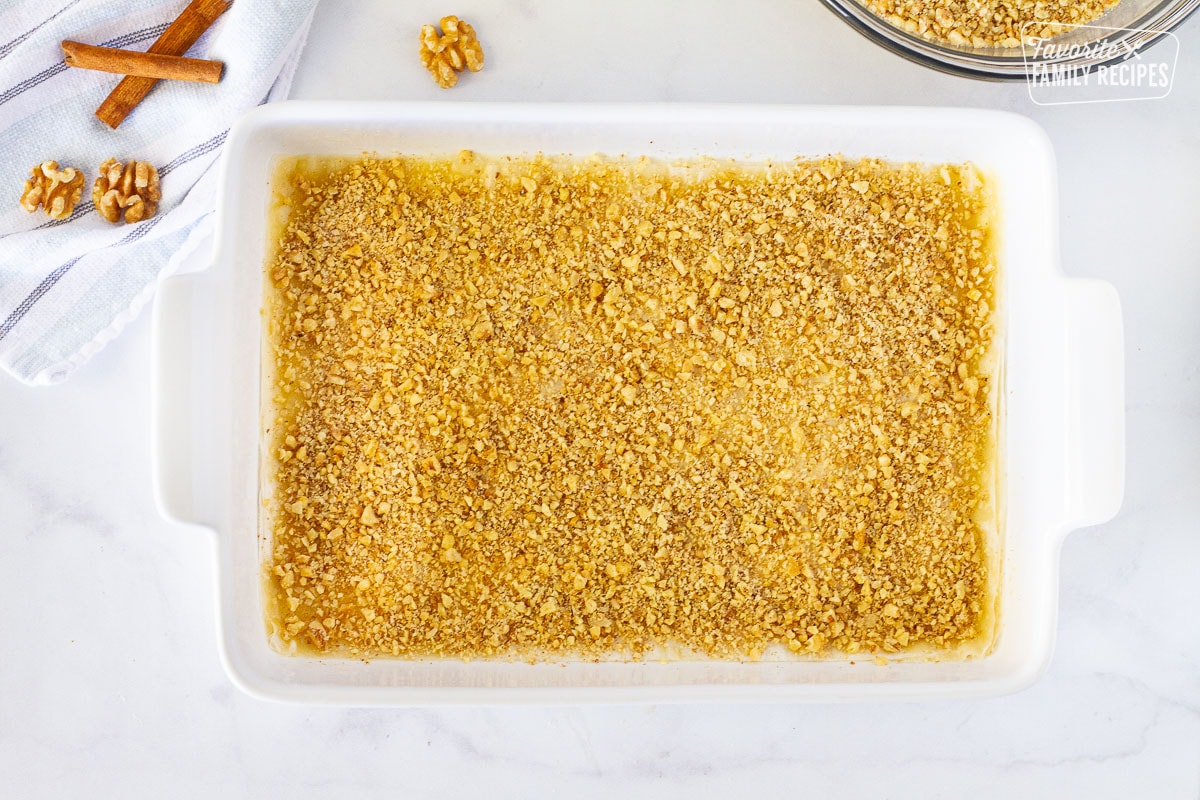
- Layer the phyllo sheets with the nut mixture. The layering pattern is as follows: 10 phyllo sheets, ¾ cup nut mixture, 5 phyllo sheets, ¾ cup nut mixture, 5 phyllo sheets, ¾ cup nut mixture, 5 phyllo sheets, ¾ cup nut mixture, 5 phyllo sheets, ¾ cup nut mixture, 10 phyllo sheets. Keep remaining phyllo dough covered with a damp tea towel at all times.
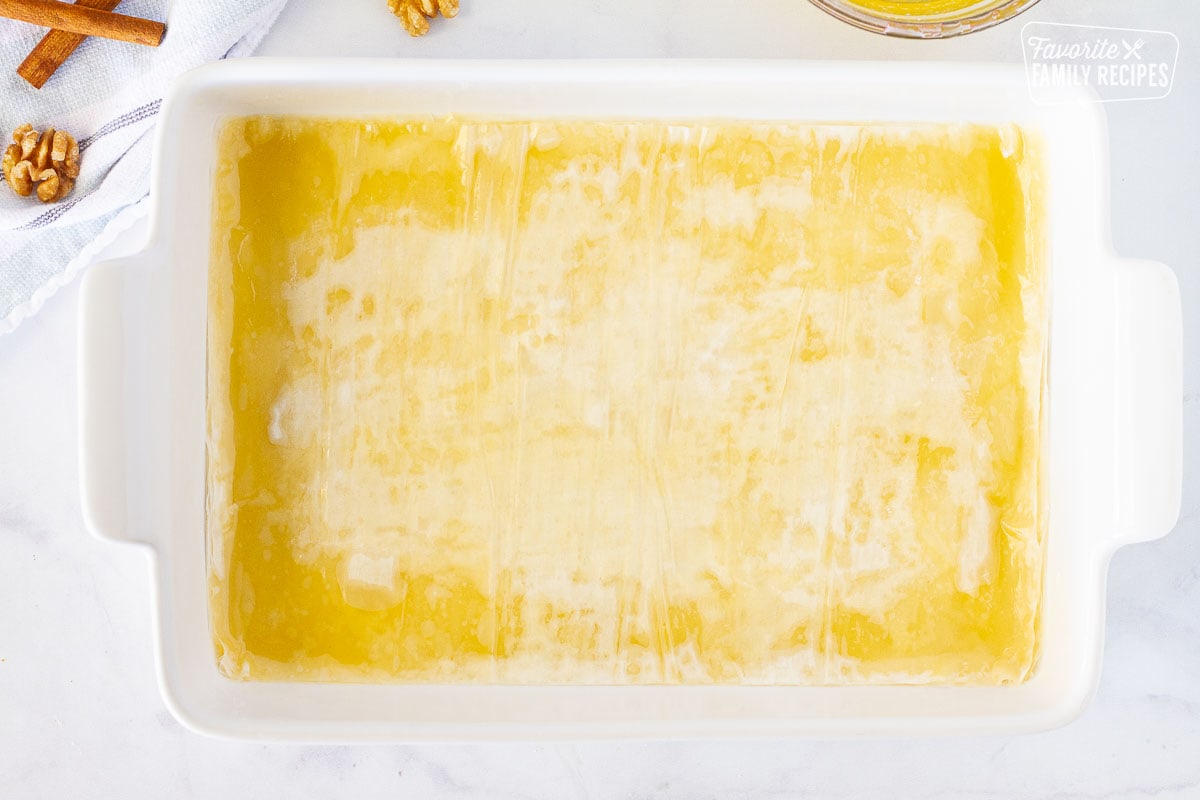
- Brush butter on the top sheets of phyllo dough. Keep remaining phyllo dough covered with a damp tea towel at all times.
- Cut the pastry into 1 ½ inch strips the long way in the pan.
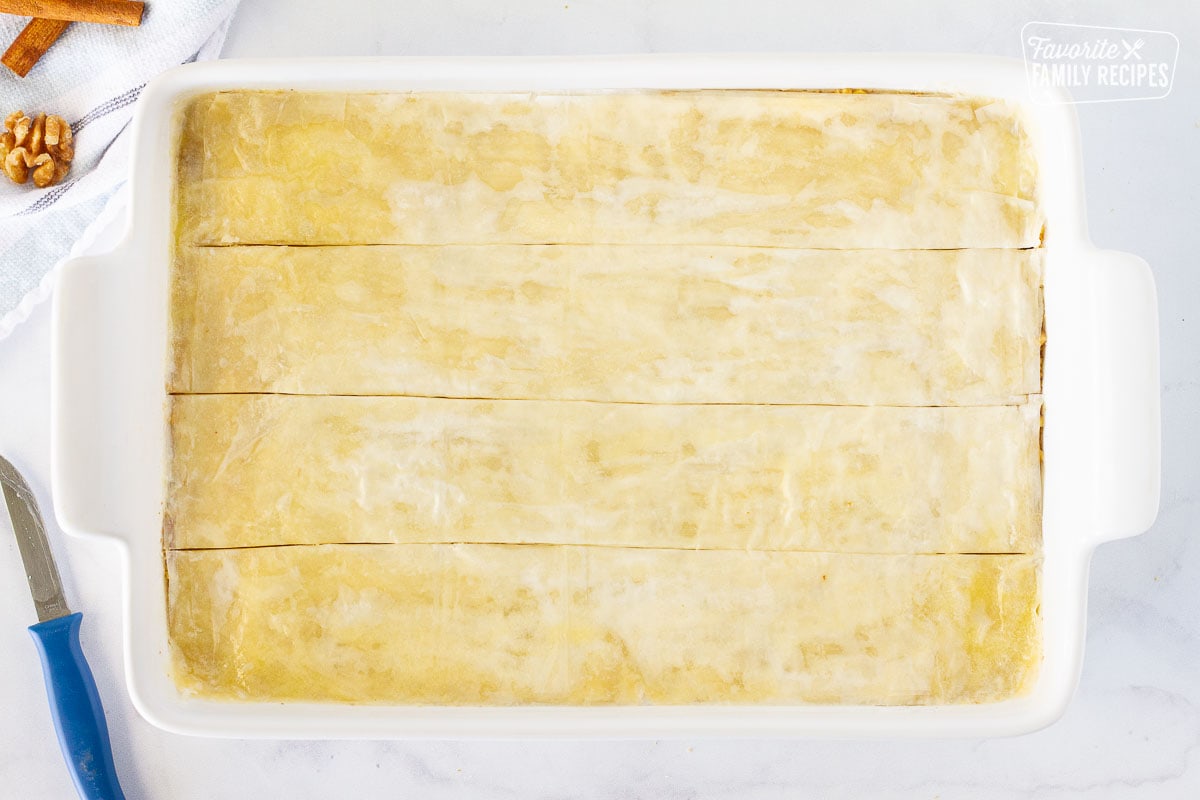
- Then cut diagonally so it forms diamond shapes. Bake for 1 hour and 15 minutes.
For the syrup
- While baklava is in the oven, mix all the syrup ingredients in a medium sauce pan. Bring to a boil, stirring constantly until the sugar has dissolved. Turn down to medium low heat and boil for 4 more minutes without stirring. Remove from heat and let cool completely.
- Immediately after removing baklava from the oven, pour the syrup evenly over the whole pan. You should hear it sizzle in the pan.

- For best results, let baklava cool at room temperature and covered for 4-6 hours or overnight.

Notes
How to Store Baklava
- Making ahead – You can make this recipe ahead of time and store it at room temperature for up to two weeks. Most desserts are stored in an airtight container; however, baklava is stored with a tea towel or kitchen towel lightly draped over the top of the baking pan.
- Refrigerating – Yes! You can place the baklava in the fridge to be stored. It will have a chewier texture when ready to eat but it will still have all the flavor.
- Freezing – Once the baklava has cooled, wrap it tightly in a few layers of plastic wrap and then place it in a ziplock freezer bag or an airtight container. Freeze the baklava for up to four months in the freezer. It is best to wrap it in small batches. This will also help when you are ready to thaw it out, there is only a small batch rather than the whole pan
This has quickly become one of my favorite pastries ever!! SO tasty!
This is really delicious!! Everyone at my house loved it! I can’t wait to make it again!
Your recipe is so much easier than other baklava recipes I’ve tried. I will definitely be using this one from now on. It’s so tasty!!
Yum – lots of work, but I love it too. Thank you and have a great week!