We may earn a commission when you click on the affiliate links in this post.
This bread machine bread recipe is the foolproof method for getting perfect white bread every time! Just dump in all the ingredients and let the bread maker do all the work! With about 5 minutes of minimal effort you can have soft, warm bread in just a couple of hours!
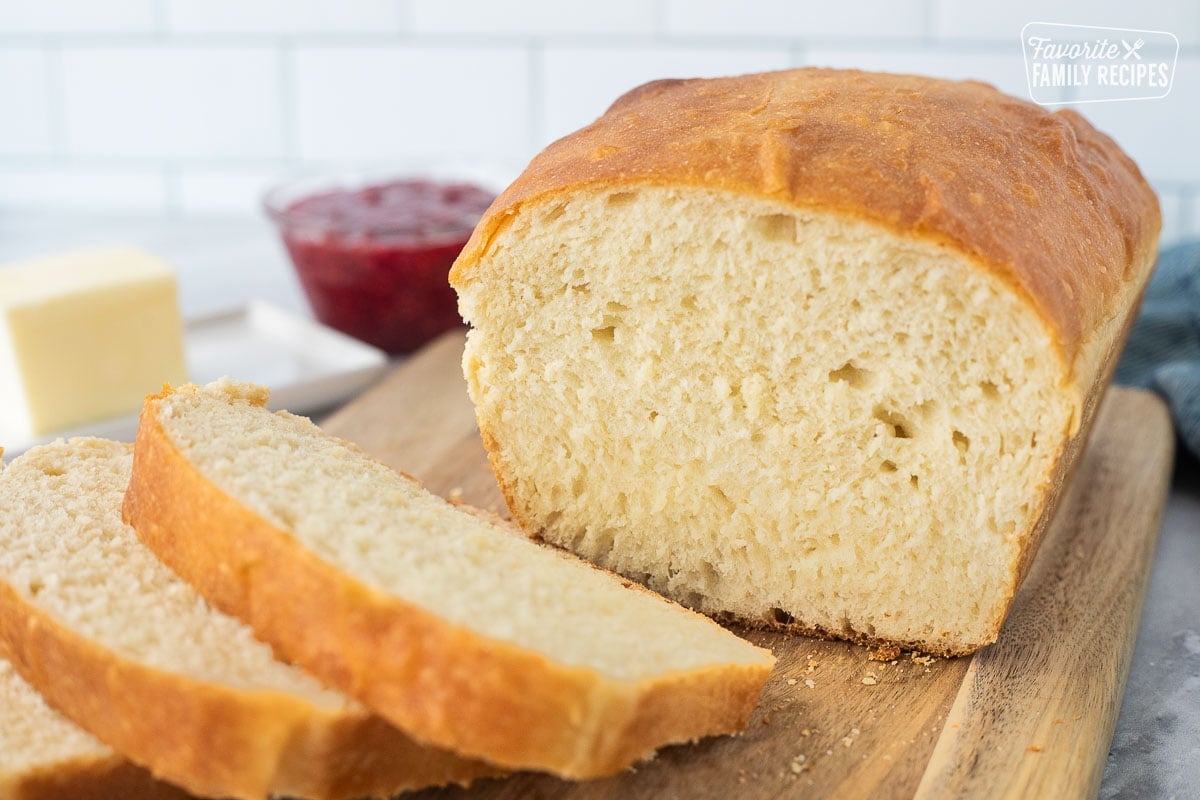
The Best Bread Machine Bread Recipe
My good friend Abby makes THE BEST bread. A few years ago I convinced her to let me in on her secret, and to my surprise, she simply stated that the secret is that she uses her bread machine. Seriously!? I honestly didn’t believe her at first, because bread machine bread just isn’t usually good (compared to the classic, manual-rising, oven-baked variety)! I’ve attempted making bread in a bread machine at least a dozen times and it always came out dry and hard, and just not quite right. Well, she proved me wrong. Now making bread/dough in the bread machine is my VERY favorite way to make homemade bread. Trust me, you are going to love how easy and delicious this recipe is!
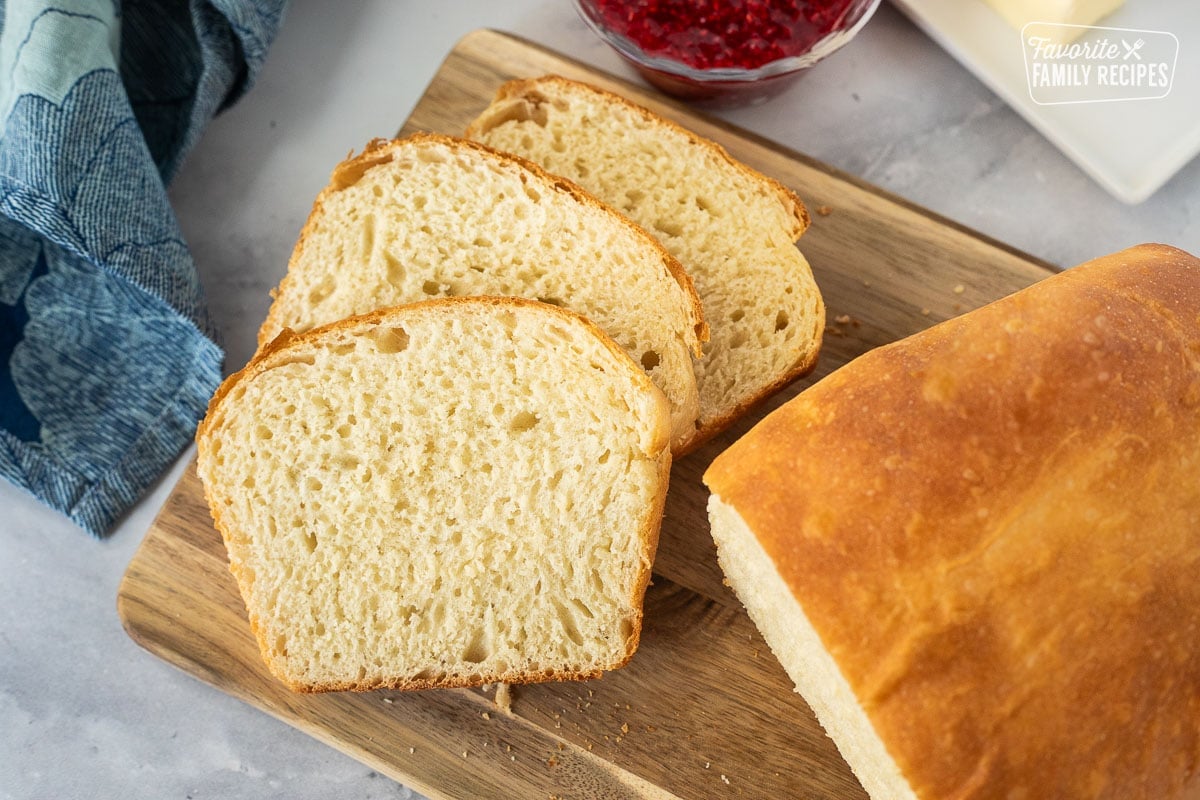
The Secret to Bread Maker Bread
Bread machines are SO convenient. You just put everything right in, push go, and they do all the work for you! The mixing, the kneading, the rising, the baking – everything! Where a bread machine falls short is in the “baking” part. When it comes to baking bread, the bread machine is not your friend. So what is to be done? Shhh.. I’m going to let you in on the secret. Here’s what you do: Let the bread machine do all the mixing, kneading, and rising. Then dump the dough in a bread pan, put it in a COLD oven (no preheating, YAY!), turn the oven on and bake. It’s THAT easy. Just these few little steps make a world of difference!
How to Make Bread using a Bread Machine (Step by Step)
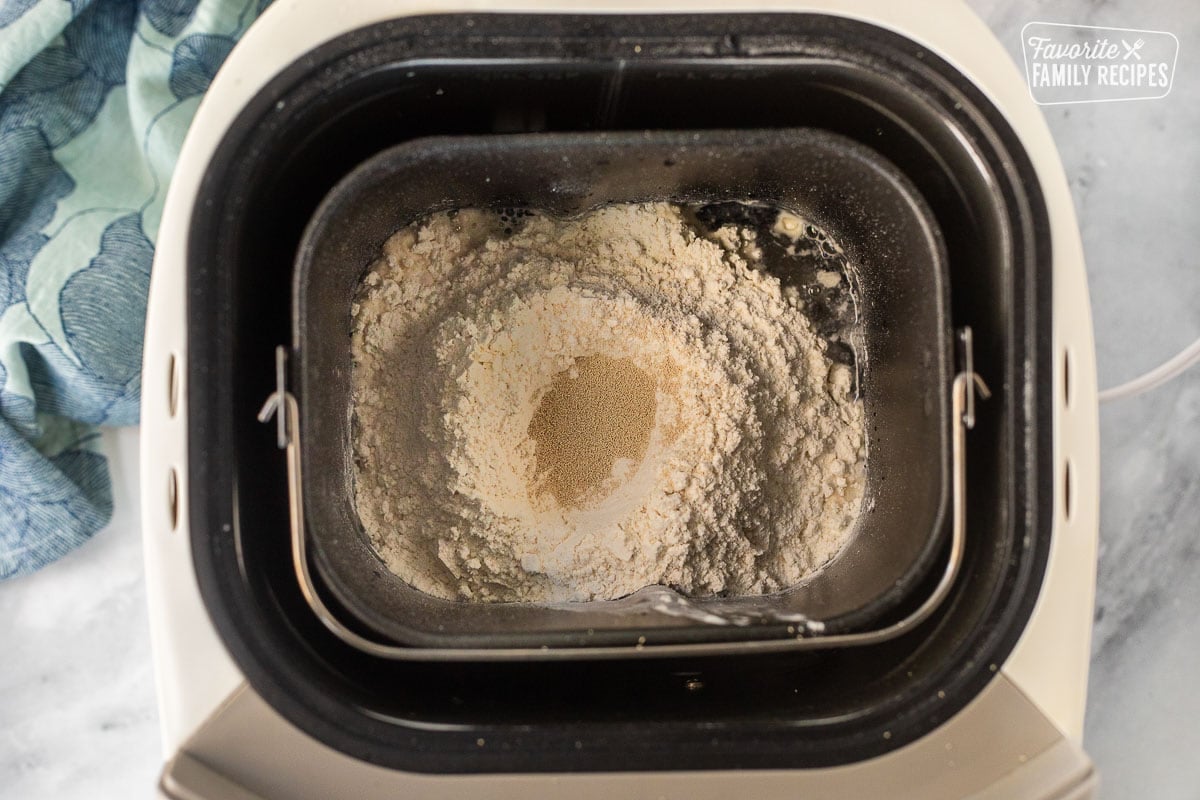
- First, place 1 cup VERY hot water, 1 egg, 4 tablespoons cold butter, ¼ cup sugar, and 1 ¼ teaspoons salt in the bread machine. No need to mix or anything, just put it all straight in.
- Next, Add 3 cups flour directly to the bread maker. Make a small well in the flour with your hand and add yeast to the well.
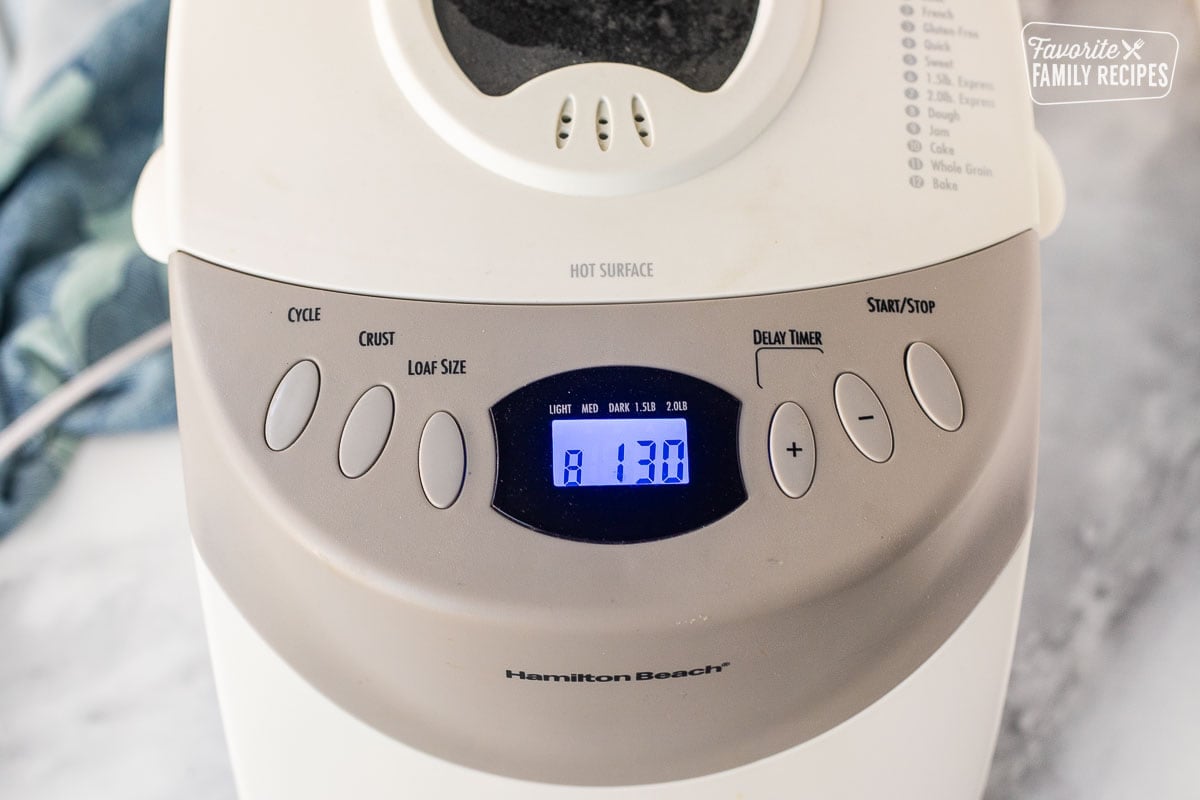
- Set bread machine to “dough” for 90 minutes (it should default to 1 hour 30 minutes) and press “start”.
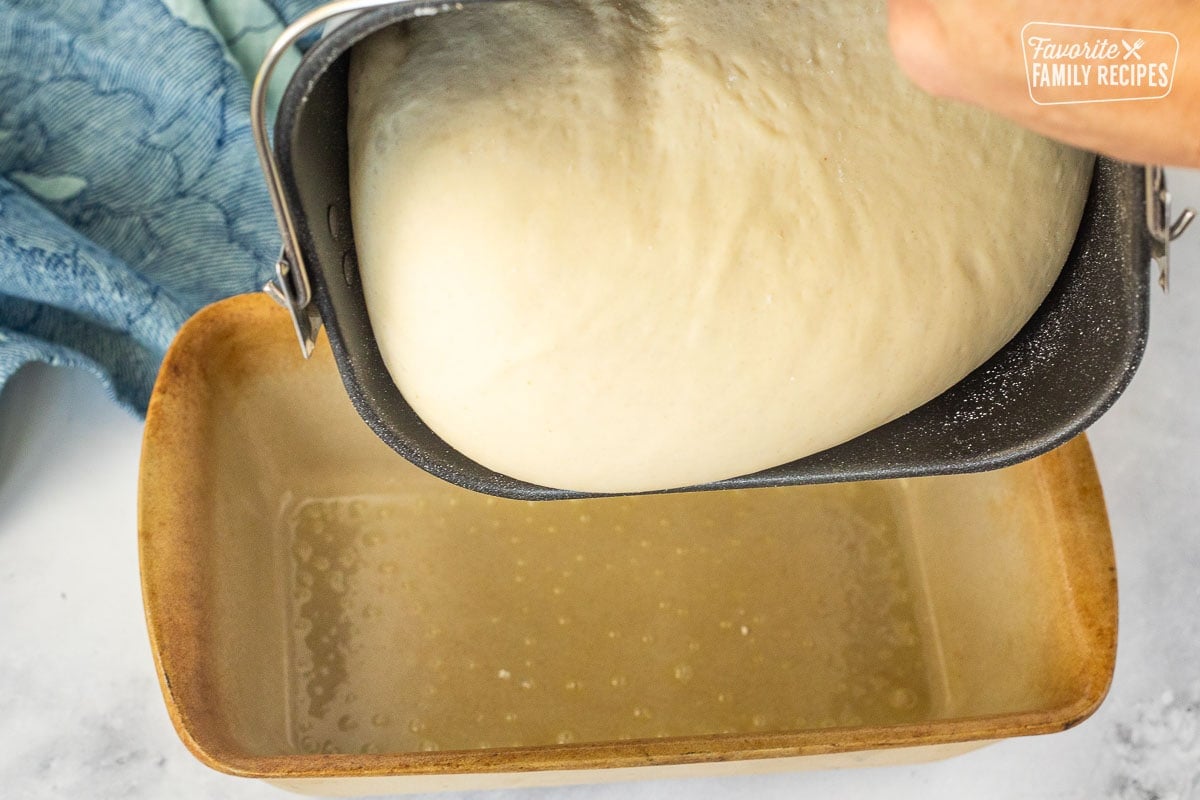
- When your dough is finished, pour it straight into a greased bread pan. If you want to make it look pretty, you can turn it so a smooth side is facing up. Then just tuck down any unruly edges.
- Place the bread pan in the COLD oven. No preheating necessary!
- Set temperature to 350-degrees and set timer for 30 minutes. The bread will rise and bake in this time.
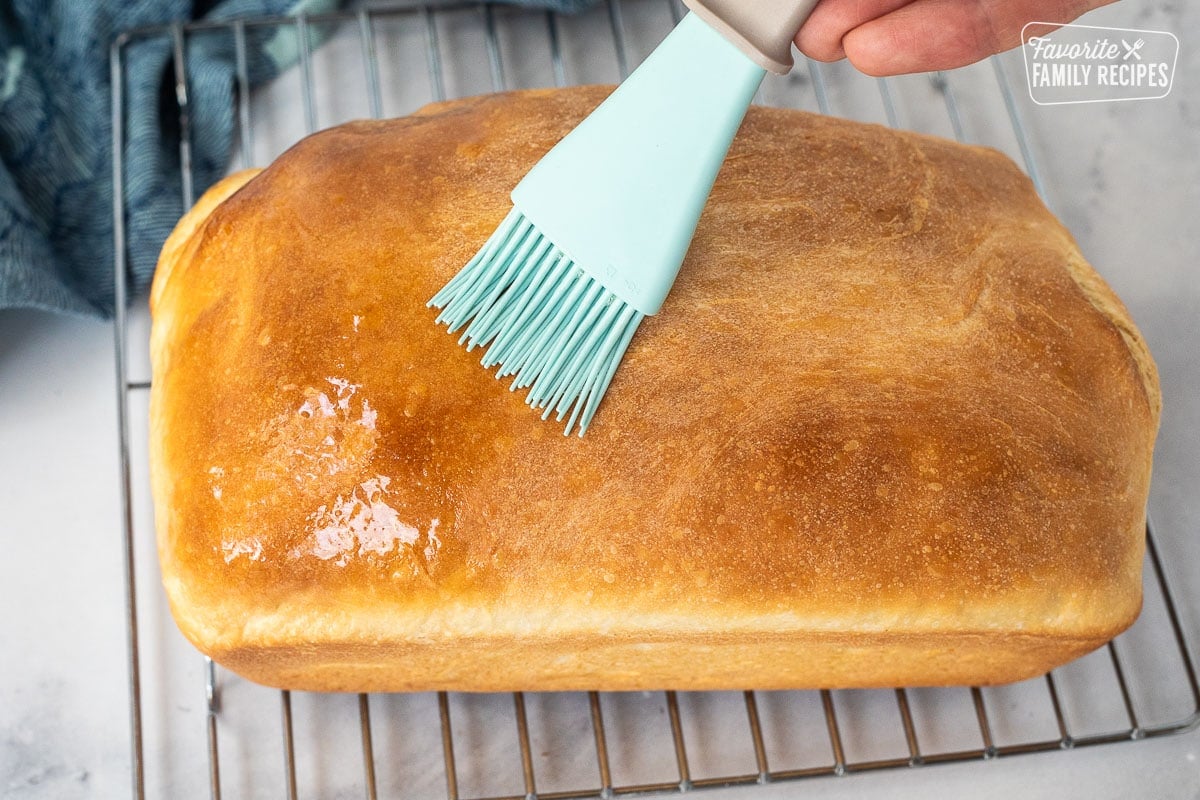
- Remove baked bread from the oven and remove quickly from pan. Place on a cooling rack and brush with butter. Cover with a towel or place in a plastic Ziplock bag to keep from drying out.
What Bread Maker is Best?
Honestly, it doesn’t really matter what kind of bread machine you have. We got the cheapest bread maker on Amazon that had decent reviews. I think it was under $100. Any basic bread maker will do the trick. Just make sure it has a “dough” option so it will stop once the dough is done.
Adapting to Make More Bread Machine Recipes:
We have used this exact dough recipe for all sorts of recipes. Sometimes you have to knead it with some flour to get the right consistency depending on what you are making, but it works like a charm in these recipes:
Gino’s Deep Dish Pizza
Homemade Cinnamon Rolls
Parmesan Pull Apart Bread
Pani Popo (Samoan Coconut Rolls)
BBQ Cilantro Pizza
Quick and Easy Calzones
Monkey Bread
Pesto Rolls
Fry Bread
Breadsticks
Read more: 35+ Dinner Ideas
Frequently Asked Questions
Bread machines usually call for ‘bread flour’. The main difference between bread flour and all-purpose flour is the gluten content (bread flour has more gluten). All-purpose flour is absolutely fine to use! Your loaf of bread may not rise as spectacularly as it would with the bread flour, but there really isn’t much of a difference.
YES! Not only is it cheaper, but you know exactly what is going into it! No mystery ingredients in your sandwich bread.
Broken down, the savings look like this: The average cost of a loaf of basic white bread is around $4 (more or less), making it yourself costs about $1.
(It also tastes better!)
Nope! Just make sure you are using a quick-rise yeast for it to work best. In this recipe, we just use all-purpose flour. No need to spend extra getting special ingredients.
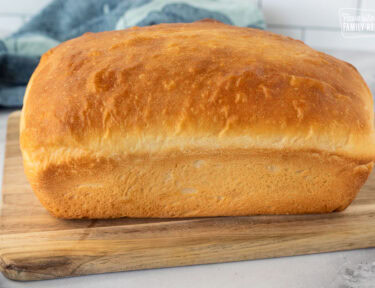
Bread Machine Bread
Video
Equipment
- Bread Machine
Ingredients
- 1 cup water (very hot)
- 1 egg
- 4 tablespoons butter (cold- not softened)
- 1/4 cup sugar
- 1 1/4 teaspoons salt
- 3 cups flour
- 1 tablespoon quick-rise yeast
Instructions
- Place hot water, egg, butter, sugar, and salt in bread machine.
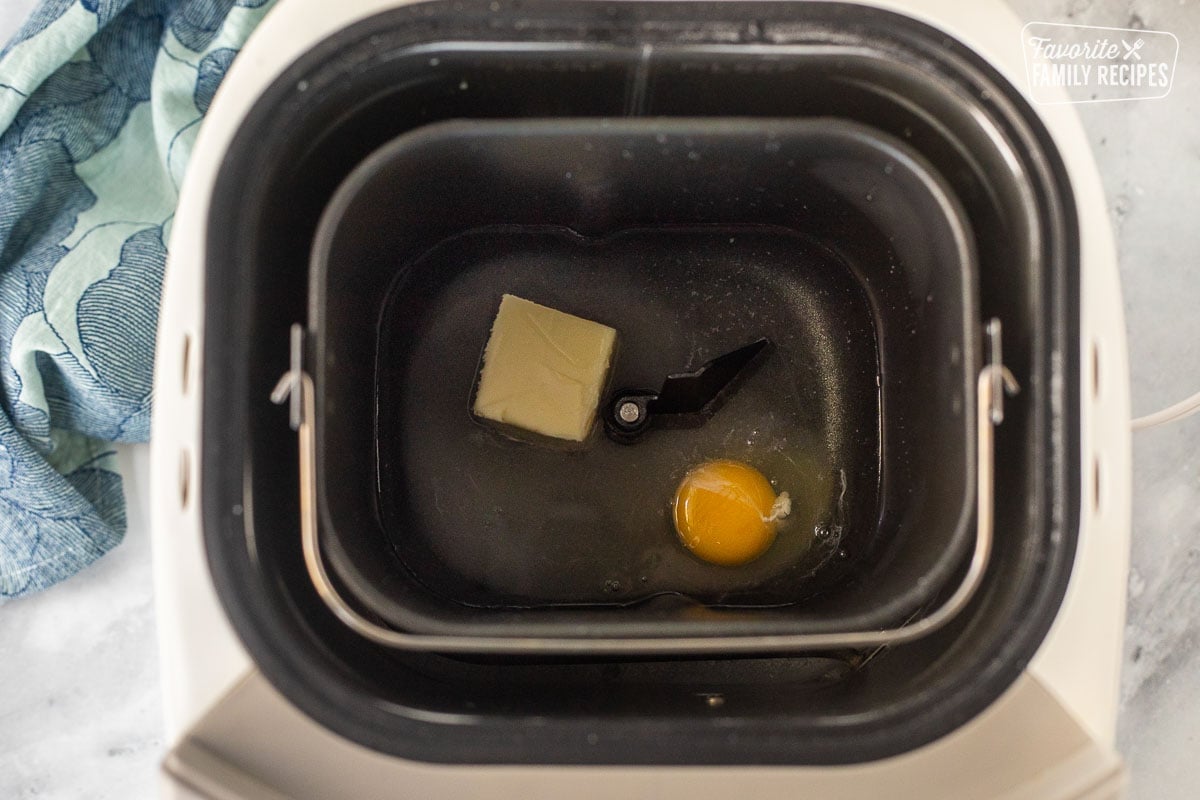
- Add 3 cups flour. Make a small well in the flour and add yeast.

- Set bread machine to "dough" for 90 minutes (1 hour 30 minutes) and start.
- When dough is finished. Pour directly into a greased bread pan. If needed, gently turn the bread or tuck in the edges so the top is smooth (it's ok if it is sticky).

- Place bread in COLD oven and set oven to 350 degrees. Set timer for 30 minutes.

- When finished baking, remove from oven and carefully remove bread from the pan.
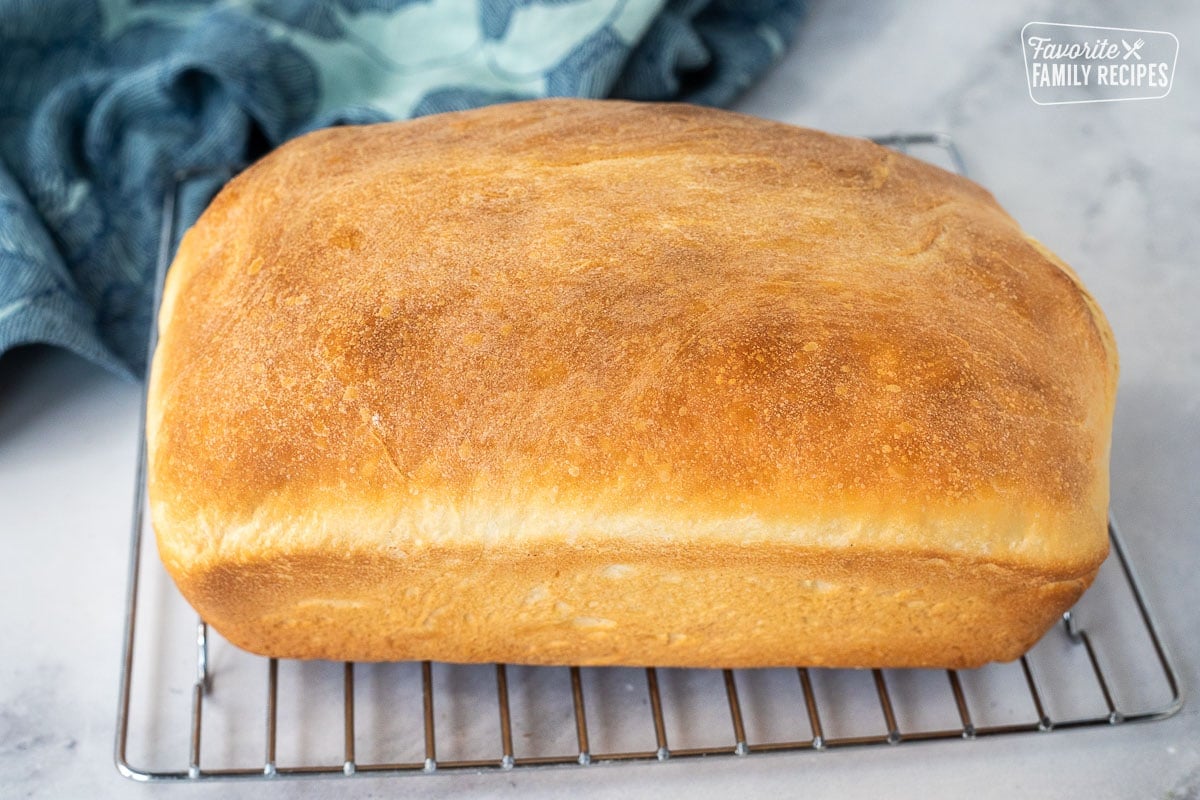
- Place on a baking rack to cool and brush the top with butter. Place a towel over the bread or place in a plastic Ziplock bag to keep from drying out.
- Serve immediately or place in a plastic Ziplock bag to keep from drying out.
If Making Rolls:
- Remove dough from bread machine and place on a floured surface.
- Knead in a little flour if dough is too sticky to handle.
- Divide dough into 12 equal pieces. Fold and pinch into dough balls and place in a greased 9×13 glass baking dish.
- Place in a COLD oven and set to 350 degrees. Set timer for 25 minutes.
- Remove rolls from oven and brush with butter.
Notes
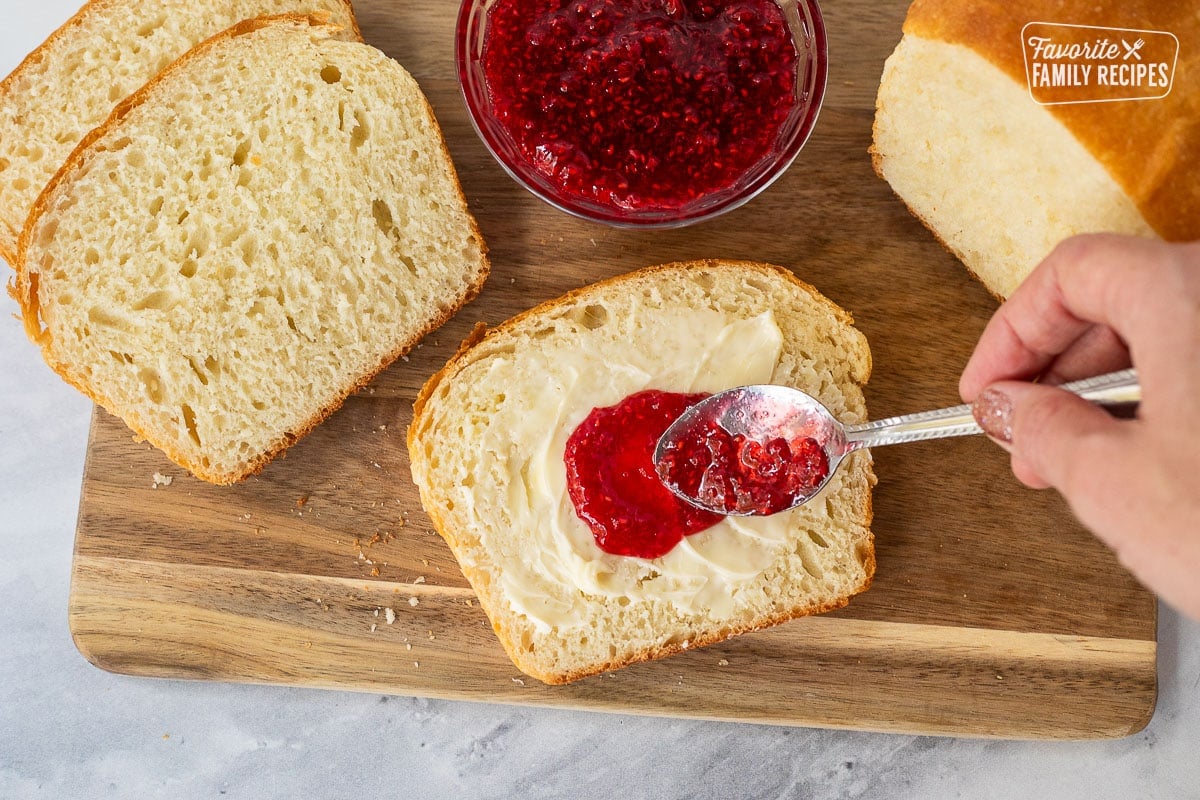
- using as a crust to spread with jams, from raspberry to fig to cherry, and drizzled with honey
- toasting and slathering with garlic and cheese, and pairing with soups, salads, and vegetables
- your favorite new sandwich
- French toast, a morning staple
- and finally, the classic bread and butter, not to be overlooked.
Wonderful, soft bread! Made this a few times & looking forward to more. I can’t believe I can make delicious bread, in just 2 hours, 5 mins prep! Thanks for sharing!
It turned out a bit denser than I’d have liked as I didn’t have quick rising yeast. It was still soft and delicious. My new go to bread! Thanks!
Loved this recipe! Do you happen to have a recipe that comes out like this using a sourdough starter? I have not found a sourdough recipe that comes out with a good texture in the bread machine. I really like using machine for everything but baking.
We haven’t done a lot of experimenting with sourdough, but it is on our list of recipes we’d like to try!
Now that I’ve prepared the dough in my bread machine (thanks for the recipe!), I’d like to bake it in a deep dish pizza, as you suggested. How should I modify the pizza recipe you linked to in order use this dough?
You should be able to just substitute this dough right in!
What happens if you continue baking in the bread machine – how and what is the quality?
You can continue to make it in the bread maker if you want to. Personally, I don’t think it comes out near as good in the bread machine. It turns out way too dry and the crust gets too hard.
Can you do this with a bread mix?
We haven’t tried that before! Let us know how it goes if you try it!
This is literally our favorite basic dough recipe! It is so delicious and extremely predictable! I’ve already made three batches in the last week and a half because my husband is very pleased.
I’ve only made a couple minor tweaks to it which I did the first time just because I was feeling it and we have continued that.
1) I add just 1/4 tsp of vanilla extract which just give it a tad bit of sweetness.
2) I bake them into rolls and after they are cooked and I paint butter on them I also sprinkle them lightly with salt. They are Soo yummy!!! Highly recommend!!!
If you refrigerate them they heat up. Beautifully!
I took this recipe to a bread tasting activity at my church and it was the best one there! Moist and not crumbly, wonderful flavor! I want to try and reduce the sugar just a little bit so that it will taste a little better as plain sandwich bread, but this is now my go to recipe!! Thank you so much! 💜
This is such a great guide and recipe! Very easy to follow. Thank you so much.
This recipe worked so well and the bread turned out amaizng! can’t wait to try it again 🙂
I’ve done this recipe exactly as the recipe states and it was perfect! It is so easy to make and I was able to make a very delicious bread. Thank you so much for sharing.
I have been making bread in my bread maker for a long time but I can’t get bread machine yeast I using regular yeast but my bread is not rising as much so the bread is denser. My question is do I put the yeast in first or do L add more at the end
For this recipe I always add the yeast right after I add the flour. I hope this helps!
If using active dry yeast, after putting the dough in the breadpan, place it in a warm area (75-85 degrees F) and let it rise for about 45 minutes before placing in the oven.
This bread is delicious. The aroma, texture, and taste are far superior to bread baked in the bread machine. I had no issues with using bread flour and active yeast for bread machines. My loaf was perfect. It tastes like those sweet Hawaiian rolls.
Followed the recipe, but I only had bread flour (2 cups bob’s artisan bread flour and 1 cup King Arthur’s organic bread flour) and bob’s active dry yeast.
I wanted to try this recipe because I don’t really love bread machine bread (though it smells nice when done).
This bread was amazing. I did the dough option, put in loaf pan, put in cold oven and baked for 30 min. Then brushed with melted butter when done. It was extremely delicious, and the texture and taste was far superior to finished loaves from the bread machine. My new way of making bread! And since this recipe uses the oven, I have a loaf in 2 hours as opposed to 3-1/2 hours.
So delicious!
Oh, I’m not sure if this makes an impact, but because I had salted butter, I only used 1 tsp of salt. My bread was perfect so not sure if that 1/4 tsp missing would have done much.
If the recipe calls for 1 tablespoon quick rise yeast, should I use 2 packets since each packet is 1/4 ounce I think…
One packet should be fine!
Thank you… I did one packet, and followed the directions as written and this bread was delicious…. Going to try the rolls now….
The rolls turned out heavenly!!! This is so easy too… Thank you
Is it ok to use active-dry yeast instead of quick-rise yeast?
You can, but you bread might have to rise a little longer than the recipe says!
Can I leave the dough in the loaf pan until I’m ready to bake it? Should I cover it? Put it in the fridge?
Yes! Just cover it with some plastic wrap and refrigerate it.
Turned out awesome. What a cool recipe. Makes the best bread for sandwiches and dough for rolls or whatever you are in the mood for. Finally something my bread maker is good for and half the time from start to finish. Will share this one for sure. The One tablespoon of the yeast you call for in the recipe is 3 teaspoons and the quick rise packets are 2-1/4 teaspoons but since I live in a high altitude the packets work out great because high altitude baking needs less yeast. Tricky getting things to come out great every time in this elevation. Thanks again for such an awesome recipe.
Can I use bread flour and bread yeast?
We’ve only tested this recipe with the listed ingredients. So, I can’t speak to how that would turn out.
I live at sea level and also went for the one packet. Perfect taste and texture but as dough was quite sticky I was unable to smooth top by tucking sides down after “pouring” into bread pan. It came out looking a bit grotesque but even if it was ugly, it was mine and I loved it. BTW, I wish that you’d clear up the yeast quantity once and for all time. Is it a tablespoon or a packet?
In the recipe it clearly states 1 tablespoon. Hope this helps!
The bread was delicious. I was doubtful about the cold oven start but it worked great. Going to make the roll today.
This turned out perfectly! I wouldn’t change a thing!!!
I love it!!!!!
Do you start counting the baking time after the oven has reached temperature or as soon as you turn it on?
Just turn it on and put in the cold oven came out so good
Since it is so hot where I live now, do you think I could use the BAKE function on my Ninja Foodie. I believe the standard is you take off 25° on the temp and reduce baking time by 10%. Has anyone done this and we’re successful?
Hi, do I add the dry yeast, or do I need to proof it first?
Thank you
You just add it dry. No proofing needed!
You start counting the baking time as soon as you turn it on 🙂
Your friend Abby DOES make the best bread! 🌟
And here’s one more really cool thing about Abby and her bread. Even though she can only make one loaf at a time in her bread machine, once a week, Abby makes this bread and gives it away!
Great girl, that Abby. ❤️
Thanks for posting this, Erica! Abby is lucky to have such good friends.
And we are all lucky that y’all share so many awesome recipes!
Well Abby is the best! We have been the recipient of her gracious bread deliveries and it ALWAYS makes my day. I am definitely the lucky one 😉