We may earn a commission when you click on the affiliate links in this post.
Our family has been canning for generations. Here we will teach you the basics as well as our tips and tricks for successful home canning.
In our family, canning is more than just a way to preserve our garden’s bounty in glass jars– for us, it’s a true family tradition. For as long as I can remember, my mom has been canning vegetables from our garden and most of the time she had us help. Looking back, it was such a great experience for me. I could see the entire process of growing, harvesting, and preserving food but I also learned to appreciate the hard work that went into it all. Because of this, every time I open a jar of fresh peaches, pickles, or homemade spaghetti sauce, I enjoy it that much more.
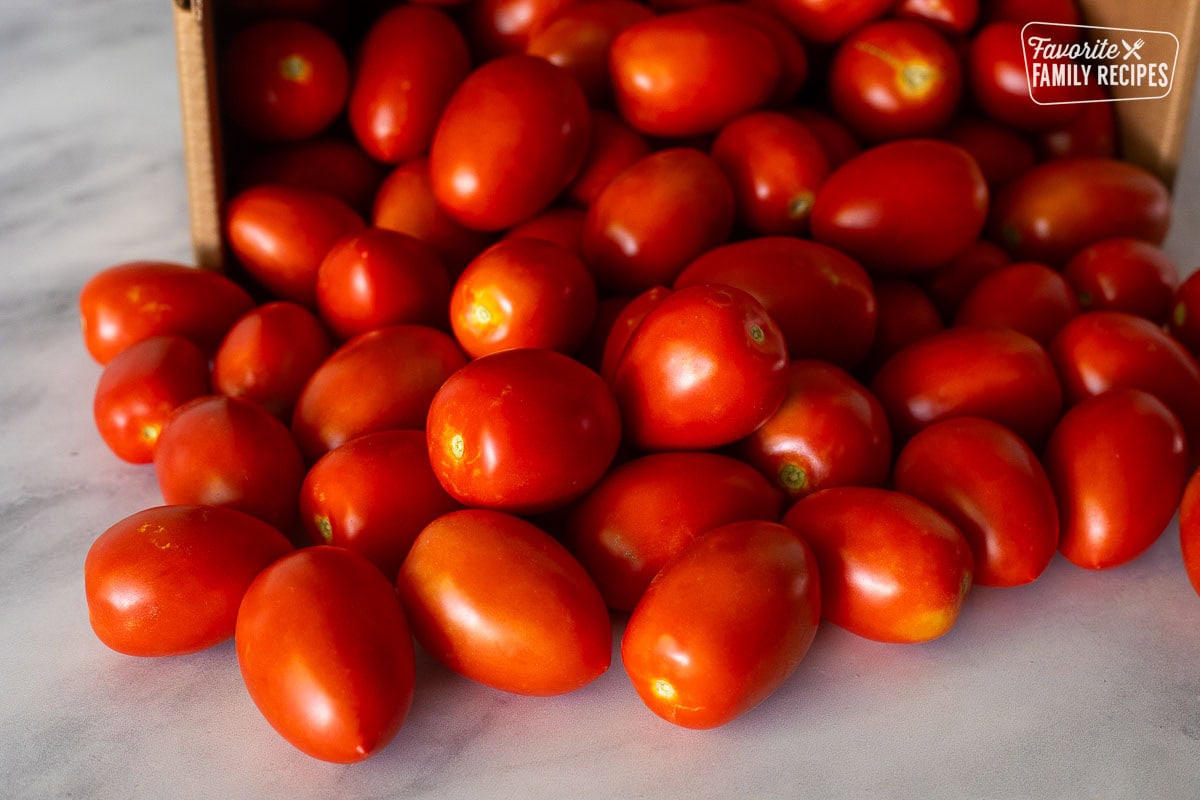
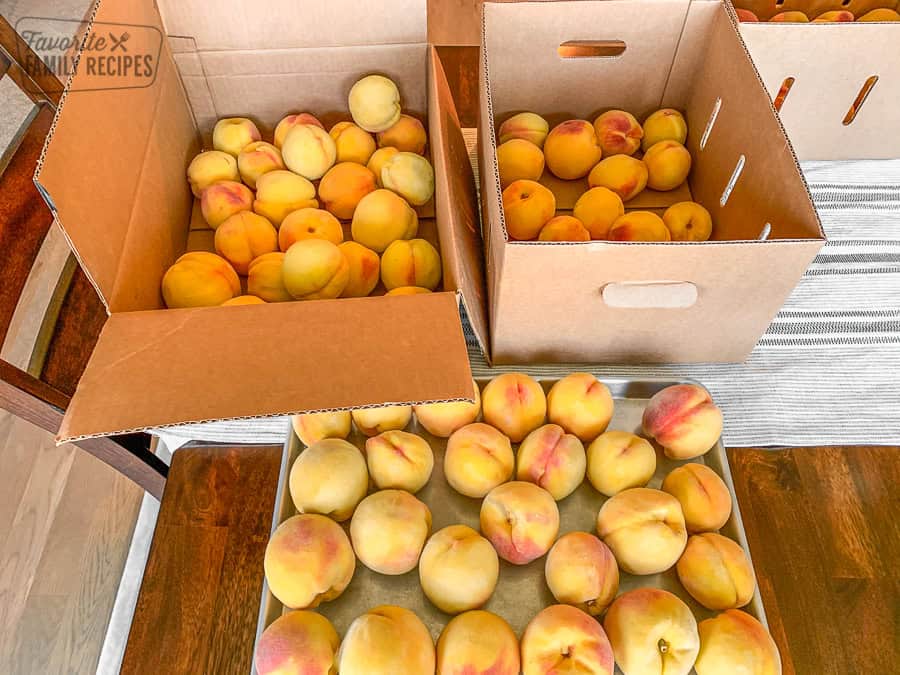
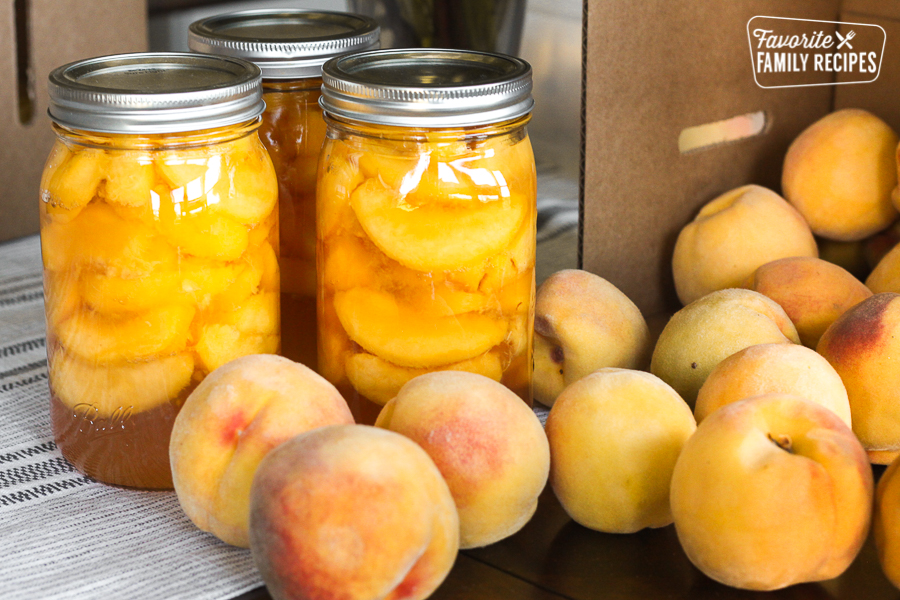
To this day, when the tomatoes are on the vine or our trees are bursting with peaches, we all find ourselves at my mom’s house canning for days. My sisters will even travel here from out of state, just to can! When peaches are in season we have an impressive assembly line of all of us peeling, pitting, and slicing. By the end of each day we are covered head to toe in sticky peach juice but ultimately rewarded with enough peaches to last through the year for each of our families (trust me, that is a LOT of peaches).
Why I Love Canning
I have really grown to love canning for so many reasons. I mostly can because my home-canned foods taste way better than anything I can get at the store. Another reason is because I know exactly what is going into my jars and I know there’s no additives or harmful preservatives. Just straight up garden goodness and those fresh flavors just can’t be beat. It’s also a great way to preserve the surplus fruits and vegetables from my garden, so nothing goes to waste. It also makes it so I can also enjoy my garden all year-round.
I am so excited to share with you all our tips and tricks for canning. In this post I will walk you through the basics of the three types of canning, the pros and cons of each method, what can and can’t be canned (say that three times fast), and common mistakes people make when canning.
Three Ways to Can
For starters, let’s go over the three different methods of canning:
- Water Bath Canning
- Atmospheric Steam Canning (or just “steam canning” for short)
- Pressure Canning
The USDA has approved all of these methods of canning. Yes, even steam canning has been approved, though somewhat recently. Water bath and steam canning are processes that can only be used for high-acidity foods, while pressure canning is the only acceptable method for low-acid foods. Understanding the differences (and similarities) between all of these methods will help you choose the best approach for preserving your favorite foods.Here’s a quick glimpse of each method, along with some tips for success:
Water Bath Canning
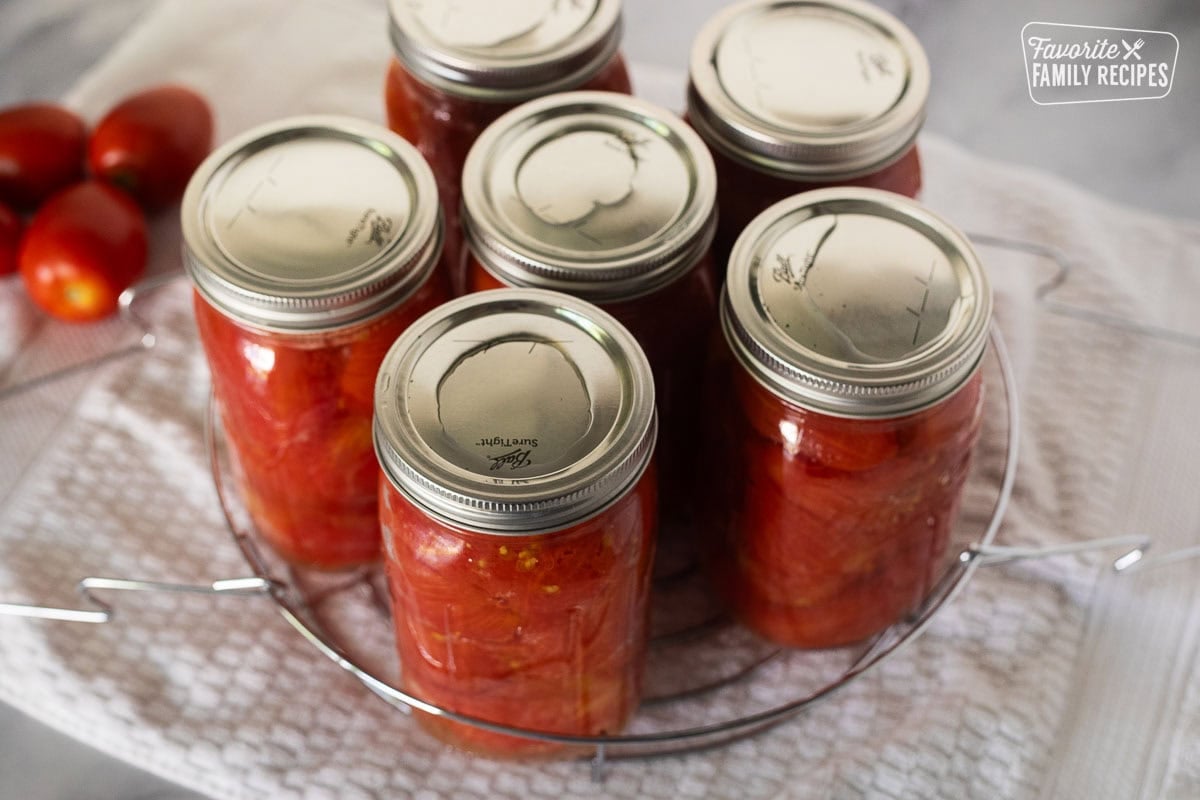
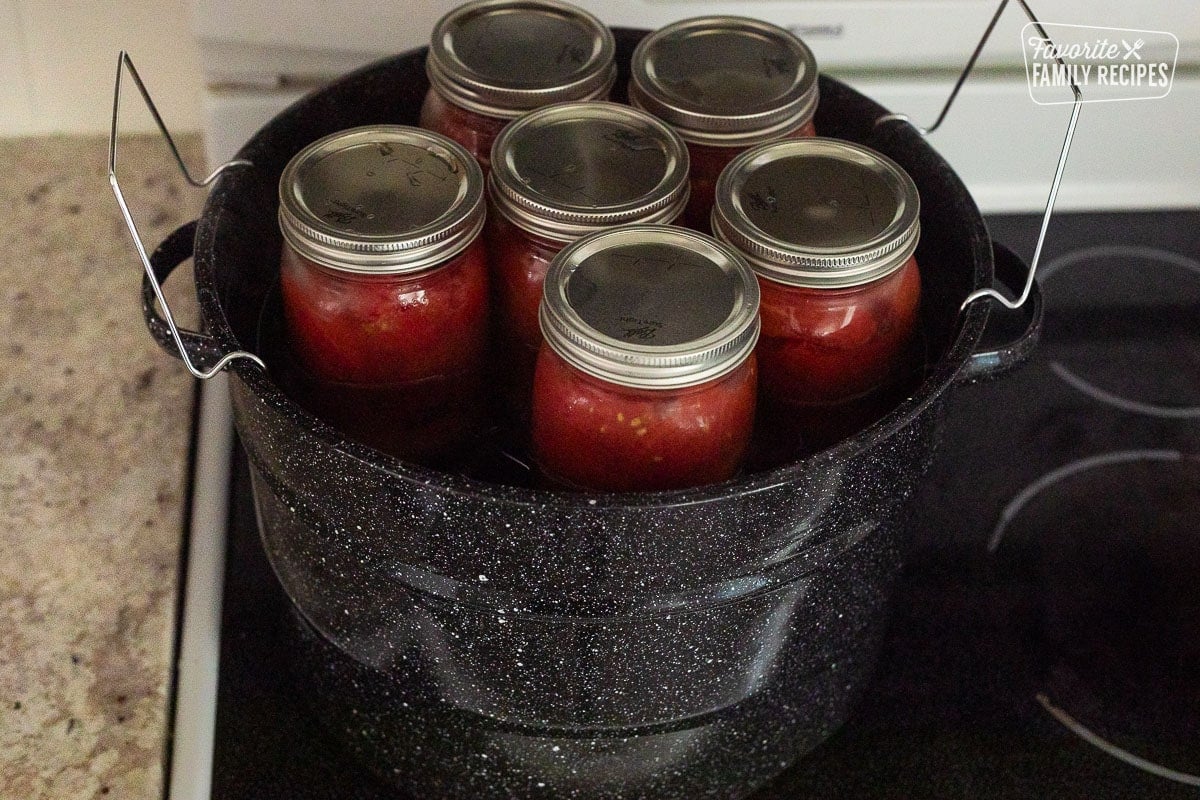
Water bath canning is the most widely used canning method for home canning, and probably the easiest. This method is acceptable for preserving high-acid foods (meaning a pH level below 4.6) by submerging jars in boiling water. The heat destroys microorganisms, and the vacuum seal is created as the jars cool keeps the food safe for long-term storage. To dive deeper into this method, check out our entire post dedicated to Water Bath Canning.
Foods Suitable for Water Bath Canning:
- Fruits (apples, peaches, berries)
- Jams and jellies
- Tomatoes (with added acid like lemon juice)
- Pickles and pickled foods (like pickled beets)
- Salsas and relishes
- Fruit juices
To be safe, always follow USDA guidelines when canning any of these foods. It is crucial to make sure the acidity levels are at what they should be. You may need to add citric acid, vinegar or lemon juice to some of these foods to make them suitable for canning.
Pros of Water Bath Canning:
- Inexpensive equipment
- Great for beginners
- Easy process
Cons of Water Bath Canning:
- Limited to high-acid foods (with a pH lower than 4.6)
- Takes longer for the water to boil and be ready for processing than steam canning.
Steam Canning
Steam canning is a newly USDA-approved method that uses steam to process jars of food. To be honest, I didn’t even know that steam canning wasn’t an approved method before. My family has been steam canning since the 80s without any issues. It has been an accepted way of canning for decades, but just not officially approved until just a few years ago. Like water bath canning, this method is only suitable for high-acid foods and only for processing times under 40 minutes. The biggest difference between water bath canning and steam canning is that steam canning is faster and more energy-efficient.
Foods Suitable for Steam Canning:
- Fruits
- Jams and jellies
- Tomatoes (with added acid)
- Pickles and pickled foods (like pickled beets)
- Salsas and relishes
- Fruit juices
(see notes above in the water bath canning section about acidity levels when canning any of these foods)
Pros of Steam Canning:
- Faster processing times
- Uses less water and energy
- Easier and quicker setup and cleanup
Cons of Steam Canning:
- Limited to high-acid foods (with a pH lower than 4.6)
- Requires careful monitoring of temperature and time
Pressure Canning
Pressure canning is the only safe method for canning low-acid foods. It involves processing jars under high pressure in a specialized pressure canner which allows temperatures to reach above boiling point, effectively destroying harmful bacteria. I have been asked if an Instant Pot or pressure cooker will work for canning. The answer is NO, a pressure cooker is not the same as a pressure canner and is not an approved device for canning. You need an actual pressure canner with a pressure gauge.
Foods Suitable for Pressure Canning:
- Vegetables (beans, carrots, corn)
- Cooked/prepared meats (beef, chicken, pork)
- Chili
- Soups and stews
Pros of Pressure Canning:
- The only approved method for low-acid foods. Period.
- Versatile and safe for a wide range of foods
- Longer shelf life for preserved foods
Cons of Pressure Canning:
- Requires more expensive and complex equipment
- Steeper learning curve for beginners
- Longer processing and cooling times
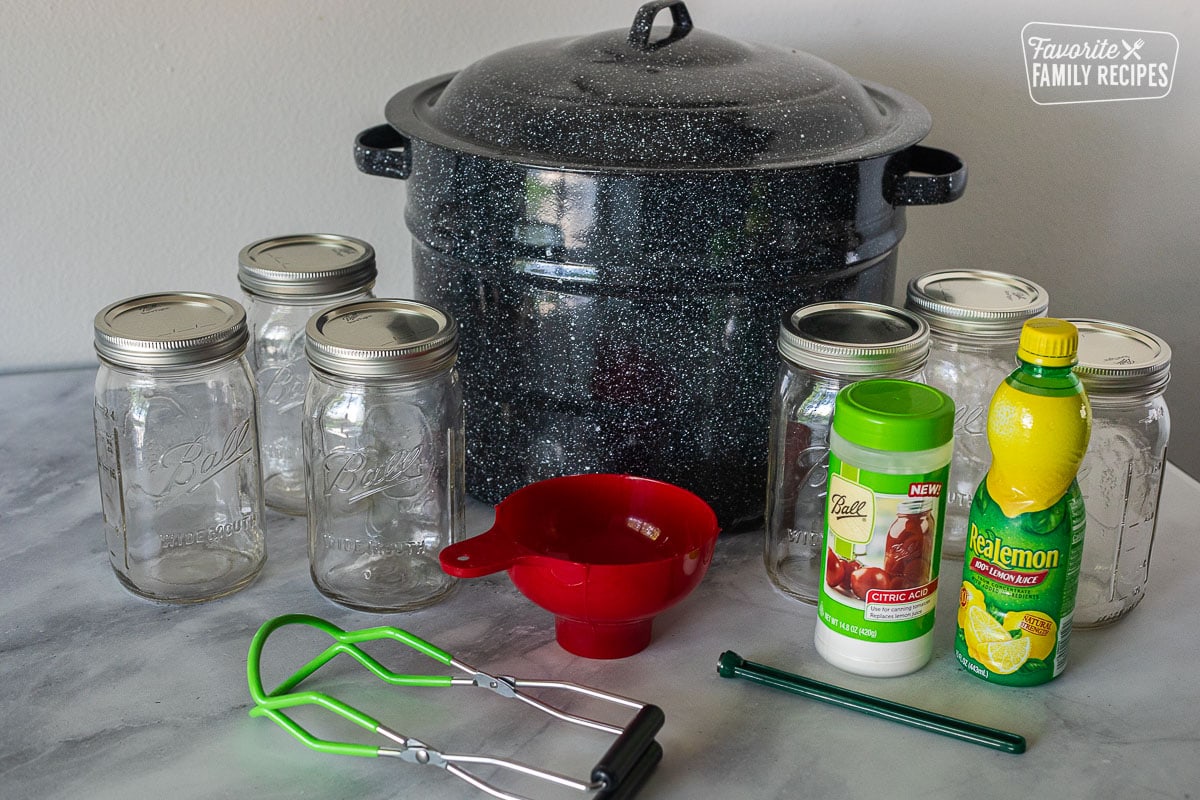
Equipment and Tools Needed for Canning
- Canning Jars: I like to use wide-mouth jars because they are easier to pack, but regular works great. Most of the time I use quart-size jars but for jams, jellies, and salsas I will usually do pint or half pint. I will of half pint jars when canning as gifts (our pepper jelly makes for great neighbor gifts).
- Canning lids and rings (or bands): Canning lids are flat and have a little rubbery ring around the bottom. The rubbery ring will help to seal the jar tightly. Bands are used to screw the lid securely onto the jar.
- Water Bath Canner, Steam Canner, or Pressure Canner: Each of these canners are used to help process your jars. They use different methods to heat and seal the jars.
- Jar Lifter: This tool will help you easily lift and lower hot jars. A must for canning.
- Magnetic Lid Wand: This is such a simple tool that makes a big difference. It is basically a little stick with a magnet on the end that helps lift lids after they have been heated to place them on your jars.
- Funnel: Makes packing jars SO much easier and way less messy.
- Canning Labels: I recently discovered these and I LOVE THEM. You can label your jars and then the label will dissolve when rinsed off. I love labeling my jars but hate having to peel off the sticky labels. These are a winner all-around.
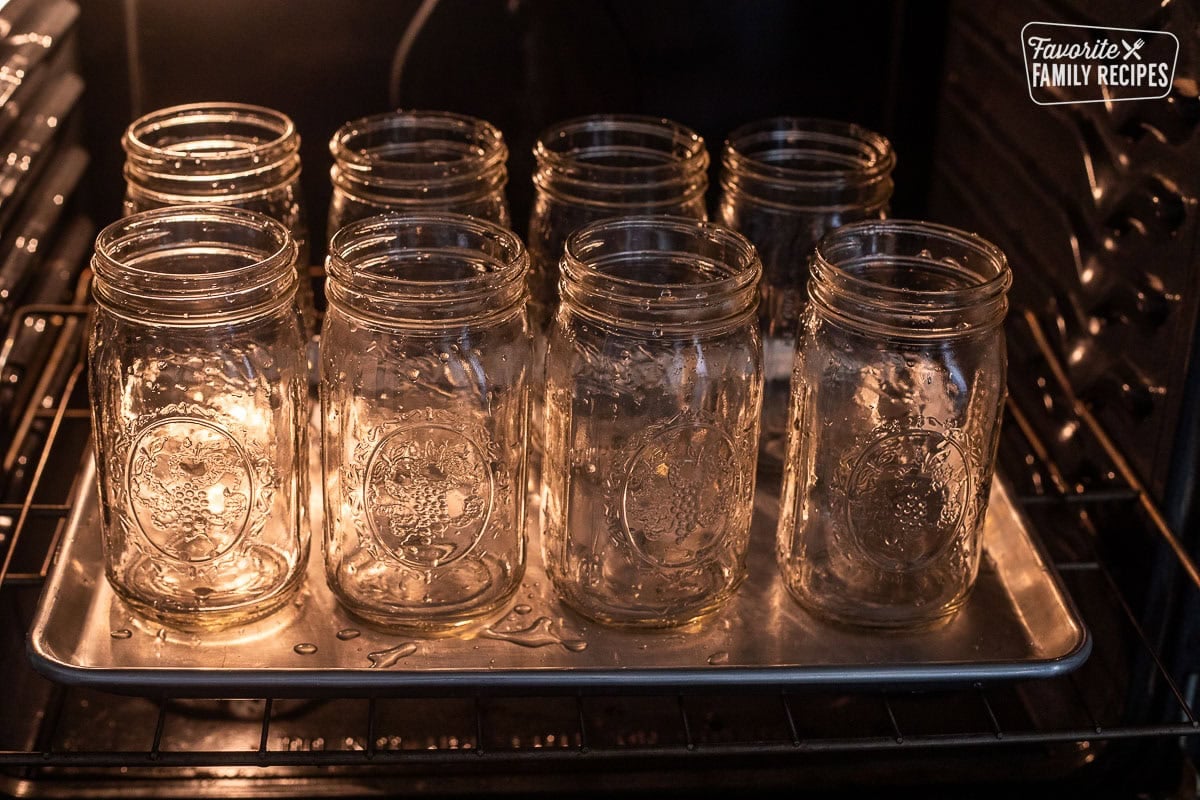
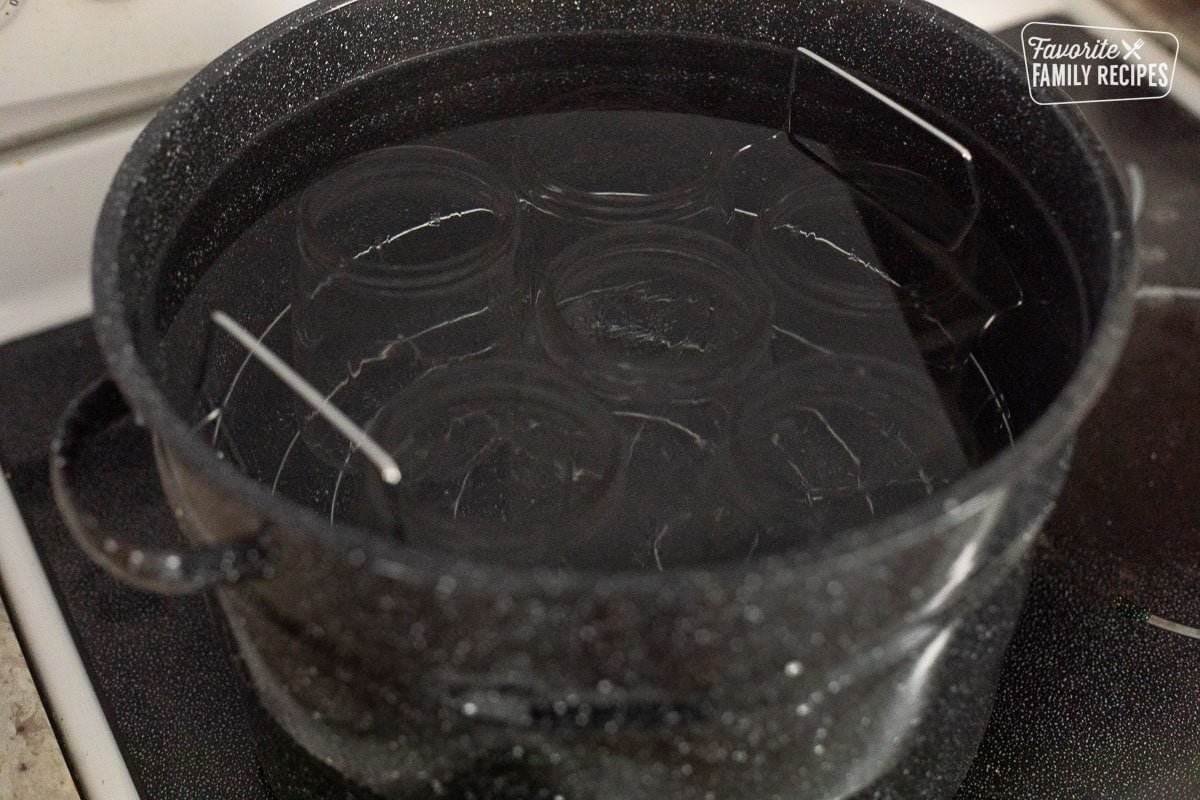
Three ways to Sterilize Canning Jars
Oven: Wash jars and lid in hot soapy water, rinse, but do not dry them. Place on baking try and bake at 275 degrees for 10 minutes until dry. Keep jars warm until ready to can.
Boiling Water: Wash jars lids and rings in hot soapy water and rinse well. Fill jars with hot water, place on canning rack and lower into water bath canner filled with water. Heat the water over medium heat for 10 minutes.
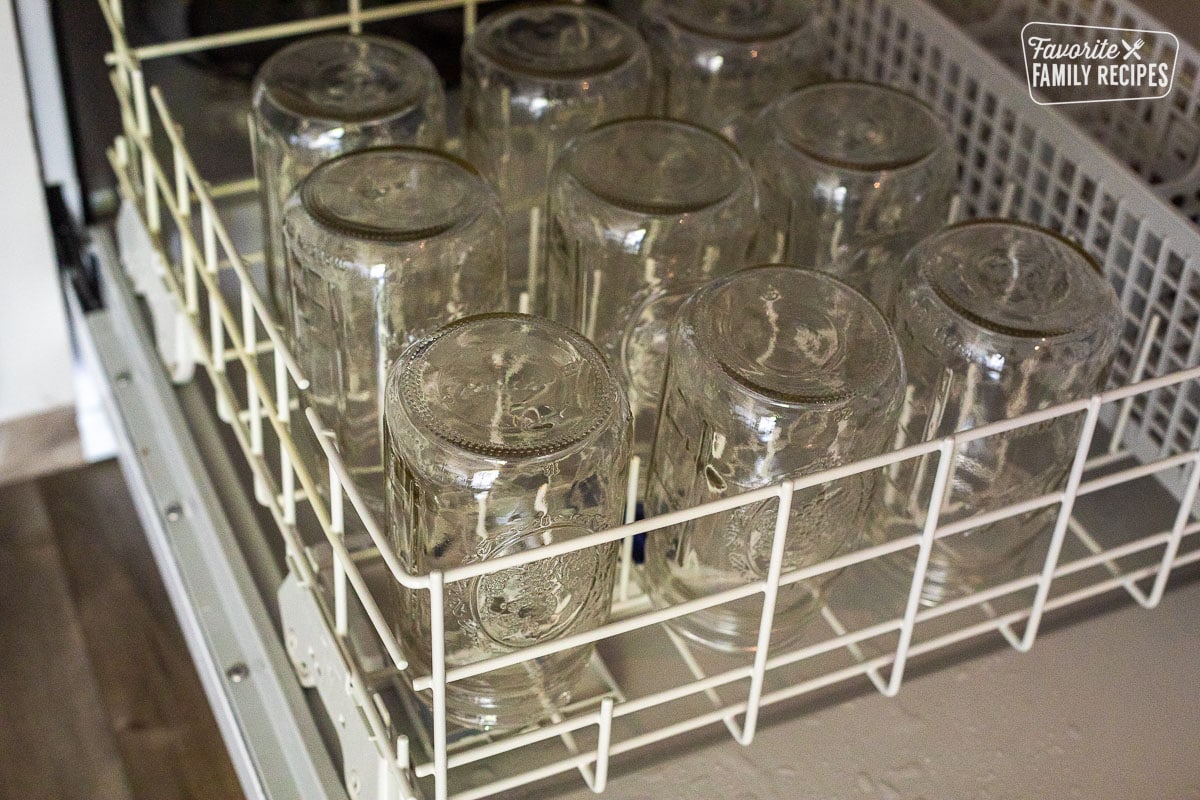
Dishwasher: Place jars in the dishwasher and run on “sterilize” cycle with heat dry. Keep warm in the dishwasher until ready to use.
Canning Recipes
Ready to give it a try? Here are some of our most popular canning recipes. I can’t wait for you to try them!
Canning Peaches at Home: A complete guide
Virginia Sweet Chunk Pickles
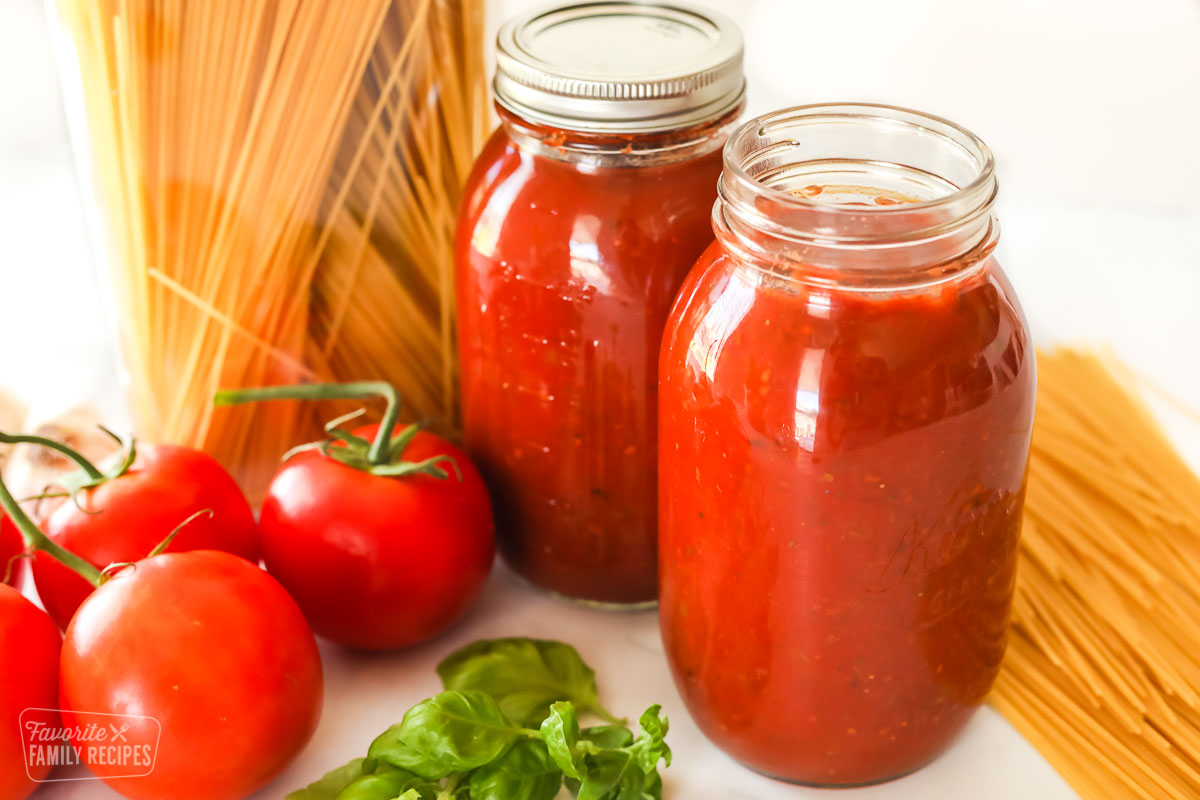
Canned Spaghetti Sauce
Canned Salsa
Savory Canned Salsa
How to Can Whole Tomatoes
How to Can Diced Tomatoes
Homemade Tomato Juice
Pepper Jelly
So many awesome and helpful tips! And I got some great ideas for other foods that I can do. Thanks so much for sharing!
Love this!! This is one of my goals..to master canning! Thanks for sharing this! This seems easy enough anyone can do it!
This is brilliant! Been having a hard time canning, but with your tips, I’ve made it! Thank you!
I am glad you have a picture of canned peaches. And there is a lot of juice in the bottom. I have considered it a failure if I have a lot of juice with salsa, tomatoes and tomato sauce. I am so glad, felt like I was doing something wrong. mmm peaches.
Really the only way to avoid the juice at the bottom is to hot pack the peaches but I feel like the peaches get too squishy when we do that. You can pack a lot more in and less juice at the bottom when it all settles but I like a little firmness to my peaches so I always just raw pack them. Don’t worry, we probably can the same way. You aren’t doing anything wrong!
I made the spaggetti sauce and its delicious i just want to know if that and other recipes you can are considered”safe” recipes
I’m not sure what you mean by “safe”. The canning recipes we have linked in this post are all tested recipes that have been tested for canning and all follow the USDA canning guidelines. Is that what you mean?