This post may contain affiliate links. See our disclosure policy.
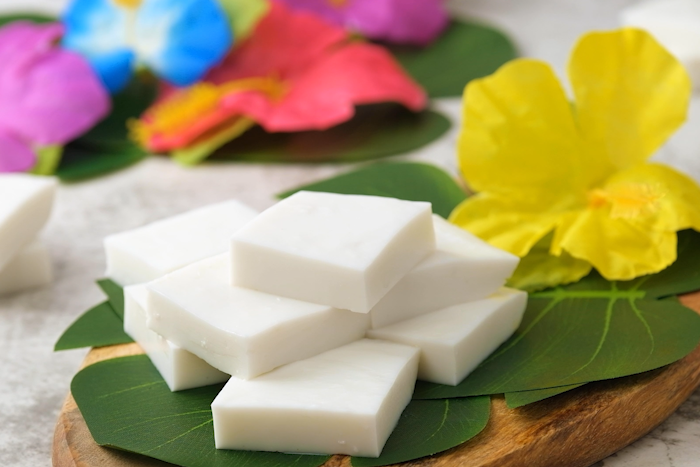
Haupia is a widely popular Hawaiian dessert that is smooth, creamy, and gelatin-like in texture. It’s like little refreshing bites of Hawaii.
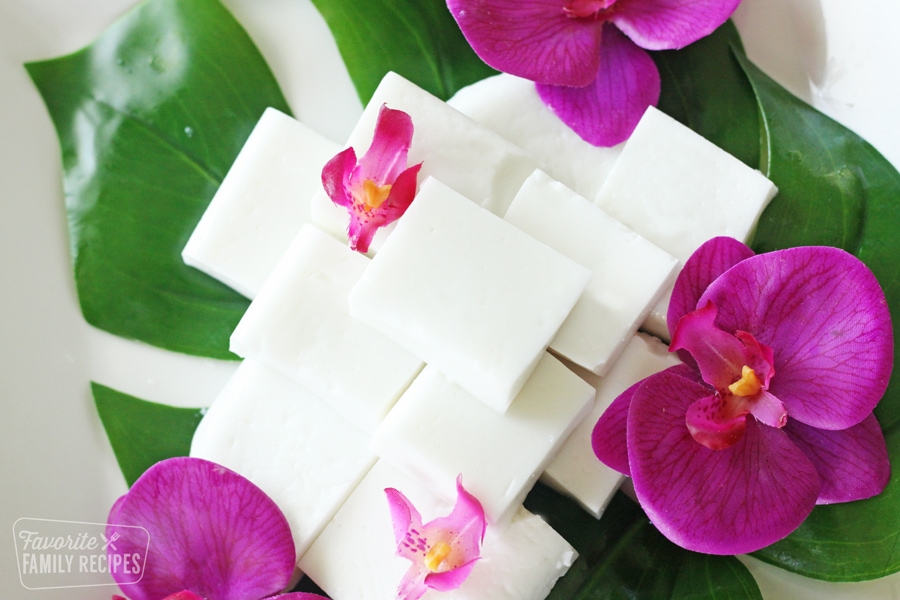
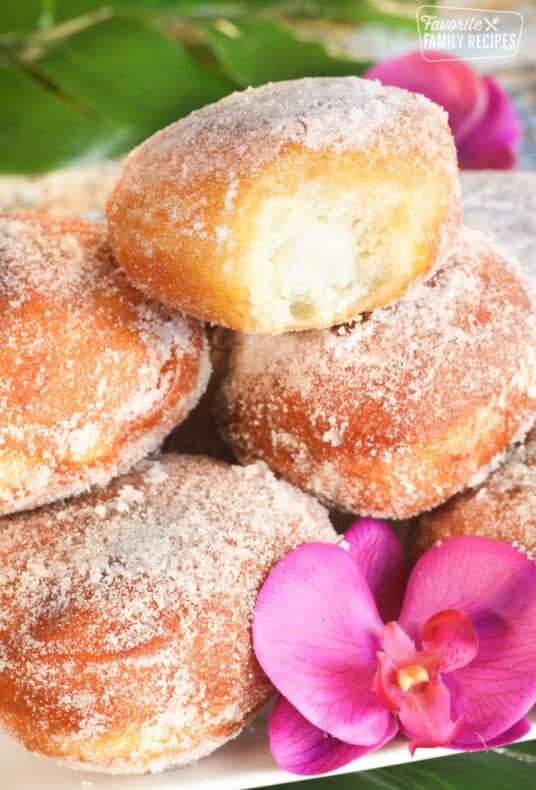
When I lived in Hawaii, haupia was everywhere and I didn’t mind one bit. In fact, I couldn’t get enough of it. I loved the Haupia Pie at Ted’s Bakery, haupia ice cream at the Seasider at BYU Hawaii, haupia-filled malasada’s at Leonard’s, haupia hand pies from McDonalds (please McDonalds, bring this to the mainland!), and even just plain haupia squares from Foodland or the Polynesian Cultural Center on Oahu. Haupia just might be the EASIEST Hawaiian dessert you can make, which is awesome because you can always have a little taste of Hawaii in a jiffy no matter where you are!
What Is Haupia?
Haupia (pronounced how-pee-ah) is a traditional Hawaiian dessert or snack that is made from coconut milk and is traditionally served in little cut squares or as a custard/pudding, often at luaus. It can also be used as an ingredient in dessert recipes such as pie, ice cream, hand pies, cake, fruit salad, and malasadas. You can add it to just about anything you want to give a little coconut layer to and you won’t be sorry.
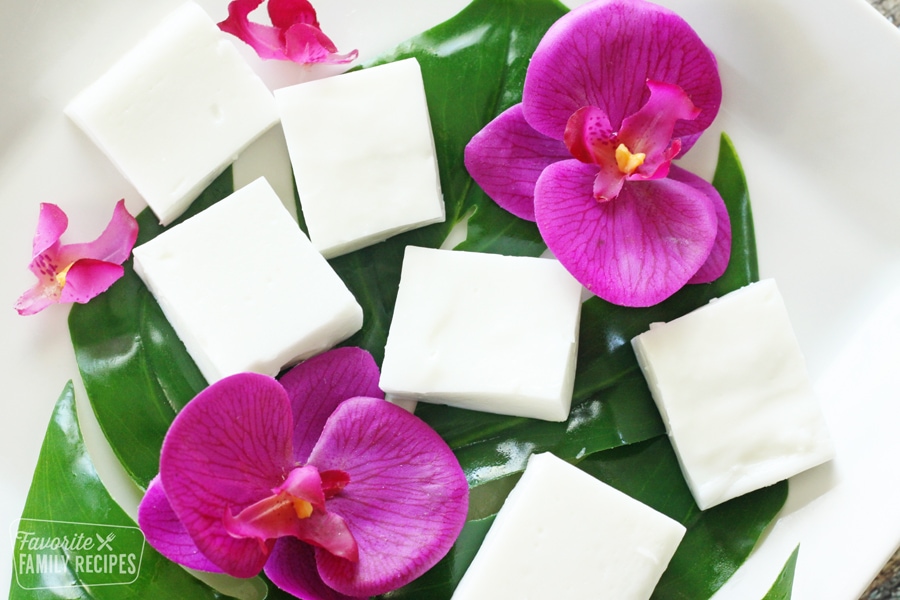
What’s In Haupia?
Haupia has only 4 main ingredients: Coconut milk, sugar, thickener, and water. That’s it. Sometimes people like to add a splash of vanilla or almond flavoring as well but it isn’t necessary. Here’s a breakdown of the ingredients:
- Coconut Milk (full-fat ONLY) or Coconut Cream – There is some debate on whether using coconut milk, coconut cream, or cream of coconut is most traditional. Honestly you can use any of these. Coconut cream is a little more difficult to come by, but you can find it at most Asian markets. Coconut cream is thicker, so you may need to add a little more water to get the consistency you want. Cream of coconut is the sweetened version of coconut cream, so if you use cream of coconut, no additional sugar needs to be added.
- Sugar – just plain granulated sugar. Haupia typically isn’t overly sweet, in fact, most haupia I have had isn’t very sweet at all. If this is your first time having haupia and are more accustomed to very sweet desserts, you may want to add up to ⅓ cup sugar.
- Thickener – such as cornstarch, agar agar, or arrowroot (see detailed breakdown below). Use the amount listed for a more firm haupia, or about half if you want to make it more of a pudding or custard.
- Water
Cornstarch, Arrowroot, or Agar Agar
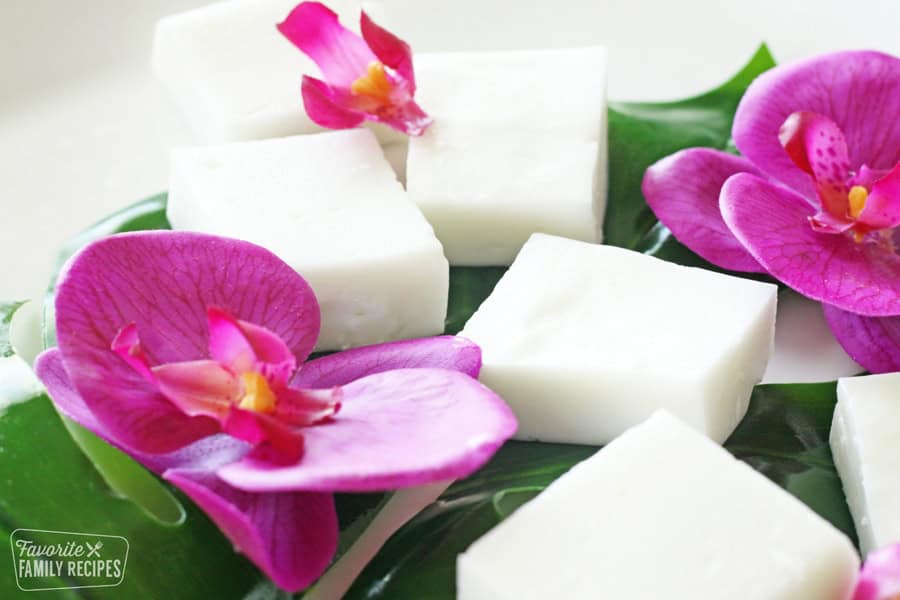
This is the great debate when it comes to haupia. Is it better to use agar agar (a popular Japanese vegetable-based thickening powder), arrowroot, or cornstarch? Which is more authentic? What tastes better? Which sets up best? I will break it all down for you here:
- Cornstarch – The easiest to come by here in the states and by far the cheapest option. It still sets up well. This is the most widely used thickener today because of the ease and affordability.
- Arrowroot – The most traditional option. Has a very smooth texture and sets up great. Arrowroot can be difficult to find and a bit pricey, but it’s worth a try if you want it to be really authentic. If you use it in this recipe, you can swap it straight across at a 1:1 ratio with the cornstarch.
- Agar Agar – Great, smooth texture and sets up nicely. It’s a great natural substitute for cornstarch and commonly used in haupia. It has no corn, soy, gluten, carbohydrates, starch, sugar, or preservatives and it is high in fiber. If using agar agar in this recipe, you will want to use much less than you would if you were using cornstarch or arrowroot. About 1-2 teaspoons rather than 5 tablespoons.
As far as taste goes, all of these options are neutral in flavor. It will be hard to taste a difference between any of them. For texture, they are similar and unless you try them side-by-side you won’t notice a big difference. Agar agar and arrowroot tend to have a smoother more “gelatin-y” texture but it’s not too drastic of a difference.
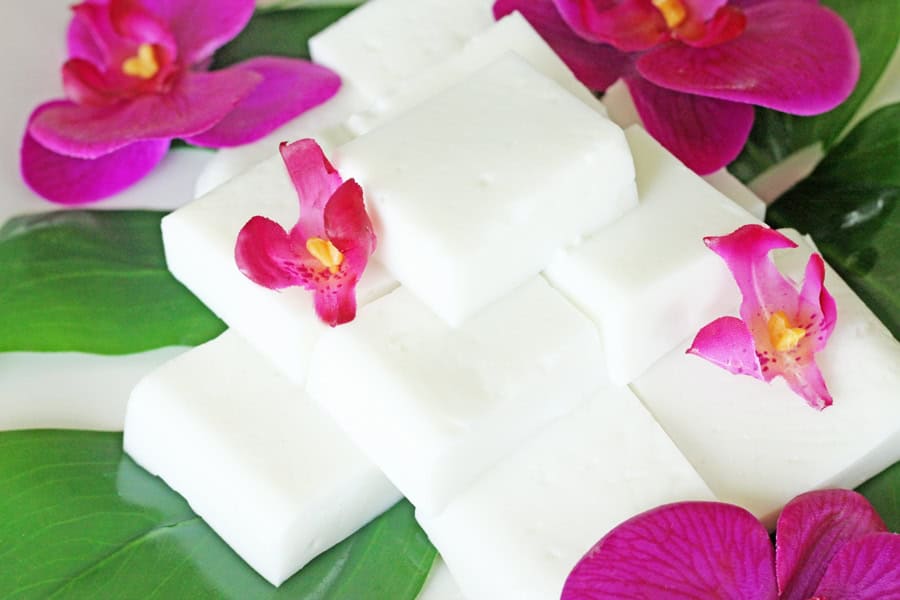
How To Make Haupia
- Combine water and cornstarch (or arrowroot) and set aside
- Bring coconut milk and sugar to a simmer, whisking constantly
- Whisk in cornstarch mixture and continue whisking until thickened (about 10-15 minutes)
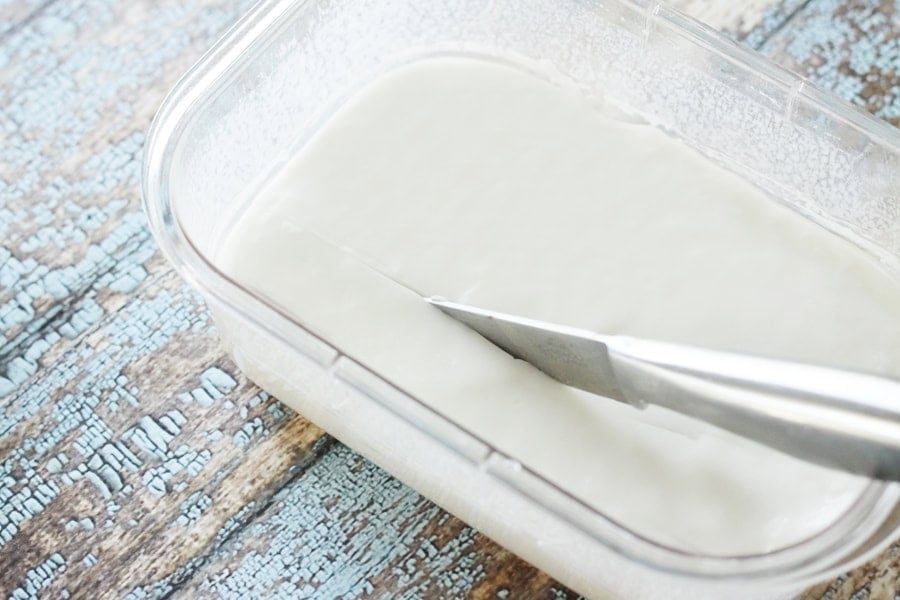
- Pour into a baking dish or square container and refrigerate until fully set (about 6 hours).
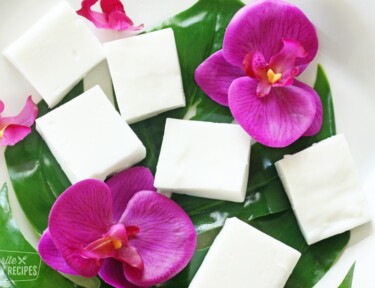
- Cut into squares and serve
Note: If using agar agar you will want to bring the water and agar agar to a simmer in a sauce pan FIRST to cook the agar agar, and THEN add the coconut milk and sugar.
Keto variation: If you use the agar agar method and use monkfruit powder in lieu of the sugar this becomes a delicious keto dessert!
How To Eat Haupia
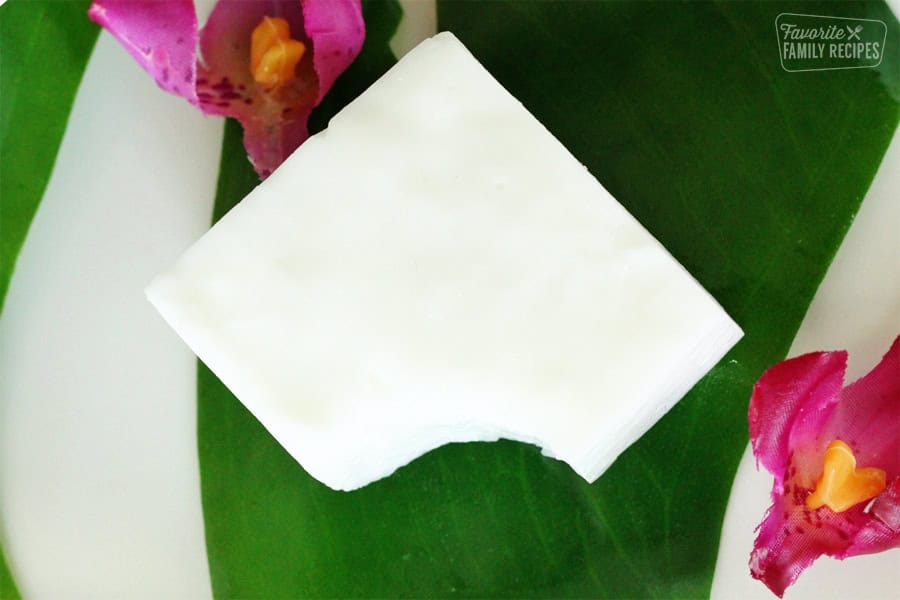
There is no right or wrong way to eat huapia. You can eat the squares on a plate with a fork or you can just pick it up and eat it like a piece of candy. Chopsticks might be tricky, but I have seen it done. If serving as a custard or pudding, a spoon might be most helpful.
Storing Leftovers
Haupia is best served fresh, however it can be stored in the fridge for a few days if needed. To store haupia and maintain its freshness, refrigerate it in an airtight container or tightly wrapped with plastic wrap. Avoid temperature fluctuations and direct sunlight. Enjoy within a few days to enjoy its best quality. For longer storage, haupia can be frozen. This may affect the texture so we typically try to avoid freezing if possible. To freeze, store in an airtight container or wrapped tightly with multiple layers of plastic wrap for up to a month. Thaw frozen haupia in the refrigerator overnight before enjoying.
Frequently Asked Questions
Haupia has a coconut flavor, with a little sweetness. It has a smooth, creamy, and gelatin-like texture.
According to Ted’s bakery, the pia plant was introduced to the Hawaiian islands by Polynesians as they crossed the Pacific. It became popular during WWII. Haupia was used to give a sweet topping to wedding cakes and is still popular today at luaus, weddings, birthdays, and other celebrations.
Haupia is made of 4 simple ingredients: Coconut milk, sugar, water, and a thickener – either cornstarch or arrowroot.
READ NEXT: The Best Hawaiian Desserts
Dessert Recipes Using Haupia
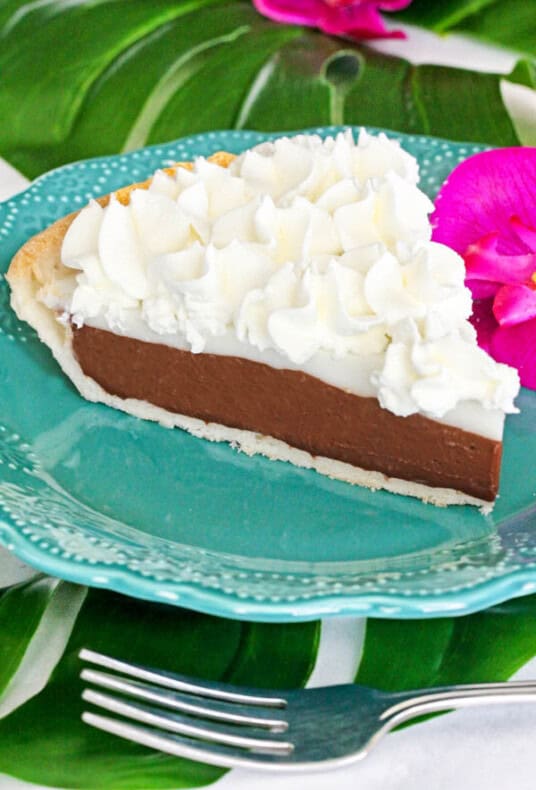
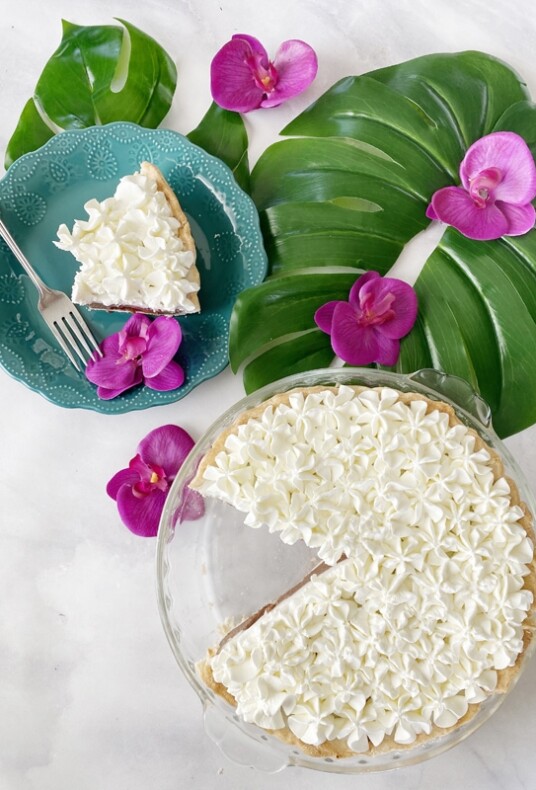
For those of you not familiar with haupia, the consistency is somewhere between pudding and gelatin. Treat it like a creamy, coconutty gelatin. It is going to set up similarly, so you can pour it while it’s still in a pudding form and it will set like gelatin as it cools. This is great for making haupia pie (pictured below). The haupia is layered on top of the chocolate in the chocolate pie filling in the pie crust.
If you use less thickening agent, you can serve it as more of a custard with a pudding consistency for filled malasadas (pictured below), trifles, a topping for desserts, or even as a pudding layer over cake.
More Hawaiian Recipes
Looking for more Hawaiian recipes to serve with your creamy Hawaiian coconut pudding? Give some of these authentic recipes a try!
Loco Moco
Chicken Long Rice
Hawaiian Teriyaki Chicken
Hawaiian Beef Teriyaki
Authentic Hawaiian Mac Salad
Spam Musubi
Malasadas
Chocolate Haupia Pie
How to Make Haupia
Haupia (Hawaiian Coconut Pudding)
Video
Ingredients
- 1/2 cup water
- 5 tablespoons cornstarch
- 13 ounces unsweetened coconut milk (full-fat ONLY)
- 1/4 cup sugar
Instructions
- Combine cornstarch and water in a small bowl. Stir until cornstarch is dissolved then set aside.
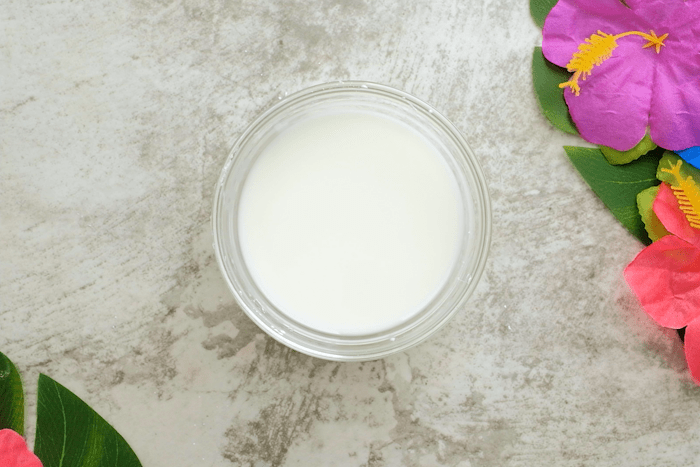
- In a medium-sized saucepan over medium heat, combine coconut milk and sugar. Whisk constantly until mixture begins to simmer.
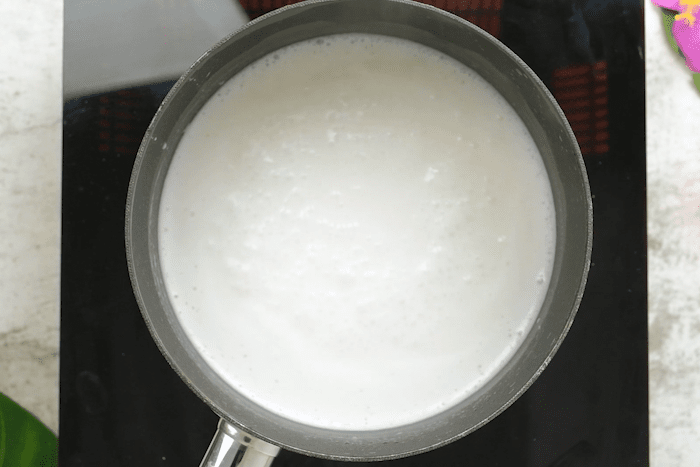
- While continuing to whisk, SLOWLY pour in the water/cornstarch mixture until it thickens. Reduce heat to low and continue to whisk until you have a thick, pudding-like consistency. This is important, it needs to be thickened while it is heating or it won't set up.
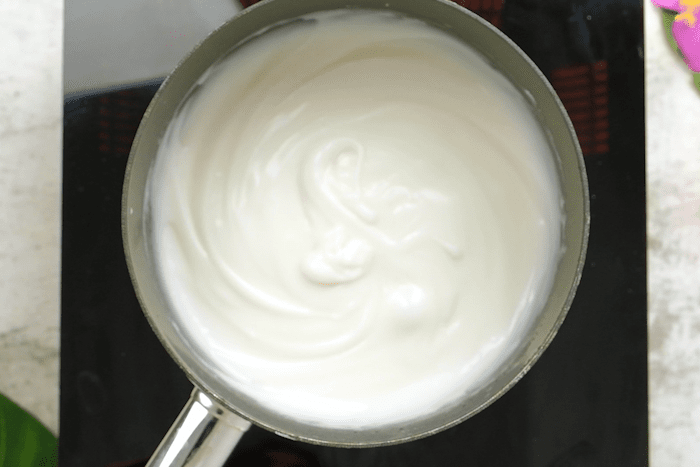
- Pour into a greased 8"x8" baking dish or square containers. I actually like to use my smaller glass Tupperware containers becasue the sides are more straight, making for more consistent squares.
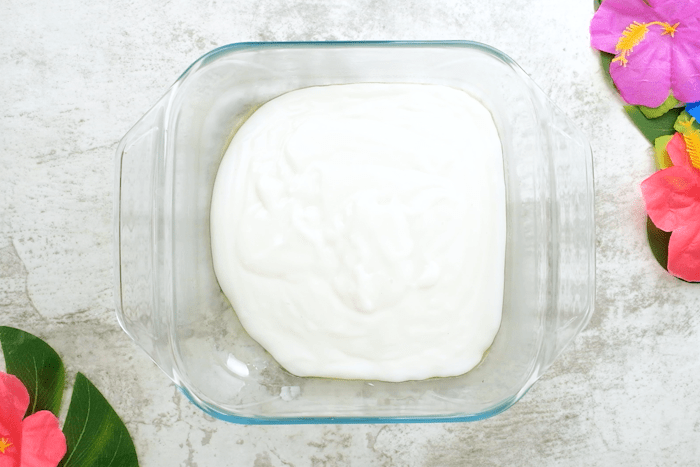
- Allow to cool to room temperature, about 10-15 minutes, then cover and refrigerate for 2+ hours.
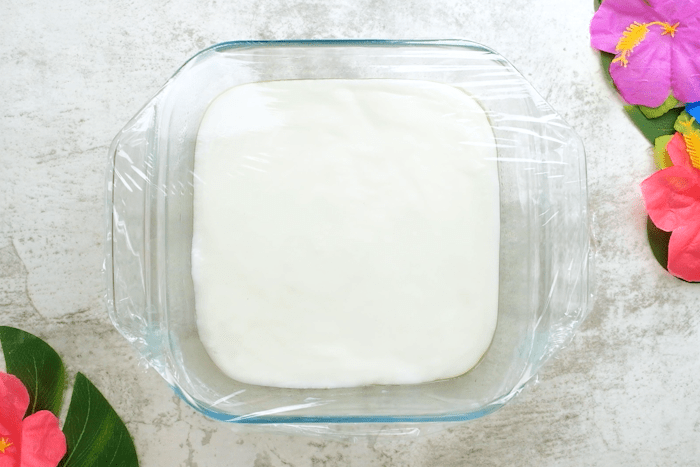
- When ready to serve, cut into 2" squares and serve cold. If serving as a custard or pudding, pour into individual serving ramekins or bowls and chill.
Notes
- Use full-fat coconut milk only.
- Arrowroot can be used in place of cornstarch.
- More or less sugar can be used to taste.
it is jelly and very good
Can potato starch substitute cornstarch?
This is a good question, and I wish I had an answer. I haven’t used potato starch in this recipe. My best guess is that if you’ve used potato starch and had similar results to cornstarch, then yes. According to this article, it may work great: Anything cornstarch can do, potato starch can do better.
Not only is it a great recipe but it’s a very easy recipe to follow and hopefully mine comes out good it probably will. It looks pretty thick right now and I’m cooling it and then I’ll put it in the refrigerator and check it tomorrow morning and thank you aloha. My name is Ada Kahalewai
I made this for a luau themed kids play group, and it was such a a popular snack! Super easy to make and free from most common allergens. I have also made it by putting it into candy molds so it sets in fun shapes.
If using arrowroot do I use the same amount as cornstarch?
If using agar agar, do I use two table spoons?
ANd if using Monk fruit sweetener is it equal to amounts of sugar?
Arrowroot can be substituted 1:1 for cornstarch. Agar agar can be substituted but you only need half the amount. So, 1 tablespoon agar agar for every 2 tablespoons of cornstarch. Monk fruit can be substituted by half as well.
Great recipie! Finally found a recipie that had the right consistency for haupia.
Just wondering if you had a copycat recipie for Foodland’s salt and vinegar wings?
I tried other salt and vinegar wing recipes online and nothing ever tasted as good as their salt and vinegar wings.
We don’t but we will have to try them!
Just made a haupia pumpkin pie. After the pie has cooled a little, the haupia goes on top over the whole pie. It is very good!
That sounds amazing, great idea!
It was delicious! Our guests loved it.
Making it again today to share recipe with my Mom! I used 11 Tblspns of cornstarch since doubled the recipe and Coconut canned milk were 13.5 oz. a can.
Firmness came out exactly as expected. Easy to cut.
Thank you for recipe!
I also made the recipe using cream of coconut and arrowroot starch. I cooked it until it was really thick, like thick oatmeal, and put it into the refrigerator. When I took it out of the refrigerator to cut up to take to a Hawaiian dinner, it was a gelatinous, slimy sort of thing, very unappetizing. I was really disappointed, as it wasn’t inexpensive to make. Also, it didn’t turn bright white, like in your pictures; it was a light beige.
If it was thick like thick oatmeal and a beige color it sounds like you might have overcooked it.
So sorry that happened. You need to use coconut milk not coconut cream. The cream if different then the milk. That is why it didn’t come out. But I’m sure it tasted good 😋
Easy, fast, and delicious!
As a chef I find the recipe simple and easy to do. I can do it in my sleep
What brand of unsweetened coconut milk is full fat or where can I find it??
I use the Thai Kitchen brand. I can usually find it at Walmart. Amazon also carries it. Thanks for asking!
I think coconut milk that is unsweetened says made from real coconut or something authentic like that. I used a brand called “Eastern”. The ones from real coconut are not sweetened.
I seen on tic toc somebody pour it over a chocolate pie can that be done with it harded on top
Question. Can I add shredded coconut as well? I really love coconut lol.
I’m not sure if the shredded coconut would mess up the consistency or not! You could add it on top!
I used coconut cream and 5tbl spoons of arrow root in 1/2c (120g of water). I followed the instructions explicitly, but mine thickened much faster than 10-15 min. When transferring into glass Tupperware dish it changed consistently to lumpy. I could not smooth out the top. Any ideas?
You can add toasted coconut to the top before it totally sets. You can also add rum, coconut extracts at the very end of cooking
I made this yesterday and just checked on it after it had been in the refrigerator for 24 hours and it is just liquid. Any idea why and what to do?
We will review this recipe and try to find out why it’s not working for some people. Which thickener did you use?
I just made it with corn starch and it turned out fine for me. Delicious
I had the same problem after cooking it for a while it hasn’t thickened, I used agar agar.
You can try to bring it up to a simmer (bubbling) and double check that you used all of the ingredients.
It should set. I usually wait until the entire volume has the same consistency before pouring into a dish.
I have been off my island Maui for a few years now, and was seriously craving Haupia, I loved your blog and beautiful photos, and then your recipe… ONO-LICIOUS PERFECTION!!! (btw, it IS supposed to be creamy squares, not jelly-like, just sayin!) This IS true Haupia!
MAHALO!!!
I’ve made this recipe multiple times using cornstarch and using agar agar. Personally my favorite was using agar agar because I like the more jelly-like texture. The cornstarch gives it a more creamy pudding-y texture.
Totally love how easy this recipe is!
Hello, I made this haupia as instructed. I refrigerated it for overnight. When I went to cut it the squares stayed shape but when I went to lift it, it fell apart. It looked like pudding. It tasted good but I think I would add a little more sugar. So you have any advice why mine didn’t turn out? Possibly didn’t keep it on the heat long enough after it started to turn to pudding consistency? I want to master this. I like it.
There are a lot of different reasons why your haupia may not have set. As you mentioned, maybe it wasn’t on the heat long enough. You may have needed to add just a little extra cornstarch, especially if you are in a humid climate. Did you use cornstarch, agar agar, or arrowroot?
I love any kind of dessert with coconut in it and this looks amazing.
A quick and easy dessert. Ingredients surely available easily at home. Best dessert for a party too.
God, that looks good. Your pics are so nice, it like I can actually feel the texture. I need to get my hands on some arrowroot and try them.
Hello, I’d like to ask for some advice, please. I used arrowroot and it turned out like pudding, not holding its shape. Can I make it more gelatin-firm using arrowroot? I wonder if it needs more (I used 6 tablespoons)? Maybe if I had added the slurry more slowly to the simmering coconut milk like the instructions say (instead of adding all at once — it got super thick immediately). I wasn’t sure how long to cook it or how to know when it’s done, so cooked it for 5 minutes. Is it better to cook longer? Lastly, I did not let it get to room temperature before refrigerating; could that have kept it from setting right? (Sorry for being impatient and not following the instructions!)
Thank you for your time and help. Thanks for the great recipes. Looking forward to making a Hawaiian Plate Lunch. Be well!
Hi! I am so sorry this didn’t turn out the way you were hoping! It sounds like you may have skipped a few key steps in the instructions. I do that sometimes too. However, with this recipe its important that you follow the recipe exactly. I hope you have better luck next time!
Laura, I made this recipe using 4 tablespoons of arrowroot. It thickened in about 3 minutes. Some possible reasons your attempt didn’t thicken:
1) the coconut milk was not full fat. The nutrition label should say 14 grams of fat per 1/3 cup
2. Your arrowroot was not pure arrowroot. The manufacturer adulterated it with something else
3. Your haupia was not thick it enough when you stopped cooking it. When you lift the spoon or whisk, it should not stream off the spoon, it should flop off the spoon.
Thank you for the suggestions!
I am using Starwest Botanicals organic arrowroot powder and Native Forest organic coconut milk classic.
Did your arrowroot haupia get to that sturdy, jello-like, slice and keep its structure state? Mine did thicken, but it wasn’t sliceable/didn’t hold its form.
I just made it a second time, using this recipe (https://www.ruchikrandhap.com/duddali-arootachi-mani-arrowroot-pudding/), which instructs to heat everything together, but more slowly and for longer, and the texture turned out with a more pleasing soft pudding consistency (rather than sort of all-one-mass which happened the first time), but still did not have the desired firmness. Maybe if I had cooked it for 10 more minutes. Still getting the grasp of haupia food chemistry.
I am amazed that you had success with just 4 tablespoons arrowroot. I used 1/2 cup (8 tablespoons) the second time, and it still did not firm up!
After it sets half way I scoop it with a small ice cream scooper and top my tarts with it, it’s like a dome and then I sprinkle pistachios and Mac nuts on it. It’s the bomb!