This post may contain affiliate links. See our disclosure policy.
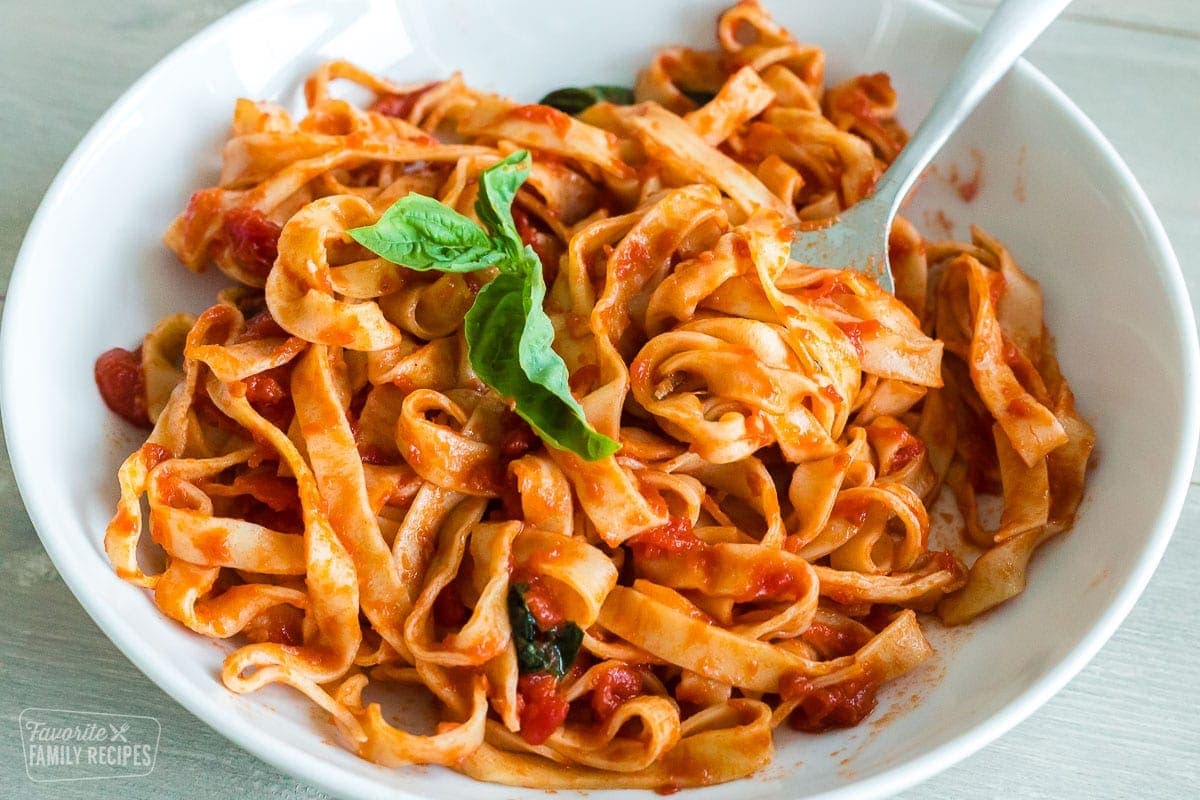
Homemade pasta is made with just TWO ingredients and is a better alternative to store-bought pasta. It’s easy to make too! I will teach you, step-by-step, how to make easy pasta noodles the Italian way.
Featured with this recipe
Nothing beats fresh, homemade pasta noodles. It is perfectly slurpable, especially when coated with your favorite pasta sauce. The smooth, chewy texture just can’t be duplicated by dried, store-bought pasta. If you have never made homemade pasta before, you are in for a treat!
You will be surprised how easy pasta is to make, especially if you have a pasta machine or maker. When I run out of pasta in my pantry and need to get dinner on the table fast, I have found that it’s faster to make it from scratch than to go to the store, buy pasta from a package, and come home and make it. And it tastes better too!
Types of Pasta Machines
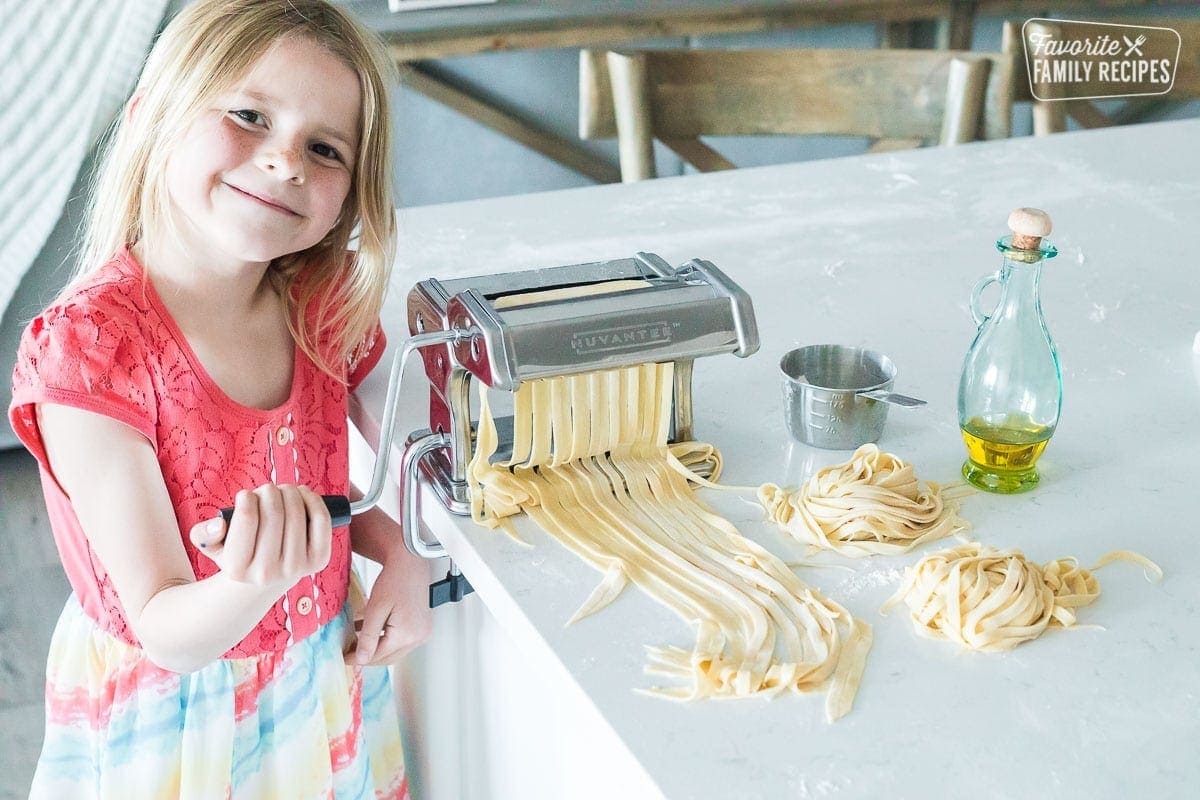
If you want to make your pasta-making experience easier, it is worth it to purchase a pasta machine. I have tried rolling out the pasta by hand and cutting it with a pizza cutter before but it was a lot of work and honestly, I was just terrible at it. I broke down and bought a pasta machine and it was totally worth the investment!
The one I have is a manual countertop one that you crank by hand. You can spend more to get machines that are electric or get an attachment that can hook up to your KitchenAid. If you plan on making your pasta fresh each time, it might be worth it to you to spend a little more for an automatic one.
It All Starts with the Right Flour
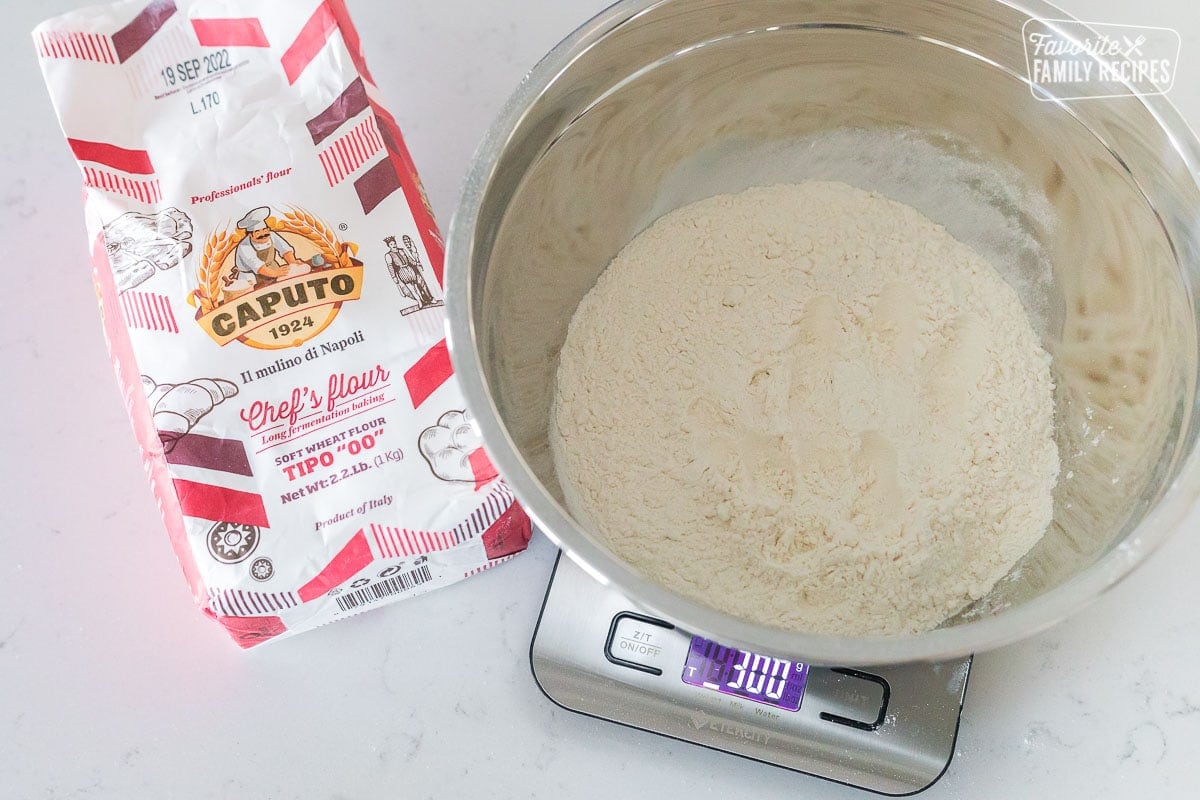
To make pasta, you want to use Tipo “00” flour. This is the flour they use in Italy for pasta. It is a lower-protein flour that gives your pasta perfect texture and elasticity. It is becoming easier to find Tipo 00 flour in most grocery stores in the US but I find it cheapest to buy the Tipo 00 Chef’s Flour in bulk on Amazon.
If you simply can’t use Tipo 00 flour, semolina flour is the next best thing, followed by all-purpose flour. The gluten and protein amounts vary in each of these flours so your pasta dough won’t come out exactly the same, but it will still be very good.
All it Takes is Eggs and Flour
To make authentic homemade pasta like they do in Italy, you only need two ingredients, flour and eggs. A good rule of thumb is 1 egg for every 100g of flour which is about ¾ cup of flour. I always use a kitchen scale for this. When it comes to authentic Italian cooking I don’t mess around.
Sometimes I add a little fine sea salt and/or a little olive oil to the dough while I am mixing it up, but it isn’t necessary. If I do add salt to the dough, I use less in my pasta water.
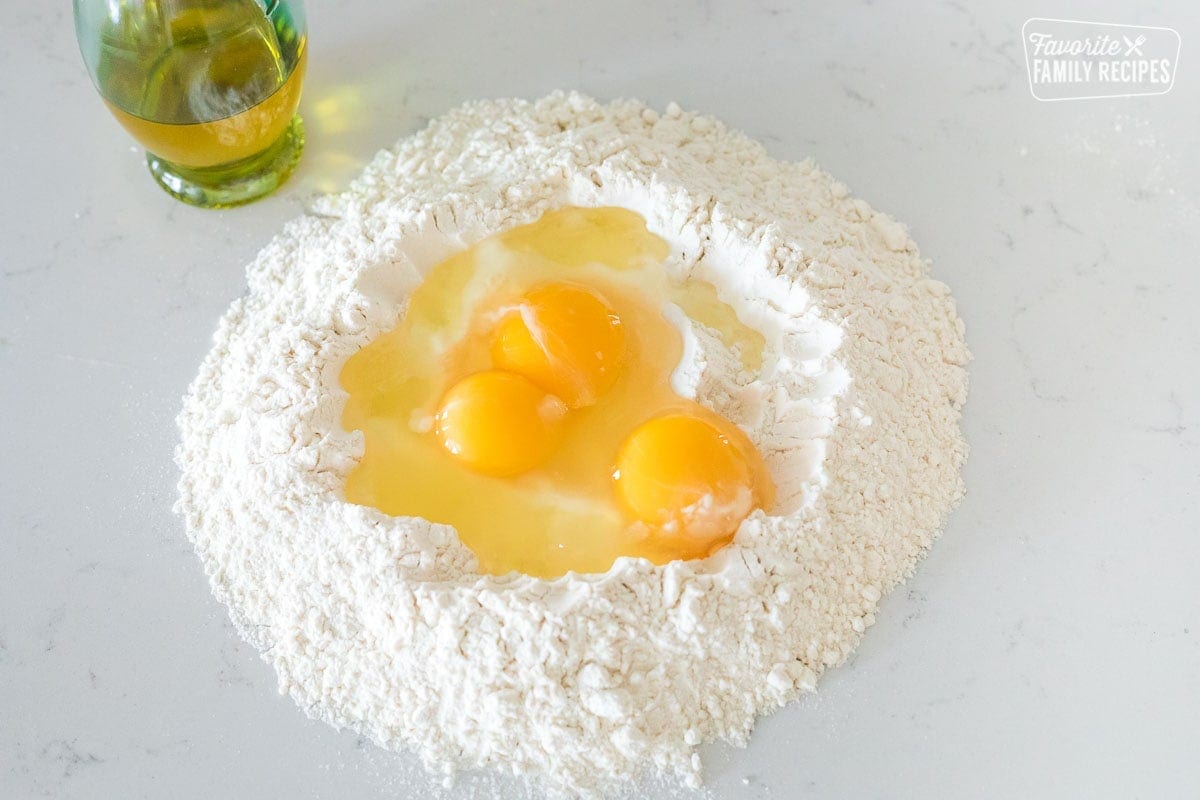
How To Make Pasta from Scratch
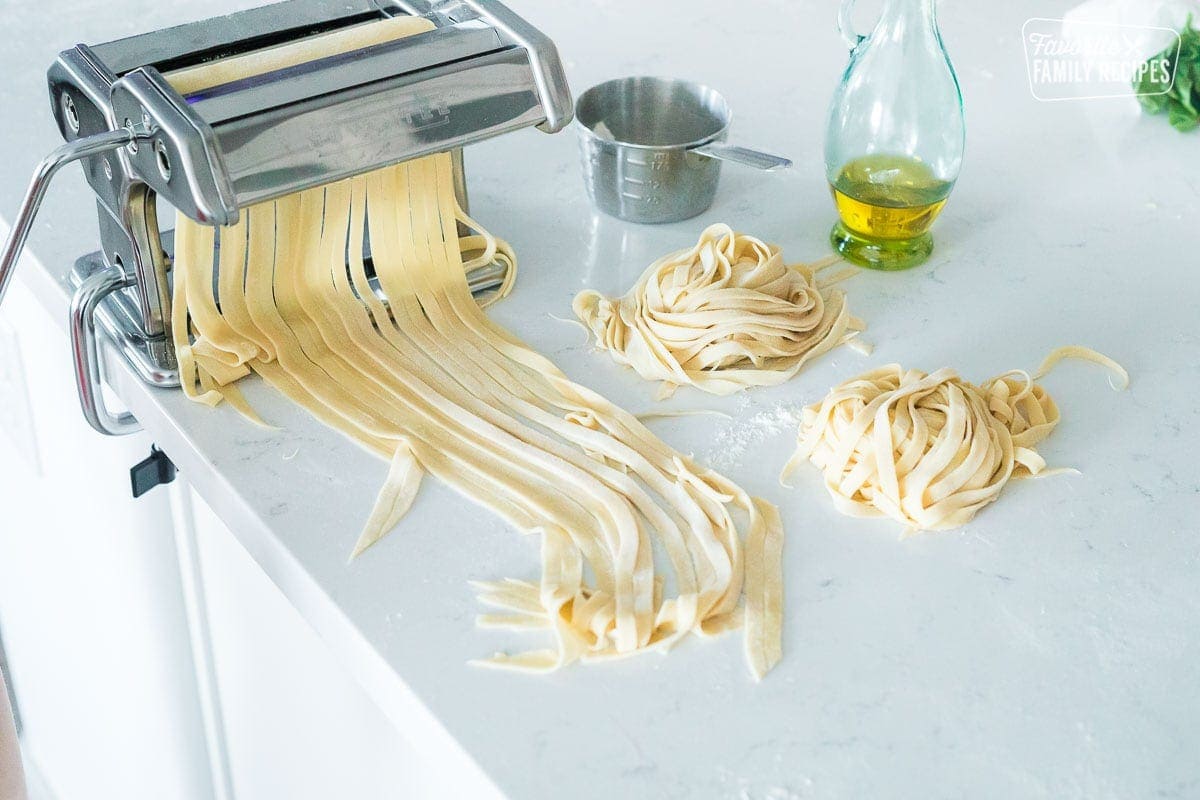
The process for making pasta is easy, it just takes a little time. Simply combine the two ingredients, then knead them with your hands, and roll them out using a pasta maker. As you are working with the dough, make sure to keep the other dough covered with a kitchen towel so it doesn’t dry out.
- Combine – Combine eggs and flour on a clean surface.
- Knead – Knead pasta dough with hands for 10 minutes
- Pasta maker – Press the dough flat with your hands and feed it through a pasta maker, making the sheet of pasta thinner with each run-through
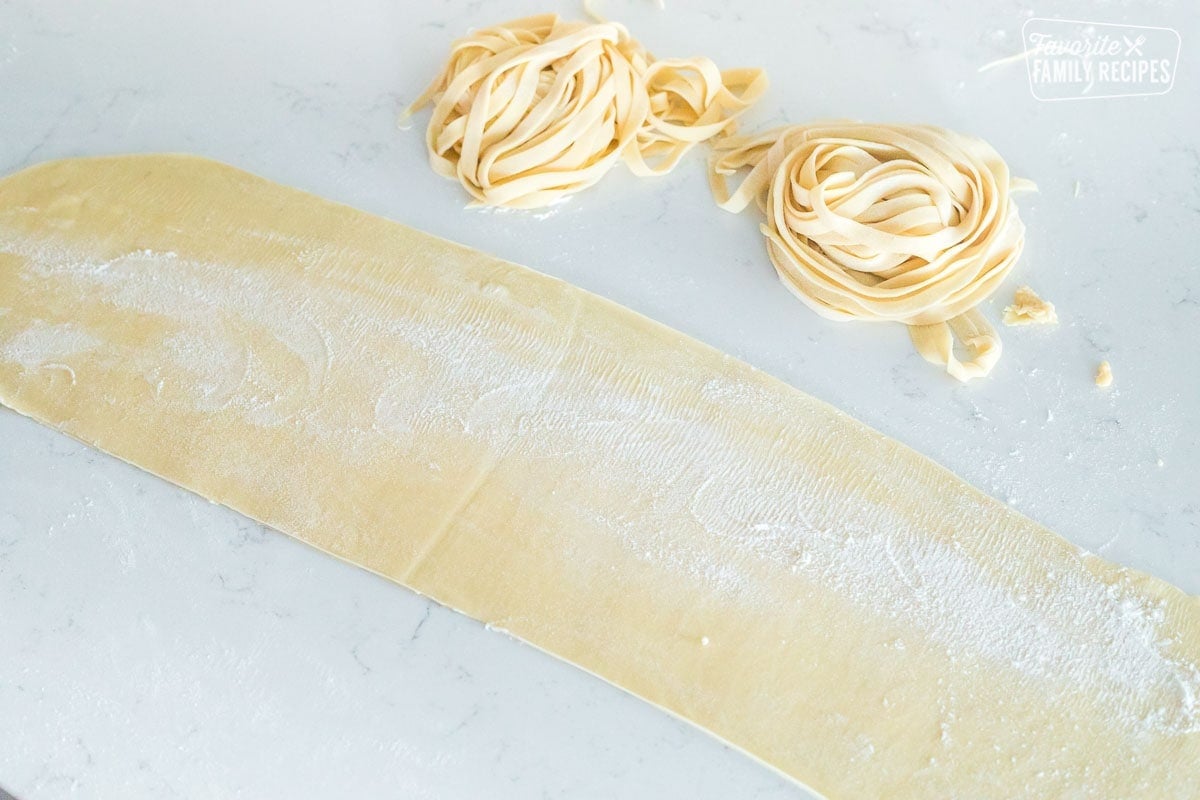
- Cut pasta – Feed the dough sheet through the pasta cutter or cut with a knife to make noodles
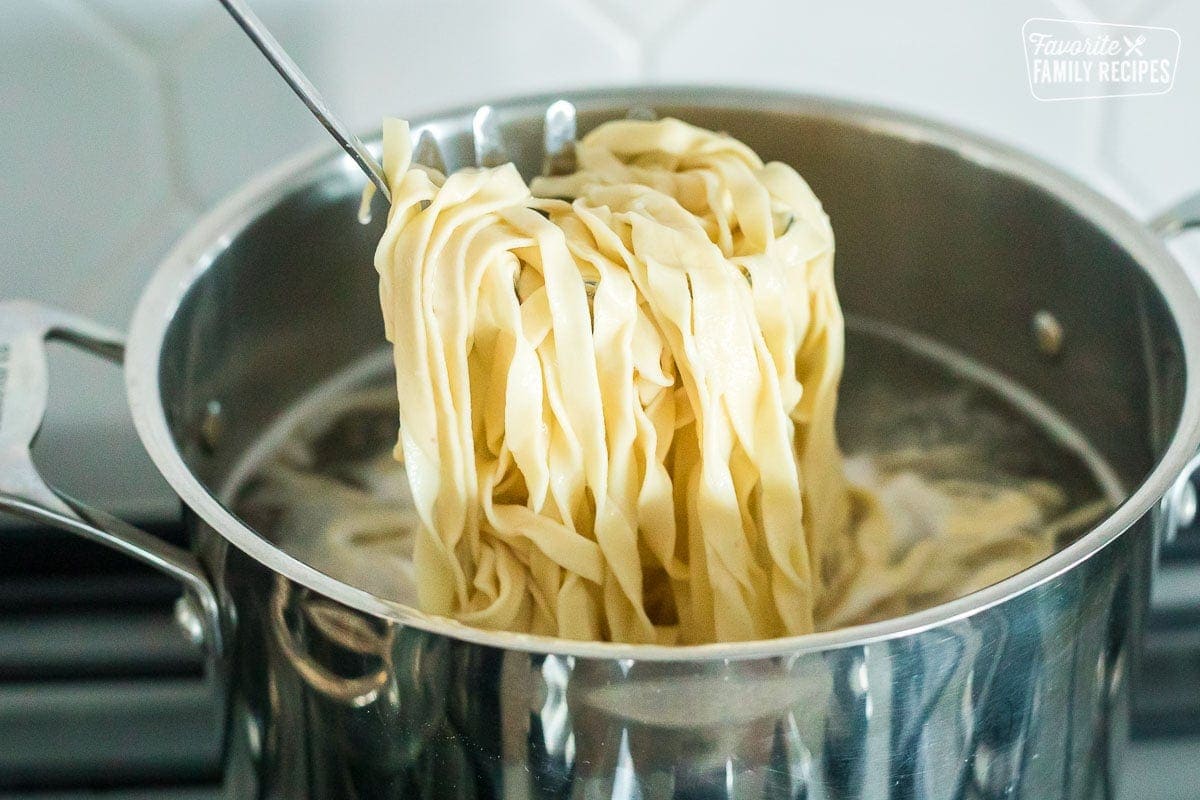
- Boil – Place pasta noodles in boiling water and boil for 1 to 3 minutes. Serve with your favorite pasta sauce
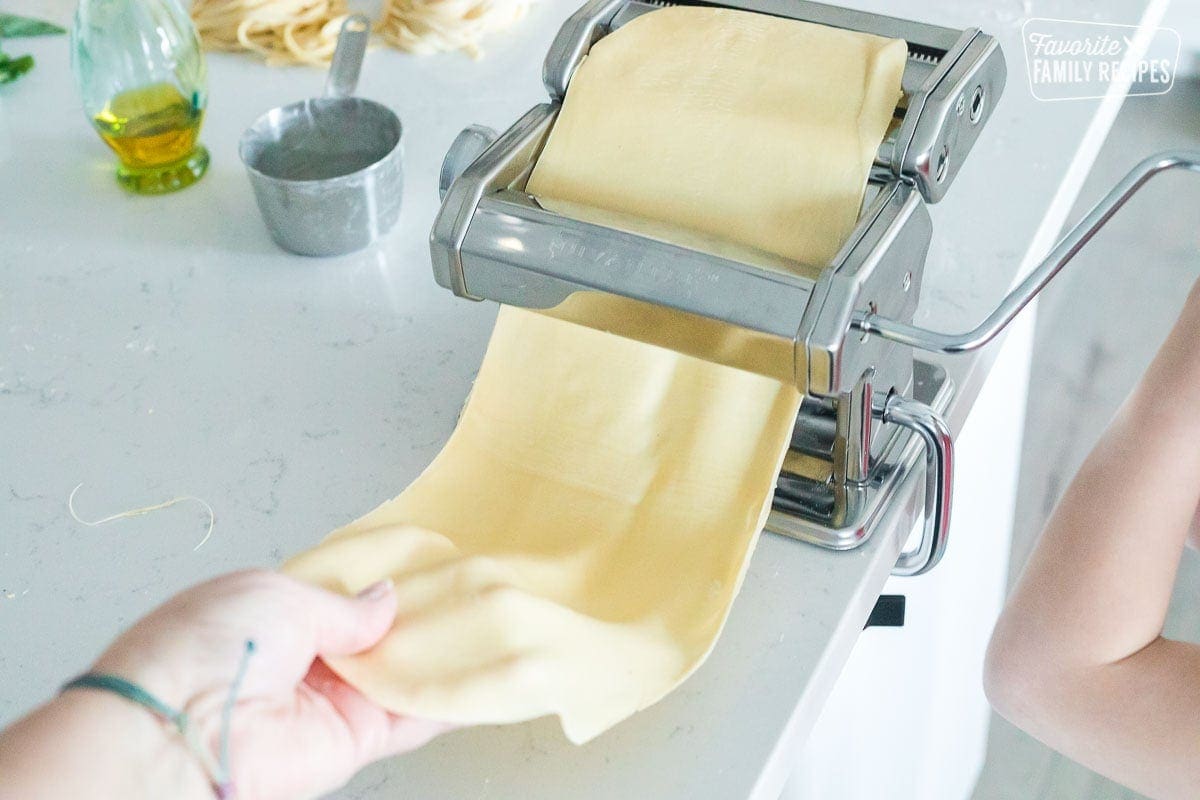
Keep it From Sticking
Any time your homemade pasta dough seems too sticky, dust it with flour. Use a lightly floured surface to keep the dough from sticking together at any given time. Even once the noodles are cut, give them a little sprinkle of flour and toss so the noodles don’t stick when you drop them into the water or when you prepare them for storing for later use.
Cooking Pasta Takes Less Time
Fresh pasta cooks much faster than dried and packaged pasta. You only need to cook fresh pasta in boiling water for 1 to 3 minutes, depending on the thickness of your pasta noodles. Make sure it is a rolling boil before adding the pasta to it. Watch it closely and remove once the pasta noodles are tender, but firm to the bite, al dente.
Tips for Making Homemade Pasta
- Room temperature – Bring your eggs to room temperature before making your pasta. They will incorporate into the dough better.
- Clean counter – Make sure that you have a clean work surface when kneading the dough and putting it on the counter. The dough will pick up hair and other crumbs that are there.
- Hand knead – Don’t use a stand mixer to mix the dough. It only takes 10 minutes to do it by hand and the results will be better.
- Add water – If your pasta dough gets too dry, put a little water on your hands and continue to knead. I have found that this incorporates the water better than putting water directly on the dough and you can avoid adding too much at once.
- Pasta nests – When making pasta into nests be sure to flour the pasta so they do not stick together. They will spread apart as you shake the noodles before putting them in the boiling water.
- Pasta makers – If you don’t have a pasta maker you can do it all by hand! You can knead and roll the dough a few extra times using a roller. Once it is thin, use a pizza cutter or sharp knife and slice thick or thin noodles.
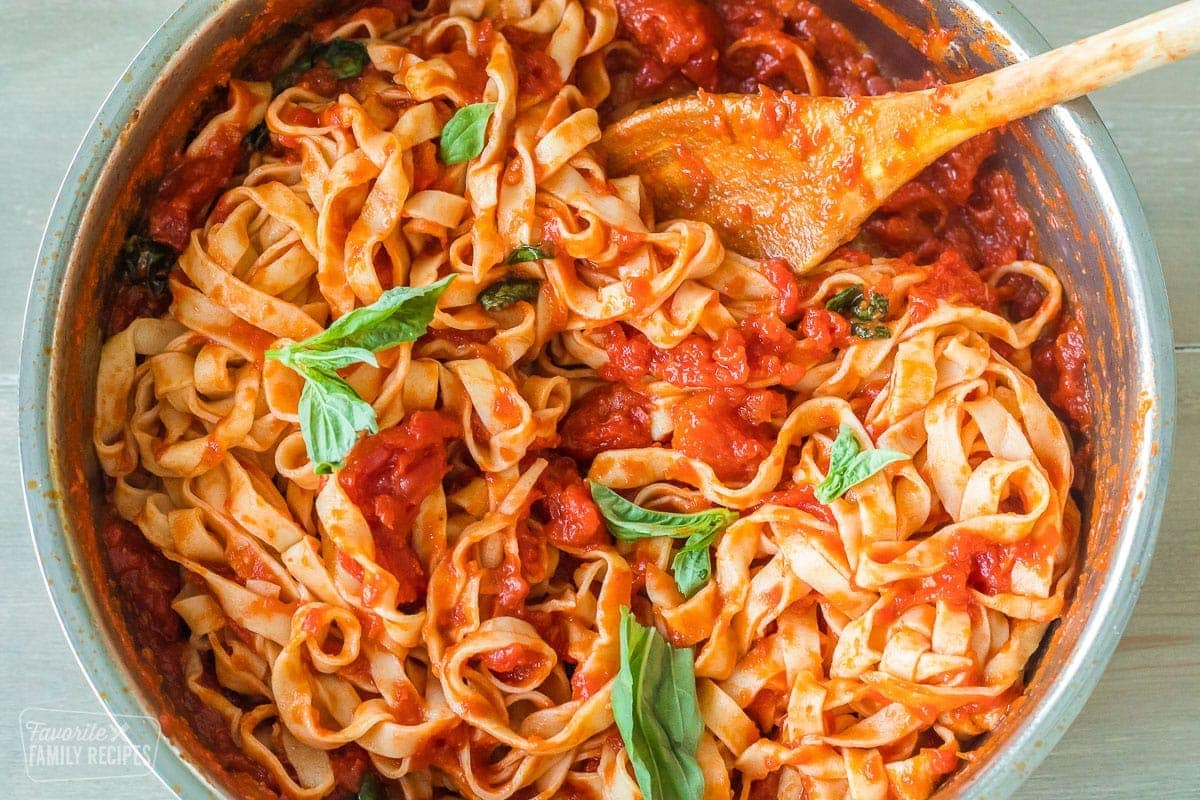
- Add it Straight to the Sauce – Put the cooked pasta directly into your sauce to get the best flavor. Toss it around to make sure every noodle soaks up the flavors of the sauce.
“This is very helpful! Thanks a bunch for sharing your amazing recipe! Loved it!”
-Allyssa
Storing Homemade Pasta
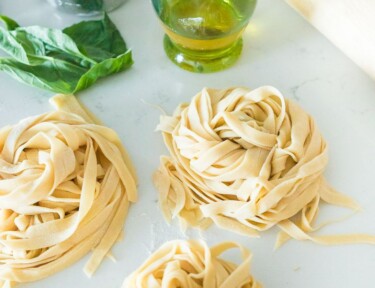
After cutting your fresh noodles, gently dust the noodles with a little more flour and allow them to dry out for about 8 to 10 minutes. You do not want to wait longer or your pasta may break. Gently form noodles into round nests.
- Refrigerate – Gently lay the nests in an airtight container in a single layer and refrigerate for up to 3 to 4 days.
- Freeze – If I am making a big batch of pasta, my preferred method of storing fresh, homemade pasta is freezing. Place your noodle “nests” on a parchment-lined baking sheet and freeze for 6 hours.
- Storing – When the nests are frozen through, gently place the nests in a zip-top freezer bag and freeze for up to 5 months.
- Cooking – When cooking after freezing, I put the nests directly into boiling water from freezing. Boil until noodles are cooked through. Don’t thaw the noodles first because the moisture from the ice crystals will make the pasta sticky and you will end up with pasta clumps instead of noodles.
Homemade Pasta Sauces
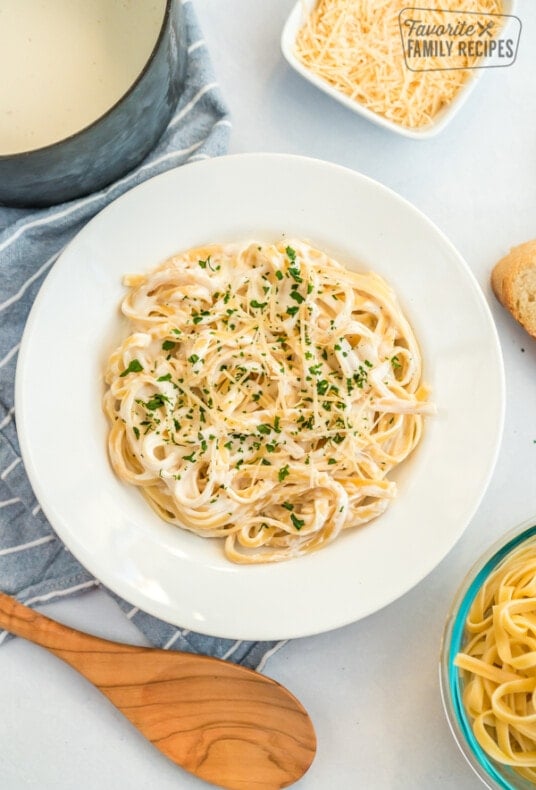
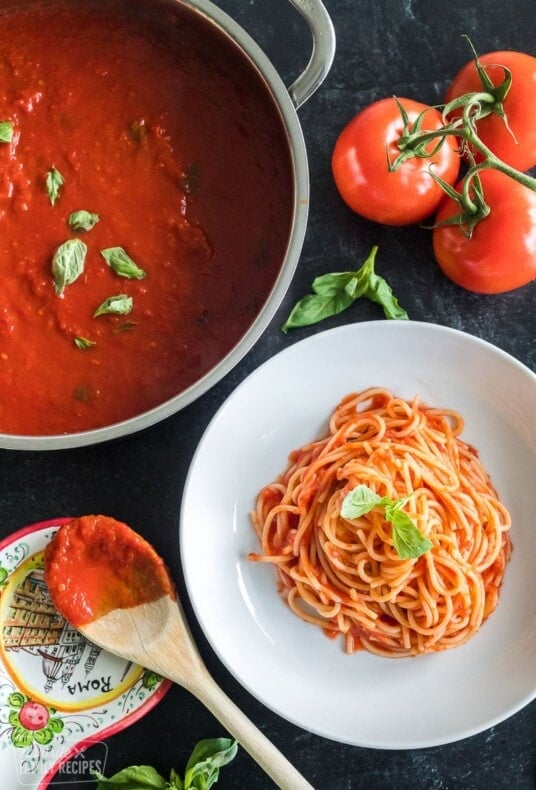
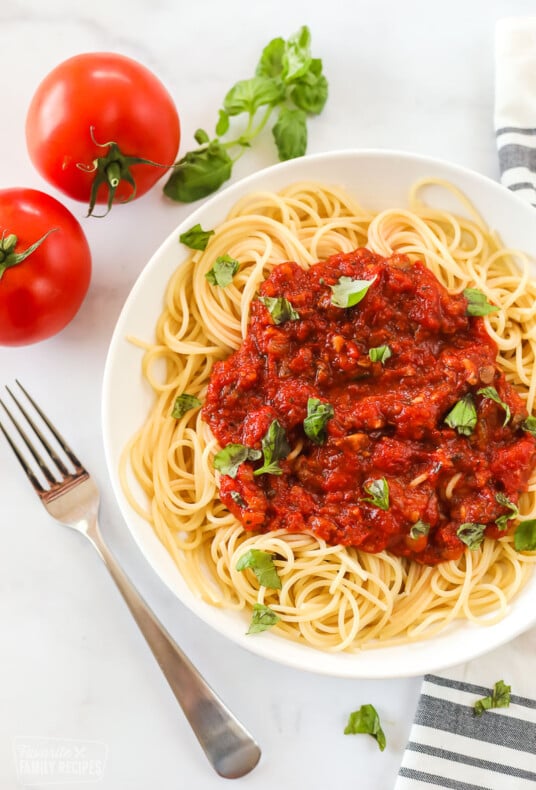
We highly recommend our authentic Pomodoro Sauce (Sugo di Pomodoro), the easy tomato pasta sauce we learned how to make in Naples, Italy! Or you can try any of our other favorite pasta sauces:
More Authentic Italian Dishes
When in Italy, we learned so many great cooking techniques, skills, and recipes that we would love to share with you. Here are a few of our favorites!
Homemade Pasta
Equipment
- pasta maker (optional)
- Kitchen Scale (optional)
- Rolling Pin
Ingredients
- 300 grams Tipo "00" flour (about 2 ¼ cups)
- 3 large eggs
- olive oil (to taste, optional)
Instructions
- On a clean surface, place flour in a mound and use your hands to form a well in the middle. Crack eggs into a bowl and then pour the eggs into the middle of the well. Add a small drizzle of olive oil to the middle if desired.

- Beat the eggs with a fork while adding a little bit of the flour from the sides at a time until all the flour is incorporated into the egg and the mixture becomes somewhat dry and crumbly.
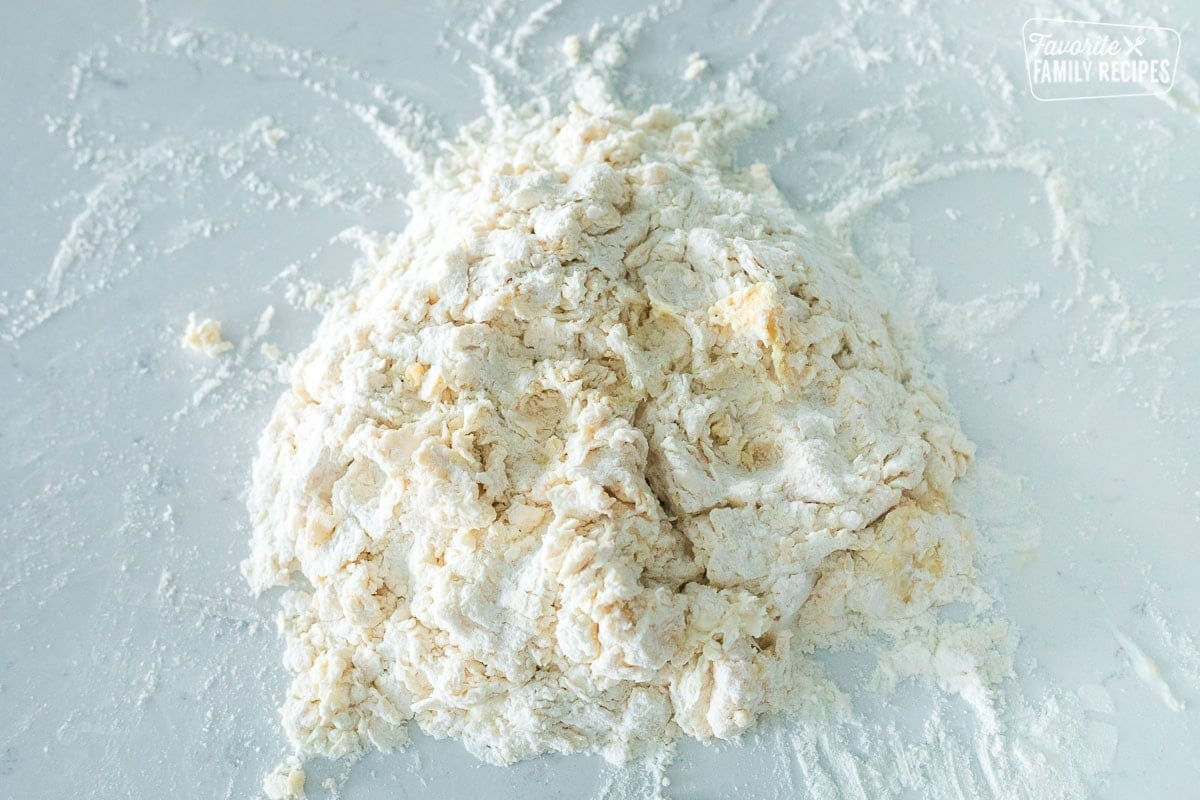
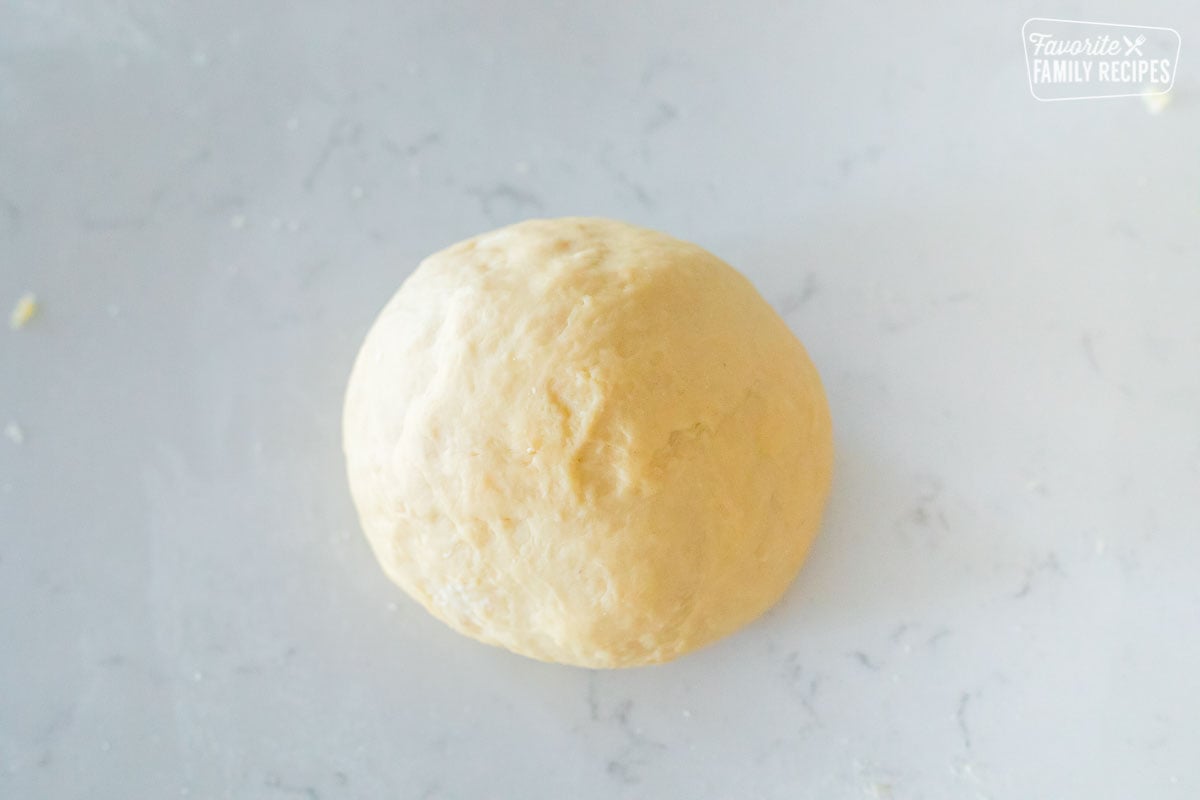
- Use your hands to knead the dough for 10 minutes. If the dough is too dry, wet your hands with water and continue to knead. Don't add water directly to the dough because it won't incorporate as well. If the dough is too wet and sticky, add a sprinkle of flour. After kneading for 10 minutes, there should be no more visible flour on the dough and it should have a smooth, soft, yet dense texture. It won't be light and airy like yeast dough. Place the dough in a small bowl and cover with plastic wrap. Allow to rest for 20-30 minutes. Use a bench scraper or knife to cut the dough into 3-4 equal pieces. Work with one piece at a time. Place the pieces that aren't being used back in the bowl and cover them with plastic wrap. This will keep the other pieces from drying out.
- Using your hands, flatten out one piece of dough into an oval shape. Using your pasta maker's widest setting (for my pasta roller, the widest setting is a "1", other rollers might have this flip-flopped with their widest setting as the highest number), feed the dough through 2-3 times.
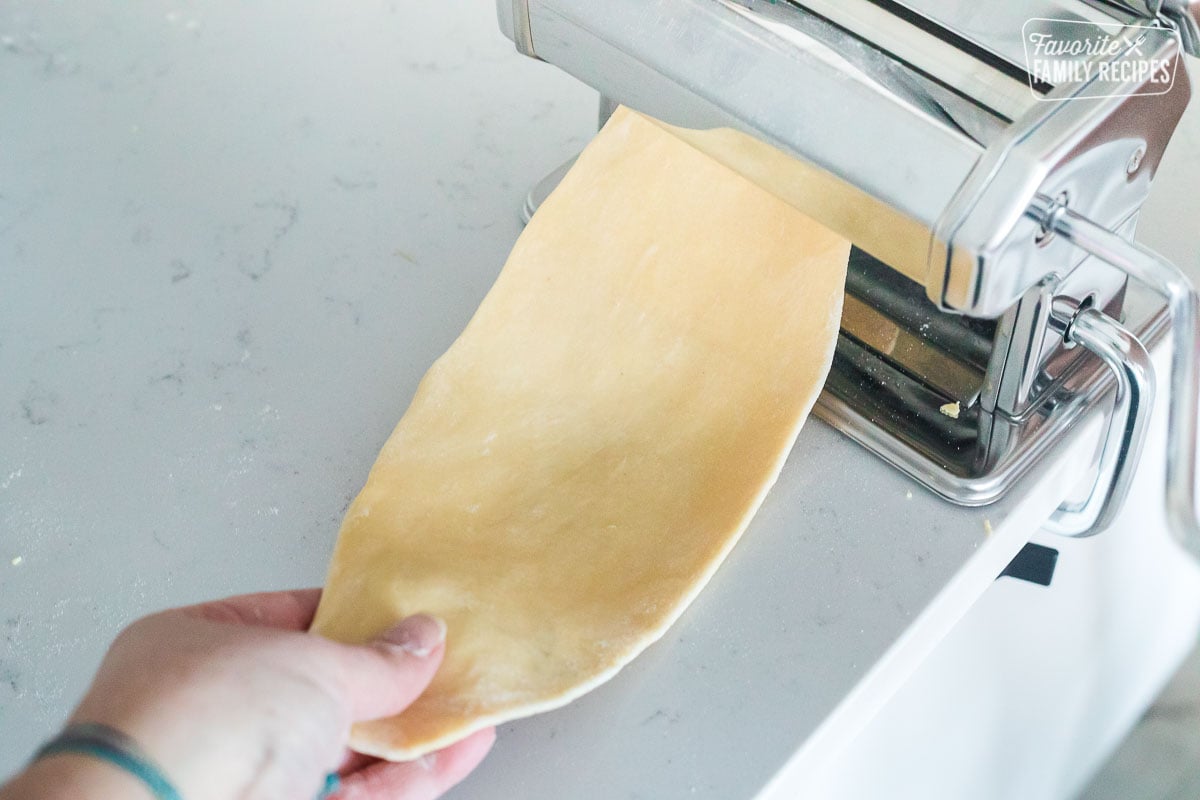
- Repeat feeding the dough through, increasing the level each time. Level 2, 3, etc… until you feed it through at your pasta maker's narrowest level. If you find the pasta starts to stick, sprinkle some more flour over the pasta and/or onto the feeder of the pasta machine.
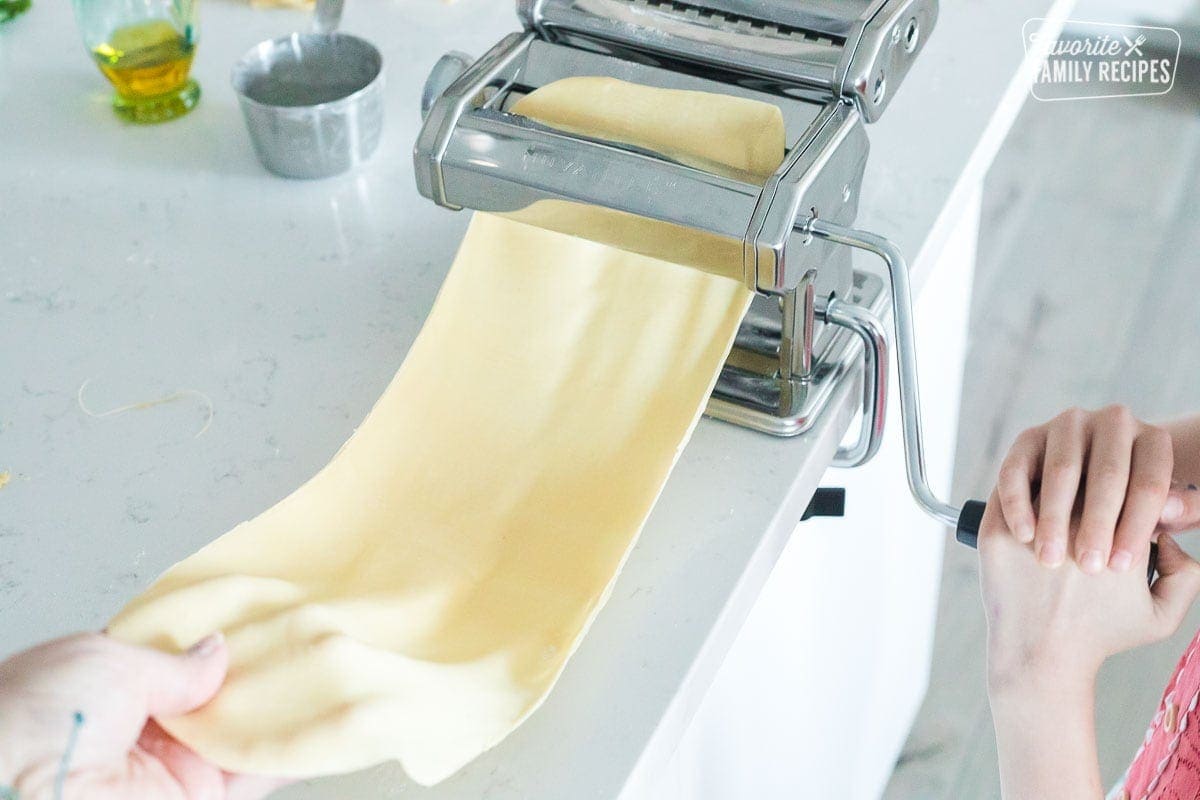
- Dust a clean surface with flour and lay your large, flat, rolled pasta over the top. Sprinkle a little more flour over the top and use your hands to dust the flour evenly over the flattened pasta sheet. Repeat with remaining dough pieces.

- If your pasta maker has a pasta cutter side (most do), run your pasta sheet through the cutter of your desired pasta size (if your sheets are super long, you can cut them in half or thirds before feeding them through). If you do not have a pasta cutter, gently fold the sheets over in half, repeating until you have a narrow stack, then use a sharp knife to slice into noodles.

Cooking the Noodles:
- To cook your fresh noodles, bring a large pot of salted water to a rolling boil. You can be generous with the salt in the water because there is no salt in the noodles. Boil for 1-3 minutes depending on the thickness of your pasta noodles. The best way to tell if they are done is to simply taste them.

For Storage:
- After cutting your fresh noodles, gently dust the noodles with a little more flour and allow them to dry out for about 8-10 minutes (no more or your pasta will break). Gently form noodles into nests. Store your fresh noodles in the refrigerator for up to 3-4 days or in the freezer for up to 5 months.
This is very helpful! Thanks a bunch for sharing your amazing recipe! Loved it!