We may earn a commission when you click on the affiliate links in this post.
Ice Cream Cone Cupcakes are the perfect cupcake to make for a party. The cupcake cooks directly inside the cone to make a fun ice cream illusion-without all the melting and mess!
Featured with this recipe
These Ice Cream Cone Cupcakes are the perfect thing to make for birthday parties or any other activities with kids. Rather than cook a cupcake inside a liner, the cupcake cooks inside a store-bought ice cream cone. As if that wasn’t fun enough, you get to decorate them!
The Perfect Birthday Party Cupcake
There are SO many reasons this is the best cupcake for birthday parties! Because the cupcake is baked into a cone, there are no wrappers to clean up or dozens of kids with icing on their hands wandering around your home. Unlike its frozen counterpart, these ice cream cone cupcakes won’t melt, so they can be easily enjoyed outdoors in full sun.
Plus, it’s so easy to customize the color of your icing and toppings to work with the party theme. For example, a Frozen themed party would look so cute with light blue icing and snowflake-shaped sprinkles on top of your ice cream cone cupcakes.
These cupcakes are just as easy to make as other cupcakes, but they look way cooler. You can make the cake from scratch if you want, but I like to keep things simple and use a cake mix. My kids like them the same either way.
If you are searching for a party cupcake that stands out—this is the one!
Ingredients
- Ice cream cones – flat bottomed (we find the Keebler brand works best)
- Box cake mix – any flavor
Buttercream Frosting:
- Butter – softened
- Pure Vanilla Extract
- Salt
- Powdered sugar
- Milk
- Sprinkles – optional
Kid-Friendly Cupcakes
My kids (and I) love these ice cream cone cupcakes because there is no wrapper to peel off and icing doesn’t end up all over their hands…and clothes…and walls, you get the picture. Plus, the shape of the cone makes it easy for younger children to eat and enjoy too.
Ice Cream Cone Topping ideas
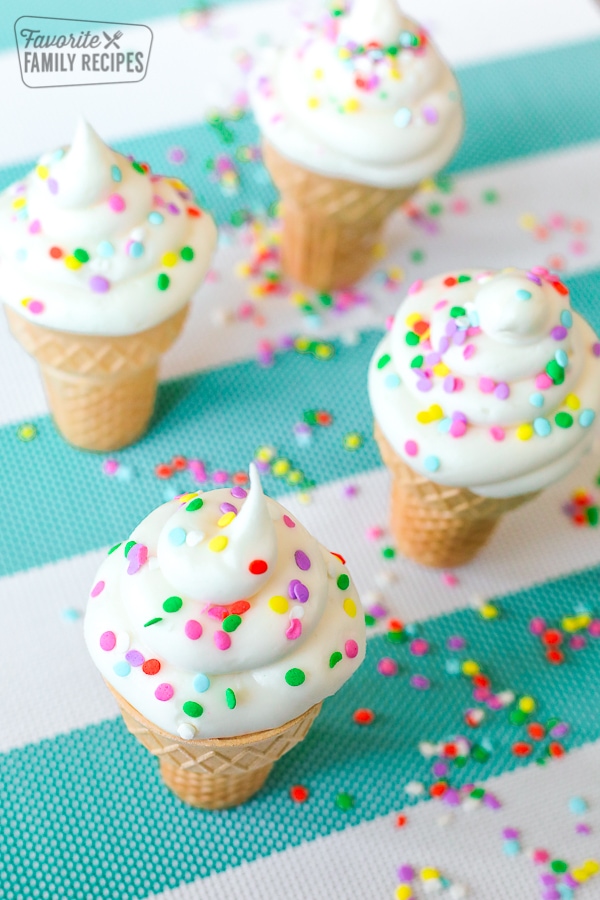
My favorite part of this cone cupcake are the toppings. Icing is swirled on the top to give the appearance of ice cream. Then, you can start decorating! There are an unlimited amount of toppings to choose from, but some of our favorites include:
- Sprinkles
- Mini M&Ms
- Mini chocolate chips
- Edible glitter
- Chocolate flakes
- Shredded coconut
- Toasted nuts
- Candied fruit slices
Fun and Fancy Variations
Chocolate cupcakes – the classic, (almost) everyone loves a chocolate cupcake! Mix it up with fun toppings, or let the kids decorate their ice cream cone cupcakes themselves!
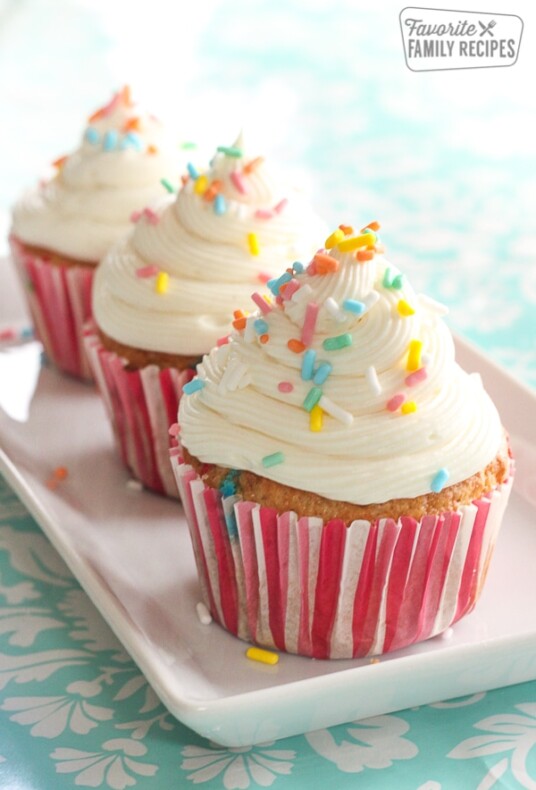
Vanilla cupcakes – again, a tried and true classic. It doesn’t get better than rainbow sprinkles on a vanilla cupcake.
Funfetti – use funfetti cake mix to create a little burst of excitement in each cone! Somehow, funfetti just tastes better because it has sprinkles in it.
Pineapple upside-down – use yellow cake mix as your base and pineapple pieces in the frosting to recreate this delicious treat!
Special sundae – drizzle chocolate sauce on the vanilla buttercream frosting and put a cherry on top, and you have yourself a sundae.
Tips and Tricks to Make Ice Cream Cone Cupcakes
After making this cone cupcake recipe countless times for parties and gatherings, I have learned a lot of insider tricks to share with you all.
- Make sure your cone is flat-bottomed so it will bake correctly. The one that has worked best for me is the Keebler brand.
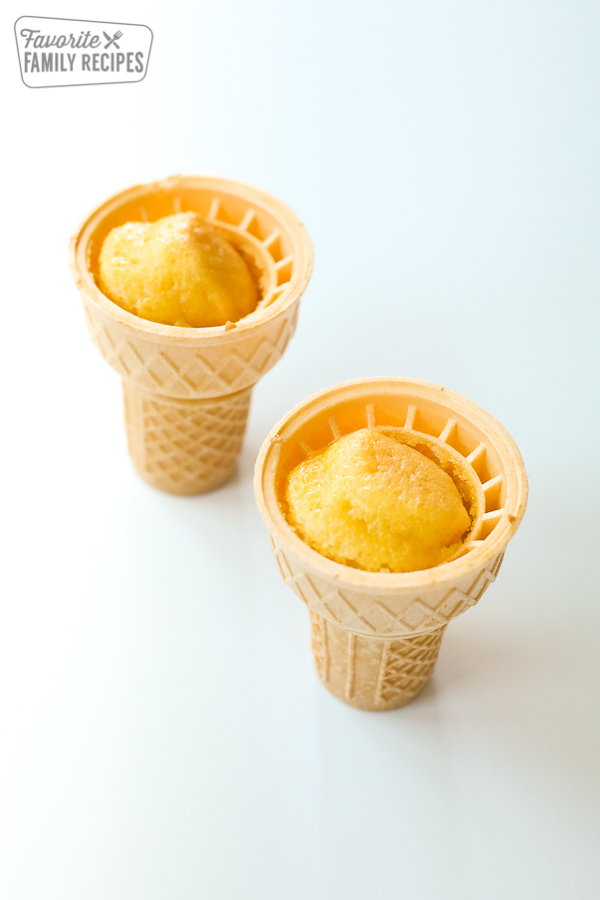
- Only fill each cone ¾ full, or your ice cream cone cupcake will overflow while baking.
- It can be helpful to have a second pair of hands to hold your cone while you fill it with cake mix.
- To fill the cones more easily and with a lot less mess, put the cake batter into a gallon-size zip-lock bag and cut out the bottom corner. Squeeze the batter into each cupcake until it is ¾ full.
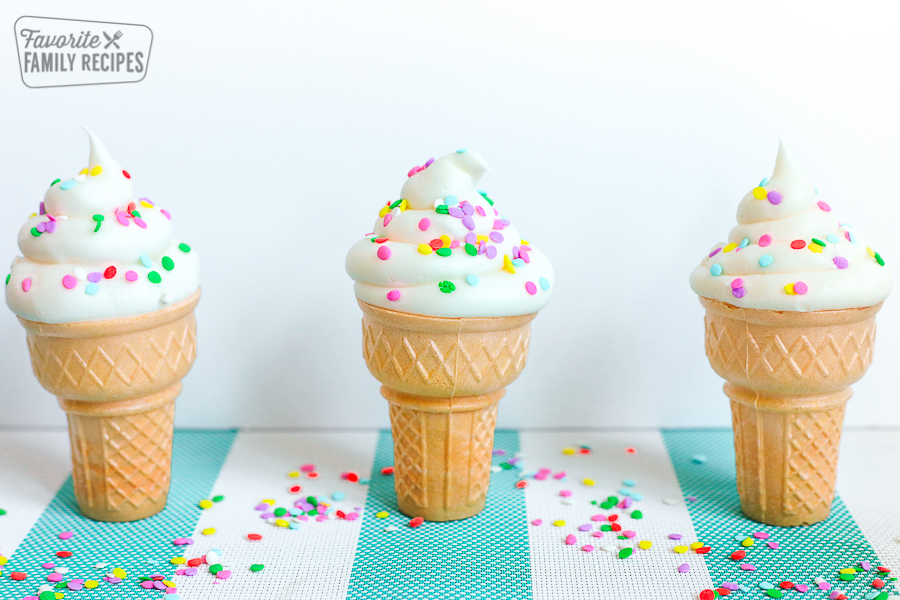
- To make the icing look like ice cream, start on the outside edge of the cupcake and spiral around the outside base, then make concentric circles towards the middle. Pull it off forming a peak like a soft-serve ice cream cone!
- If you don’t have a piping bag, you can use the same ziplock bag trick as above.
- Make sure your icing is still wet when you decorate, or your toppings will not stick into the icing. If the icing hardens before you have a chance to finish, spritz them lightly with water to moisten them, then get to work on your ice cream cone cupcakes.
Frequently Asked Questions
These ice cream cone cupcakes are best eaten the day they are made because they will go a bit soggy if they are sitting for SO long. But if you have to, you can bake them the night before and serve them the next morning, and in between, keep them in the fridge loosely covered.
We have a delicious recipe for cream cheese frosting that also works great with these cupcakes!
Read More: 33+ Easy Dessert Ideas (with Pictures + Simple Recipes)
More Cupcake Recipes
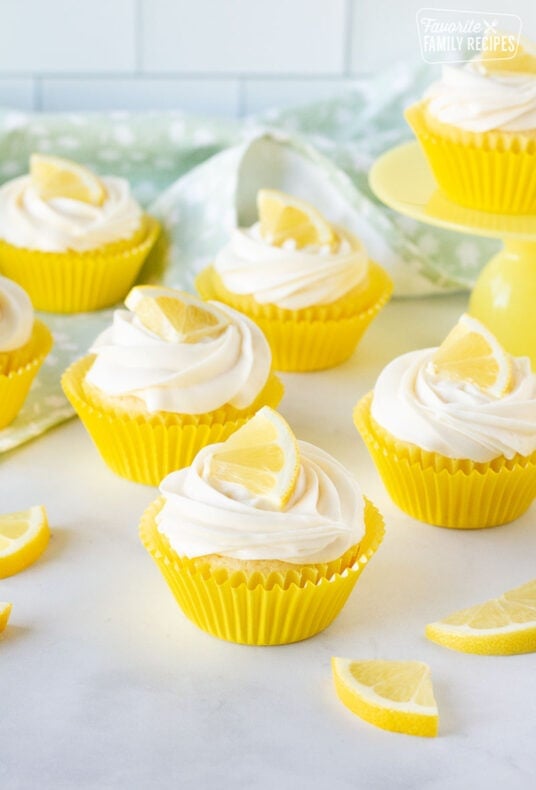
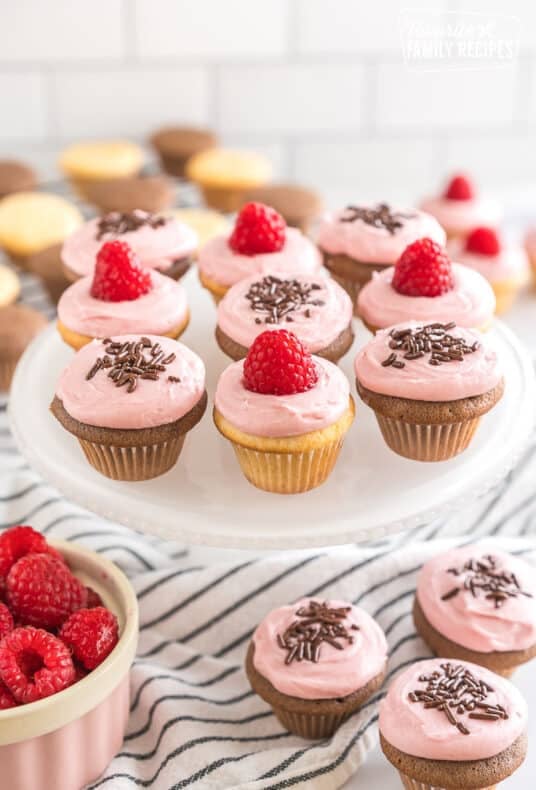
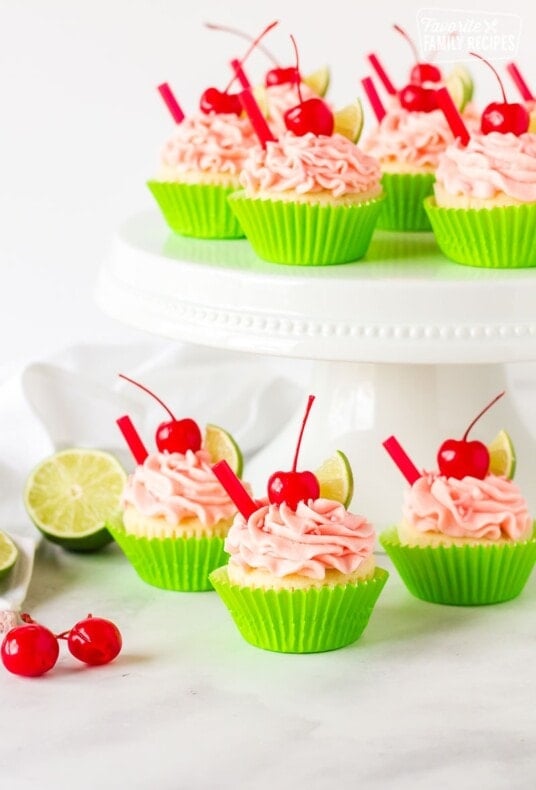
If you want to make something in addition to the ice cream cone cupcakes, these traditional cupcakes are fantastic. These zesty lemon cupcakes with lemon icing are a family favorite, as are these Nutella swirl mini cupcakes and this cherry limeade cupcake recipe.
How to Make Ice Cream Cone Cupcakes
Ice Cream Cone Cupcakes
Equipment
- Mini Muffin Pan
Ingredients
- 24 ice cream cones flat bottomed (we find the Keebler brand works best)
- 1 box cake mix any flavor
Buttercream Frosting
- 1 cup butter softened
- 2 teaspoon vanilla
- 1/8 teaspoon salt
- 2 pounds powdered sugar
- 1/3 cup milk (add up to an extra tablespoon of milk if frosting is too thick)
- candy sprinkles optional
Instructions
- Preheat oven to 350 degrees.
- Place ice cream cones into the cups of a mini muffin pan.
- Prepare cake mix according to box directions.
- Fill each ice cream cone no more than ¾ full of batter, they will overflow if too much batter is inside! (Helpful Hint: To fill easier and with a lot less mess, put the cake batter into a gallon size zip-lock bag and cut out the bottom corner. Squeeze the batter into each cupcake!) Bake for 15-18 minutes or until inserted toothpick comes out clean.
- Meanwhile in separate bowl, beat butter with mixer until fluffy.
- Add vanilla, salt, powdered sugar and milk.
- Continue beating until smooth.
- To pipe on frosting to look like ice cream, start on the outside edge of the cupcake and spiral around the outside base making concentric circles towards the middle and then pull it off forming a peak like a soft serve ice cream cone. (For a big swirl, use same zip lock bag method used to fill cupcake batter.)
- If using candy sprinkles, be sure to add them immediately after frosting so they will stick before the frosting dries. If the frosting does dry, you can use a fine mist spray bottle and mist them with water and then add sprinkles.
Cutest cupcakes ever!! They look so real! My kids love these!! Great for any party!
I’m so glad I found this recipe. They made the most adorable birthday cupcakes! Everyone loved them.
Loved these!! The excitement on the kids faces when they saw these was priceless; I let the kids decorate them and they loved it!! Awesome recipe 🙂
Yummy! These were such a big hit and so delicious! I loved this idea and my teens loved how adorable they were!
Great recipe! Any tips on how to transport them?
Haha that IS the question! If I were to transport these I would probably make the cupcakes, put them in a large tupperware, and then frost them right before serving. Transporting frosting is just too tricky!
my grandson went nuts over these and your recipe was so easy to follow thank you !!
These cupcakes are so fun! My daughter was thrilled with them!
can you add food color to the frosting for a fun color?
of course!
Will try these at my next party for sure.
these are bit new i started making these 42 years ago for my kids becauser they were eating the papers that i made the cupcakes in. but they are a novel idea for the kids are they not
What great fun cakes to put a smile on your face. My kids would love these:-)