We may earn a commission when you click on the affiliate links in this post.
Our friend Heather at Tidy Style shares her 12 expert kitchen organization ideas and tips to help you transform your kitchen!

Tidy Style
I have followed Tidy Style Home on Instagram for over a year now and have loved all of their intuitive kitchen organization ideas. When it came time for me to move into our new home, I knew I needed their help unpacking my kitchen. Being a food blogger, I have all sorts of random items that I didn’t quite know how to categorize and I knew it would probably take me a year to unpack. I am being completely honest when I say calling Heather was the best thing I did for my move. Having the kitchen done and organized the day we moved in made the rest of the move so much easier.
I contacted Heather again and begged her to write a guest post for us so our readers can use her kitchen organization ideas and tips to create the kitchens (and pantries) of their dreams. Organizing your kitchen can be a big undertaking, but it doesn’t have to be overwhelming. With all that said, I will turn it over to Heather to share her expertise:
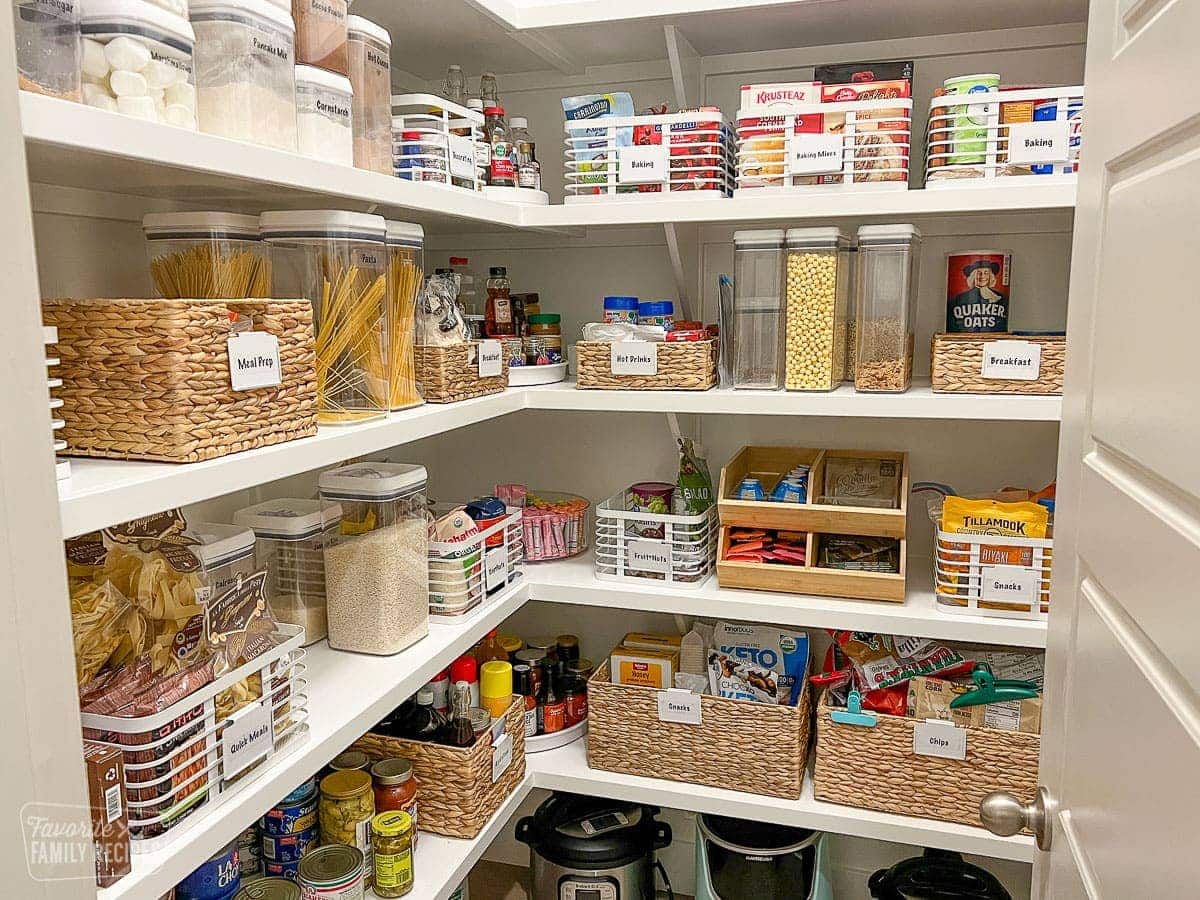
12 Tips For Organizing Your Kitchen
By Heather Bifulco, Tidy Style Owner
First off, let me just say that the kitchen is a great place to start when it comes to getting your home in order. I always recommend we start with the kitchen and pantry because it is the hub of the home and when you get this space organized and streamlined the whole family benefits! When Tidy Style comes in to organize a space we clear the whole space and basically start fresh. If you are one person embarking on an organization of your kitchen or pantry I would approach things a little differently. So for you DIYers I’d like to share some tips and tricks for organizing your own kitchen with the goal of having a beautiful and efficient space in the end.
1. Start with an “Easy” Space
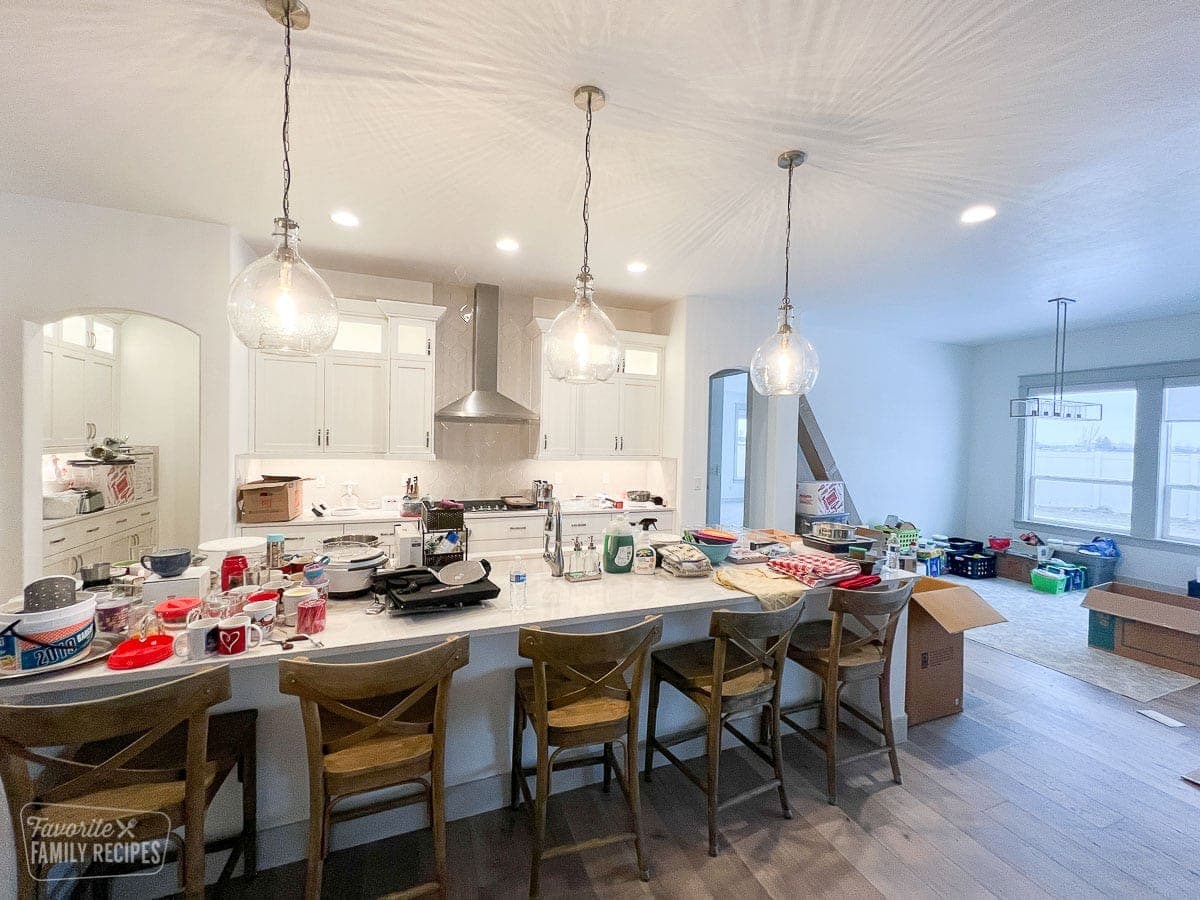
Look, if you start taking everything out of your drawers and cabinets you are going to be in tears by dinnertime. Nobody wants that so let’s start small-under the sink, a junk drawer, your spices, pantry staples. Clear the space (take EVERYTHING out), sort into categories and then edit. The edit isn’t just about tossing or donating things. It’s also about rehoming items. Do you have items in your junk drawer that make more sense in your office or garage? I thought so. Take a look at each and every item and make a call.
2. Create Zones
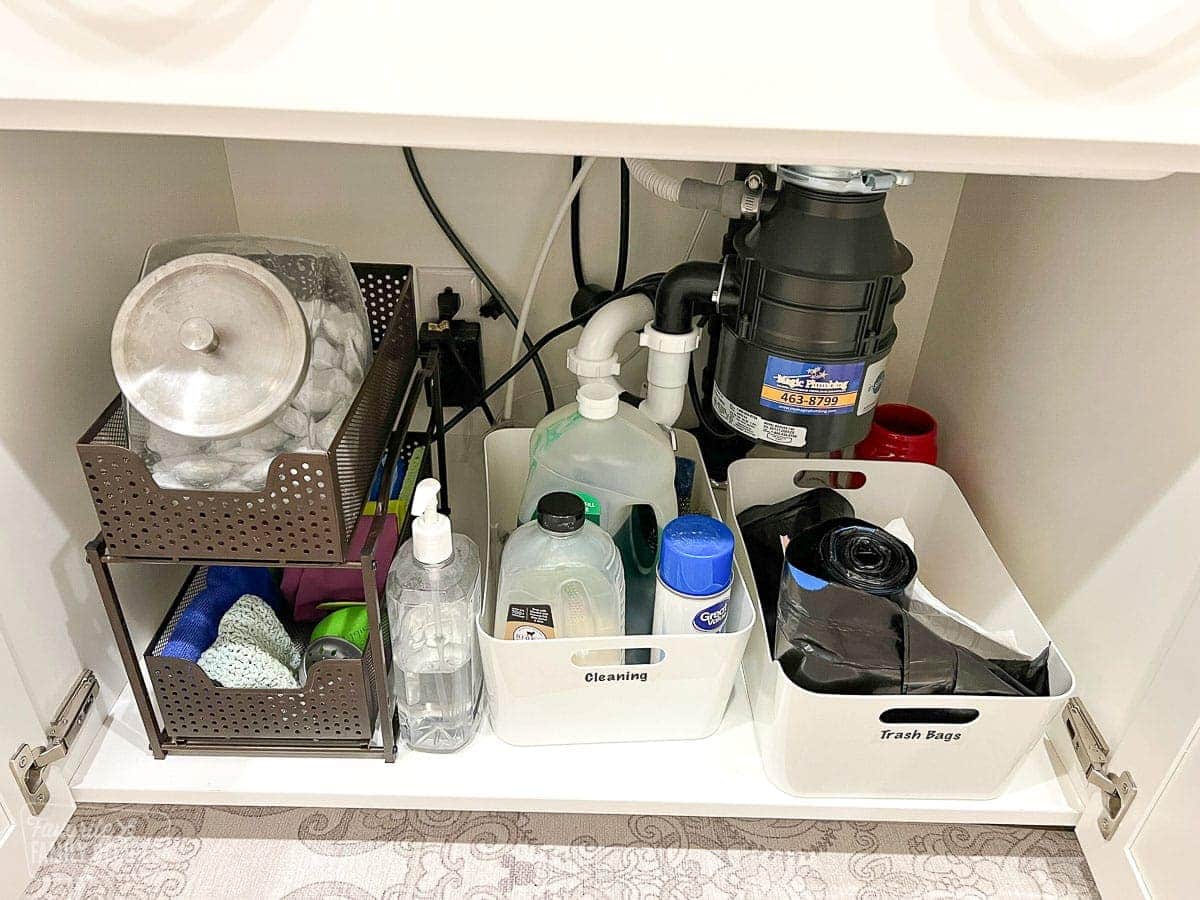
When you are through editing, you are going to want to think about how to put things back. Consider what items you access most to least and space plan accordingly. Store like with like. If we are talking about under the sink you might have a bin that is labeled “Dishwashing” and contains dishwasher pods, dish soap, sponges, etc. You might also have a bin that is labeled “Cleaning” and there you would house all your everyday/weekly cleaning items. The things you use the most are up front and center and the things you use least can go behind.
3. Clean
Take the opportunity to do a deep clean of the space you are organizing. Replace burnt out light fixtures. Open the window. Turn on some music. You’re about to have some fun! Extra Credit: See below for a fun all purpose cleaner that you can put into a pretty glass bottle with a label and replace like 3 or 4 of your ugly and smelly conventional cleaners.
4. Contain
It is likely that the existing infrastructure of your kitchen is not enough to set up a system that will be easy to maintain. This is especially true in a pantry. Pantries are one of the more product heavy jobs we do and that is because organizational maintenance is paramount to us. If you have a clear and designated home for each and every category you will be more likely to maintain the organization. You don’t want to put in all this work just to have it fall apart in a matter of weeks. More on containment solutions later…
5. Label
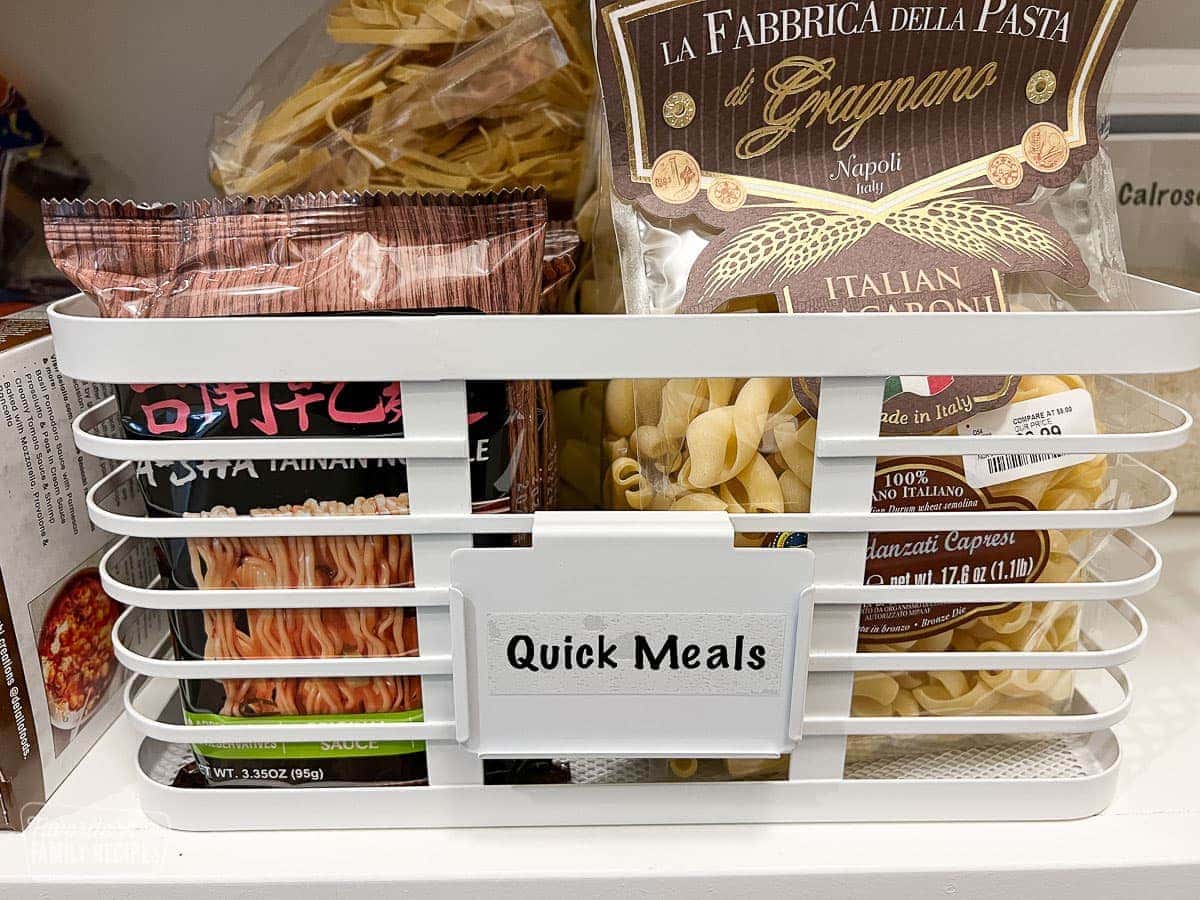
Labeling is like magic. Believe me when I tell you that if you label your containment your kitchen will feel intuitive much sooner and the organization will be a cinch to maintain. Anyone in your home who can read has no excuse for not putting things back where they go!
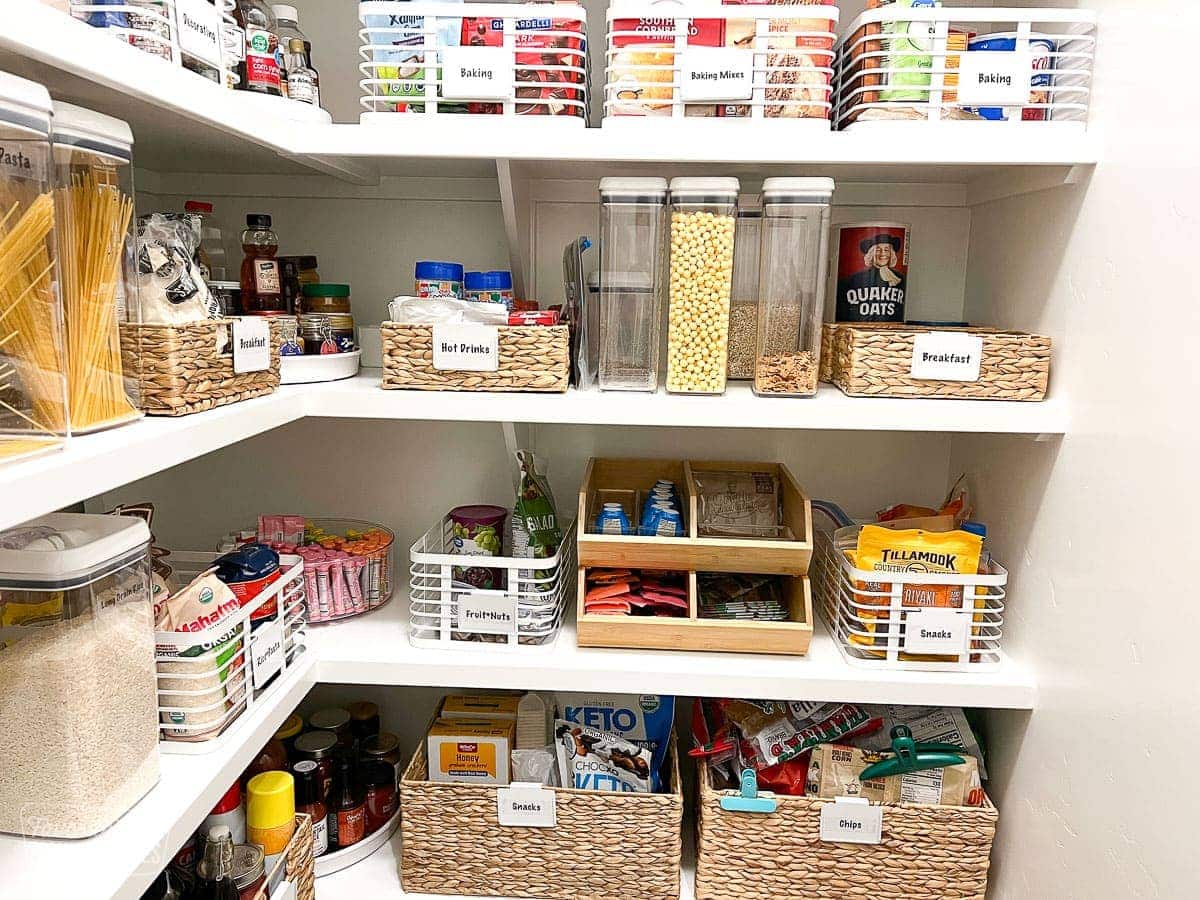
So now that we’ve got you through our typical process (we’ll assume you’ve cleaned and edited each space that you want to tackle) let’s continue with some specific tricks that can help with the organization.
6. Get Your Tupperware In Order
Do you have several different types of food storage containers (aka Tupperware)? If so, you likely have extraneous or missing lids/containers. Yes, you should go through and match everything up and toss anything that doesn’t have a mate but if you’re willing to take it a step further I recommend paring down to just one type of food containment. I personally love a nice glass set. This way you have a more cohesive look in the drawer and fridge but the organization also becomes much simpler.
7. Get Rid of Bulky Packaging
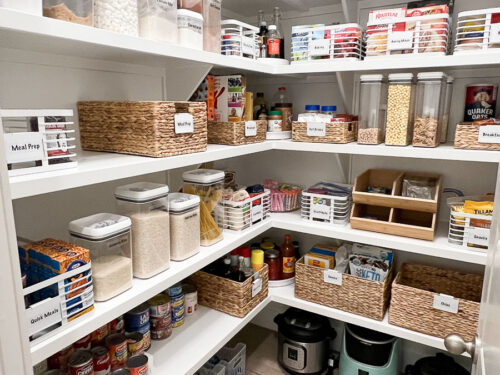
When it comes to organizing a pantry my favorite part is the pile of bulky (usually ugly) packaging that we are able to eliminate by adding some smart and beautiful containment to the space. Start with single serve items such as bars, oatmeal packets, or snacks. Get rid of the big box and place the items neatly into a basket or bin. Now your items are more accessible and they look pretty too!
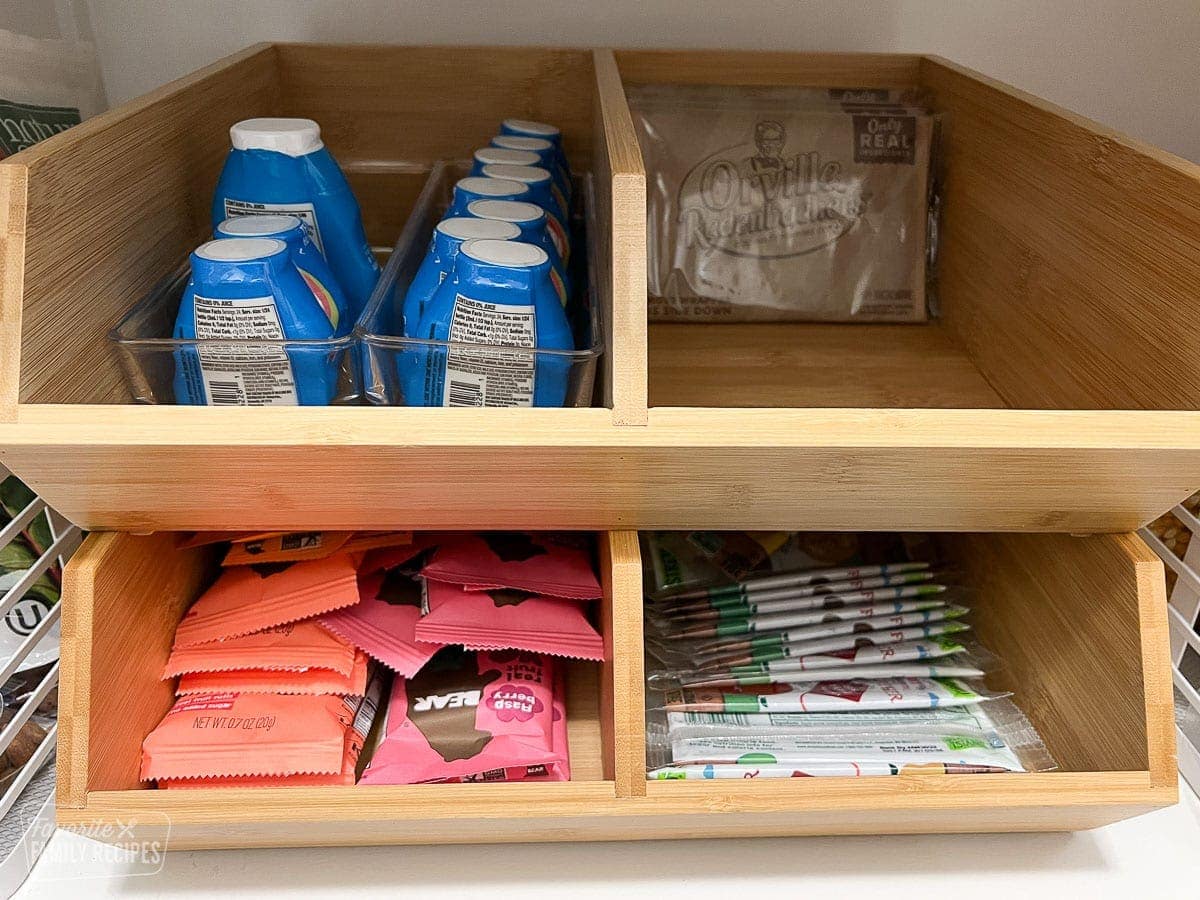
8. Implement a Back Stock System
While on the subject of pantries I think it’s important to talk about freshness flow. You can’t imagine how often we are tossing away items in a pantry because they’ve expired. It’s pretty common to see that our clients are buying redundant items because they don’t know what they have. By implementing a back stock system you can ensure that you won’t buy items you already have and thus you’ll be able to eat those items before they expire. Everything that you have is represented in the prime real estate of your pantry (shelves that are easy to get to). Duplicate items go down in a back stock section. Depending on how enthusiastic you are about Costco this may be one or several baskets. My kids know that they don’t get to open a new bag of chips from back stock until we finish the existing bag in the basket.
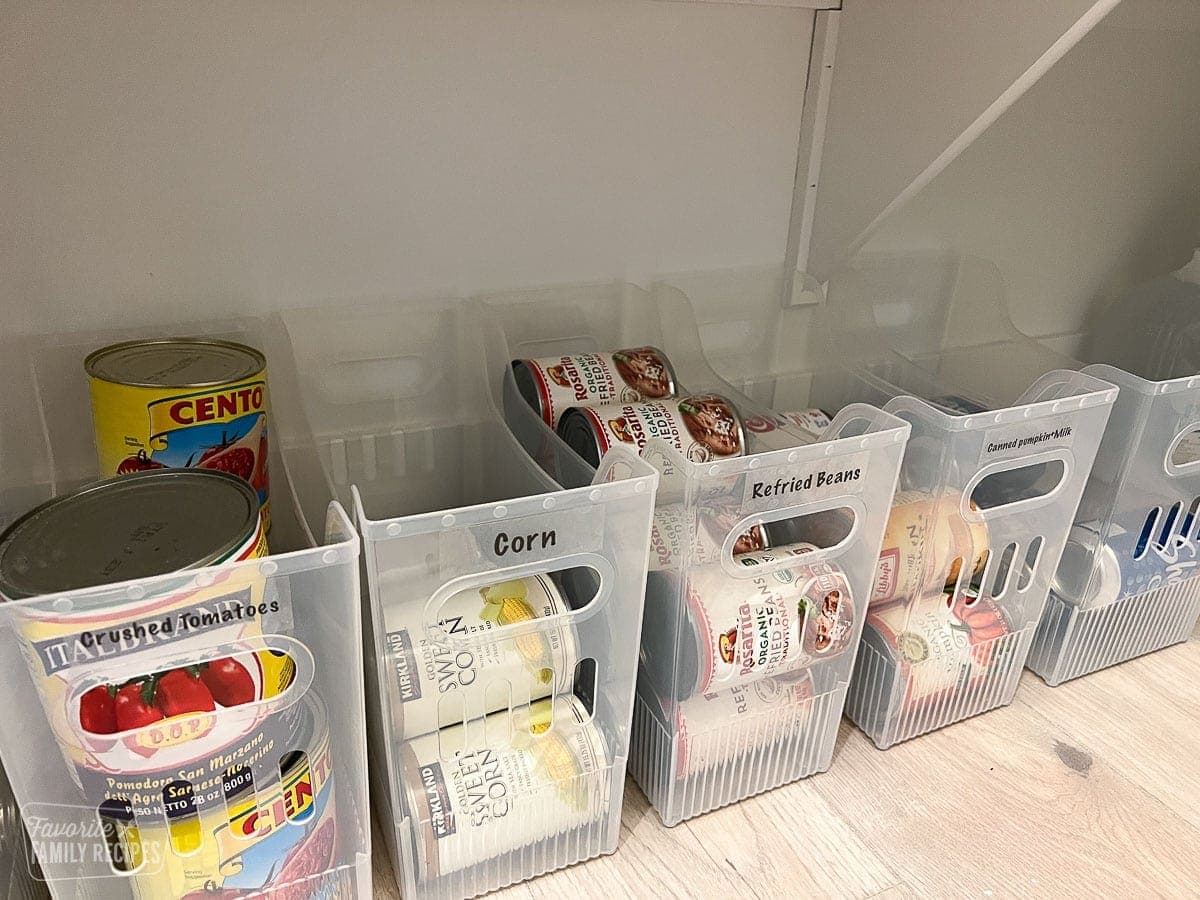
9. Decant
Decanting is not for everyone. I’m a professional organizer so naturally I love all things decanted (taken out of their original packaging and poured into containers/jars). Some of you have no pantry or a small pantry and in this case decanting is a very smart way to maximize the space. Rows of pretty jars with flour, sugar, pastas, nuts, cereal, etc. look so pleasing to the eye and it gives you an immediate visual on your inventory. That being said, decanting is not your game if you can’t see yourself refilling all those pretty jars on a regular basis. Consider how fast you go through items. I happily decant baking staples for almost all of our clients because they don’t typically need refilling all that often. In my house I refill my cereal containers weekly. I don’t mind, do you?
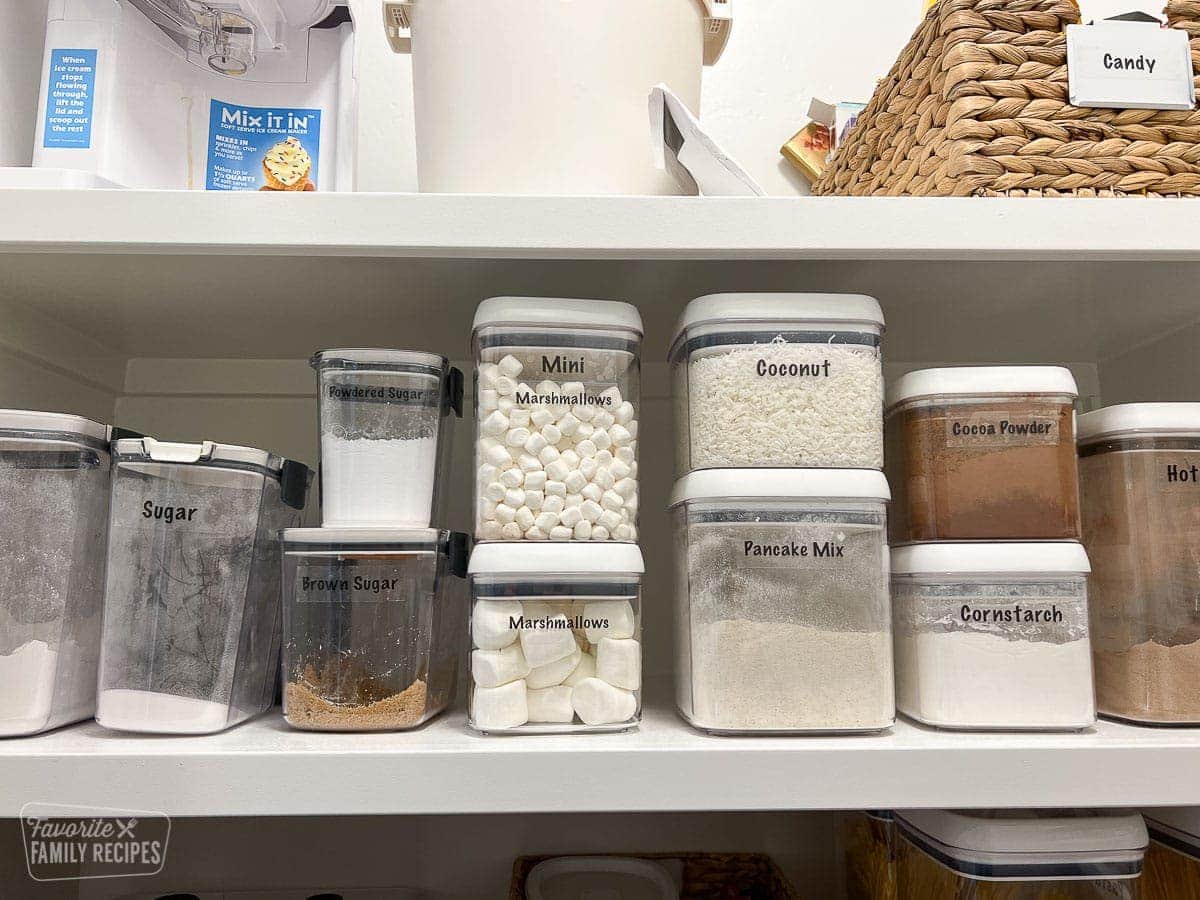
10. Adjust Those Shelves
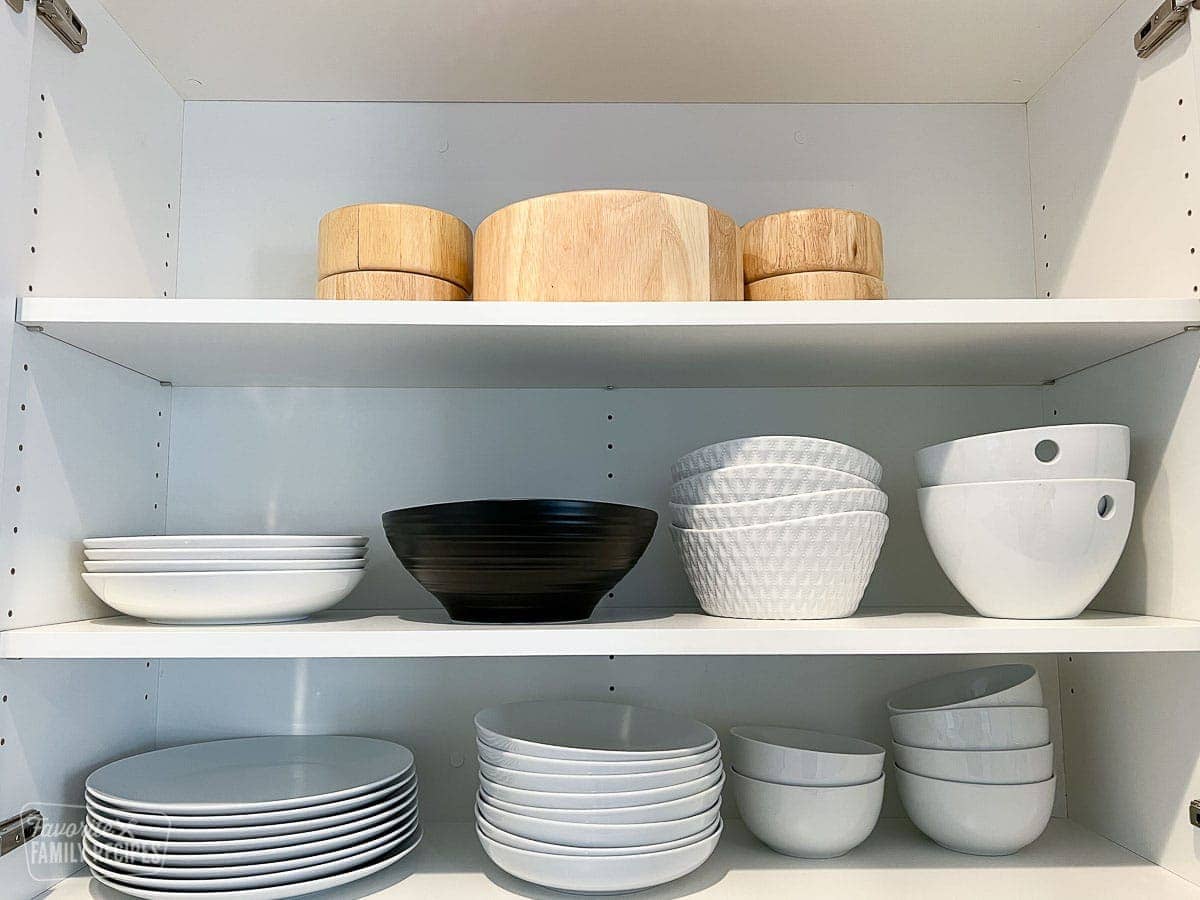
Nine times out of ten when we organize a kitchen we are reconfiguring the shelf placement. The general goal is to make everything as accessible as possible and so it is quite common that we are bringing the shelves down. *Note-if you are building or remodeling be sure to have the contractor drill all the holes. You want full range of placement on those shelves.
Now let’s get into the fun part…I want to devote 11 and 12 to my favorite products for organizing the kitchen and pantry and how we use those things to maximize and add functionality to a space.
11. Kitchen Organization Product
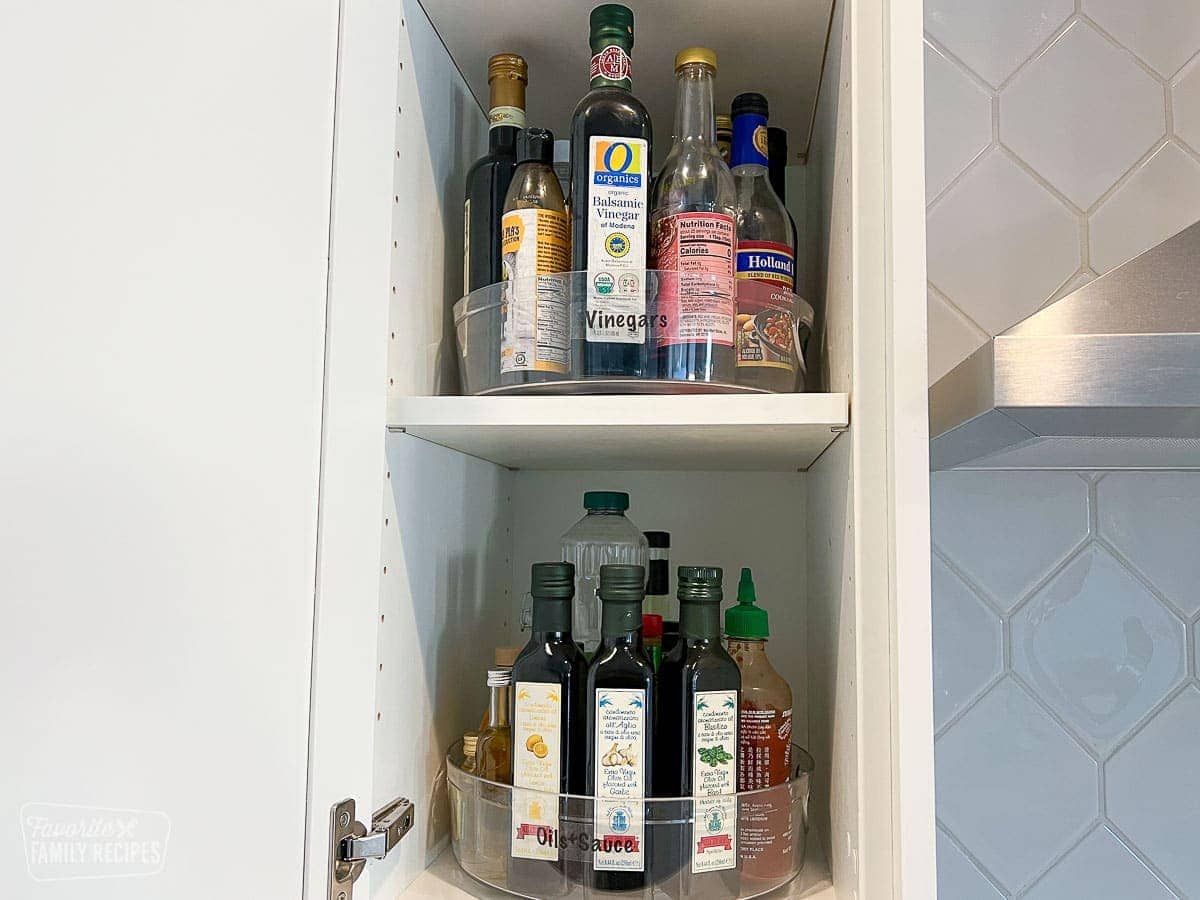
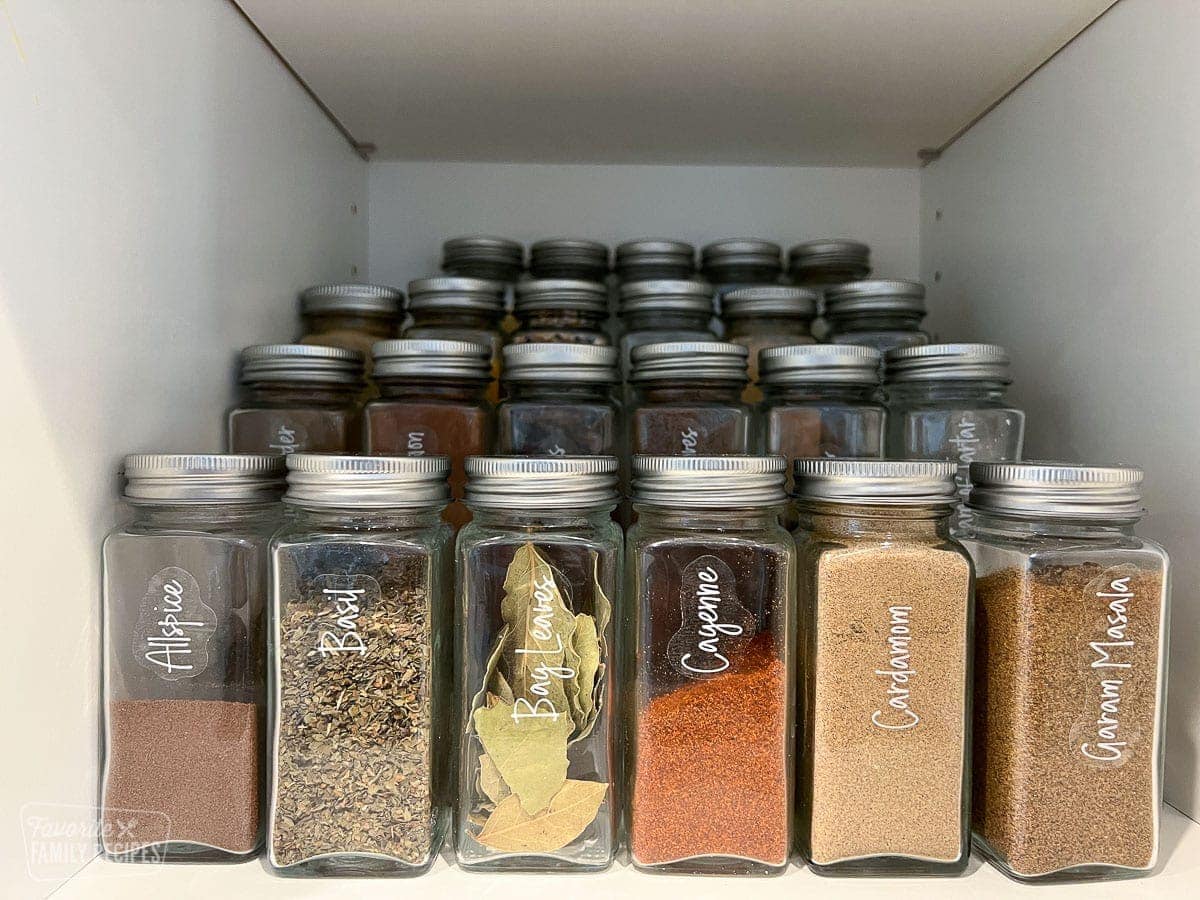
A few of our favorite go to’s would include a tiered shelf (cabinet or in drawer) for spices. Don’t put spices on a turntable because the visibility and accessibility are not great. As for turntables we love to place one or two near the cooktop with oils, vinegars and cooking sprays on them.
The next organizational MVP for the kitchen has to include drawer dividers. Drawer dividers are expandable and do exactly what their name implies. They divide the drawer so that you can keep multiple items in one drawer nice and neat. Incidentally, using deep drawer dividers in a deep drawer is one of our favorite ways to organize water bottles. Create rows separated with the drawer dividers so that the bottles will stand up when you open and close the drawer.
12. Pantry organization product
Turntables are equally useful in the pantry because most pantries have corners where things get jumbled and lost. A turntable or three in the corners of your pantry are the perfect place for nut butters, jams, condiments, sauces, etc. OXO or a nice glass jar for decanting. Baskets or plastic bins for containment of your categories. Don’t make the mistake of using too many types of baskets. Keep with a cohesive look and your space will automatically feel more zen.
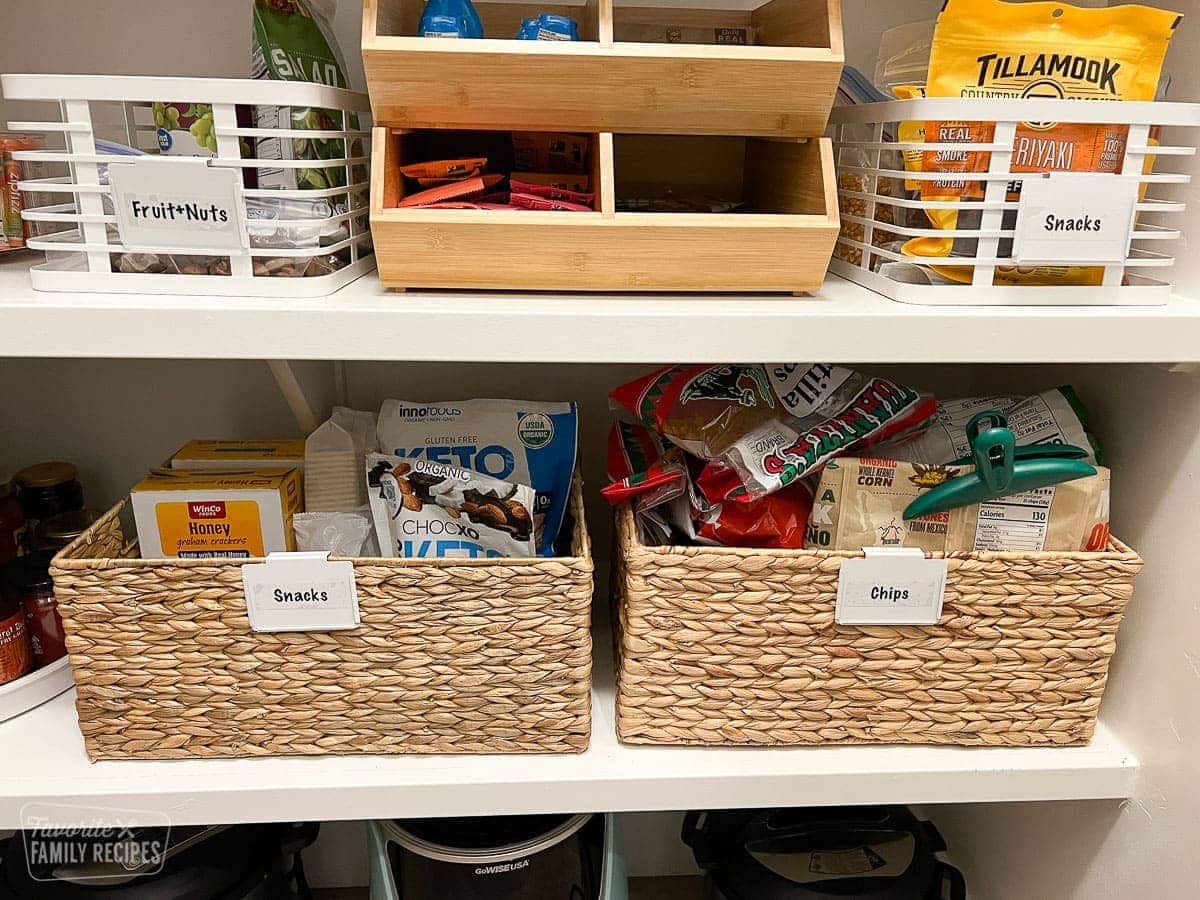
Pro Tip: One common pitfall is buying baskets or bins that are too deep. Look for baskets/bins that are 8″ deep or less.
DIY or Call in the Pros?
If this all sounds exciting and fun then you are cut out for a DIY kitchen organization, if this sounds overwhelming then by all means don’t feel bad about bringing in the pros. We live for this stuff! Follow us on Instagram for organization tips and tricks @tidystylehome
Visit our website for booking (local or virtual) info: www.tidystylehome.com
A Few Bonus Kitchen Organization Ideas and Pictures
I wanted to include a few more pictures of some of the drawers and cupboards that the Tidy Style team organized in my kitchen. Hopefully these pictures will give you even MORE kitchen organization ideas that you can implement in your own kitchens:
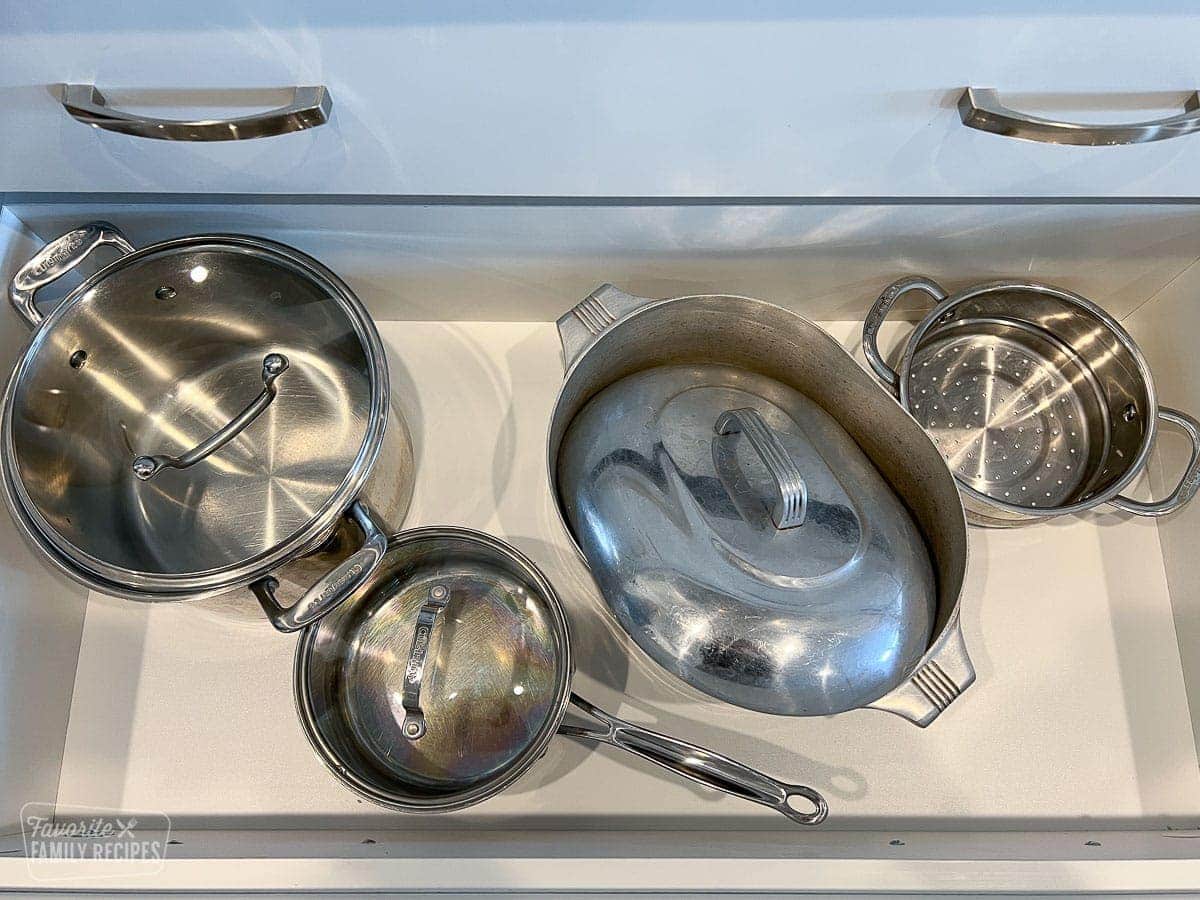
I love having all my pots and pans in drawers. In my old kitchen, all the cookware was thrown haphazardly in a cupboard with no rhyme or reason. If you don’t have built in drawers, there are adjustable slider shelves that you can buy on Amazon or at Lowes or Home Depot. I keep pots in one, pans in another, and all my baking pans in another. They are all nicely separated. Avoid hanging the cookware on hooks as this can make your kitchen look cluttered.
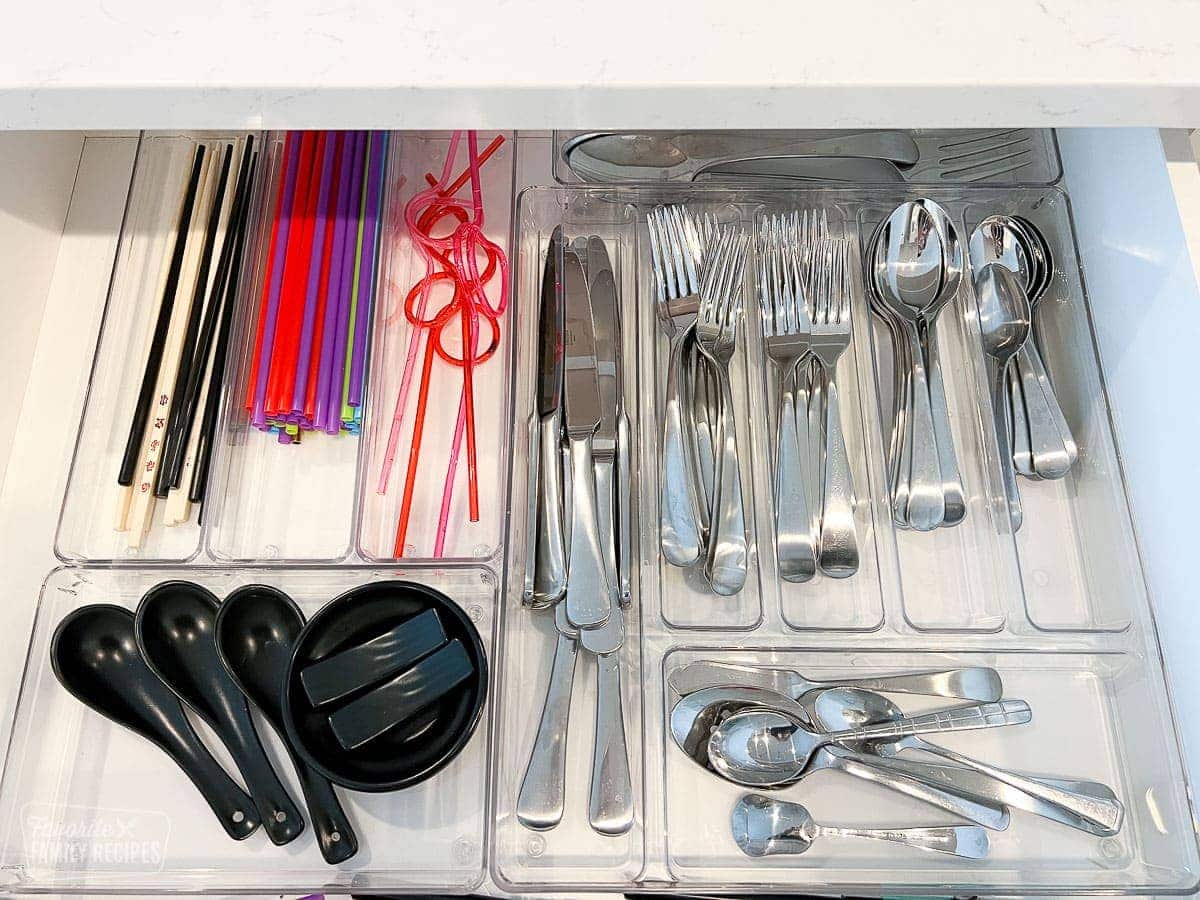
When organizing silverware and other small utensils, use the drawer organizers that are separated. That way they can be re-arranged to snugly fit any sized silverware drawers.
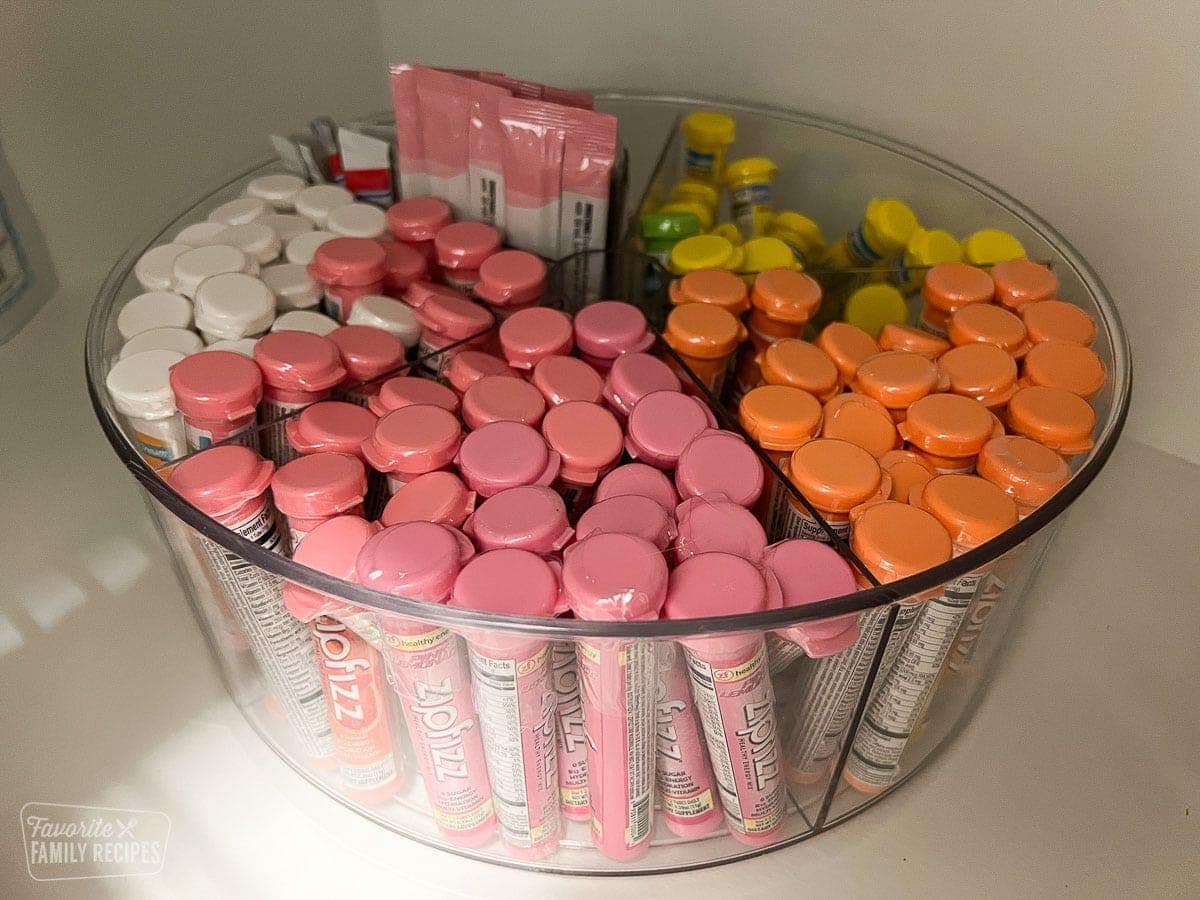
Can you tell I love my ZipFizz and other single-serve, easy drinks? I LOVE how they color coordinated them in this deep-walled turntable.
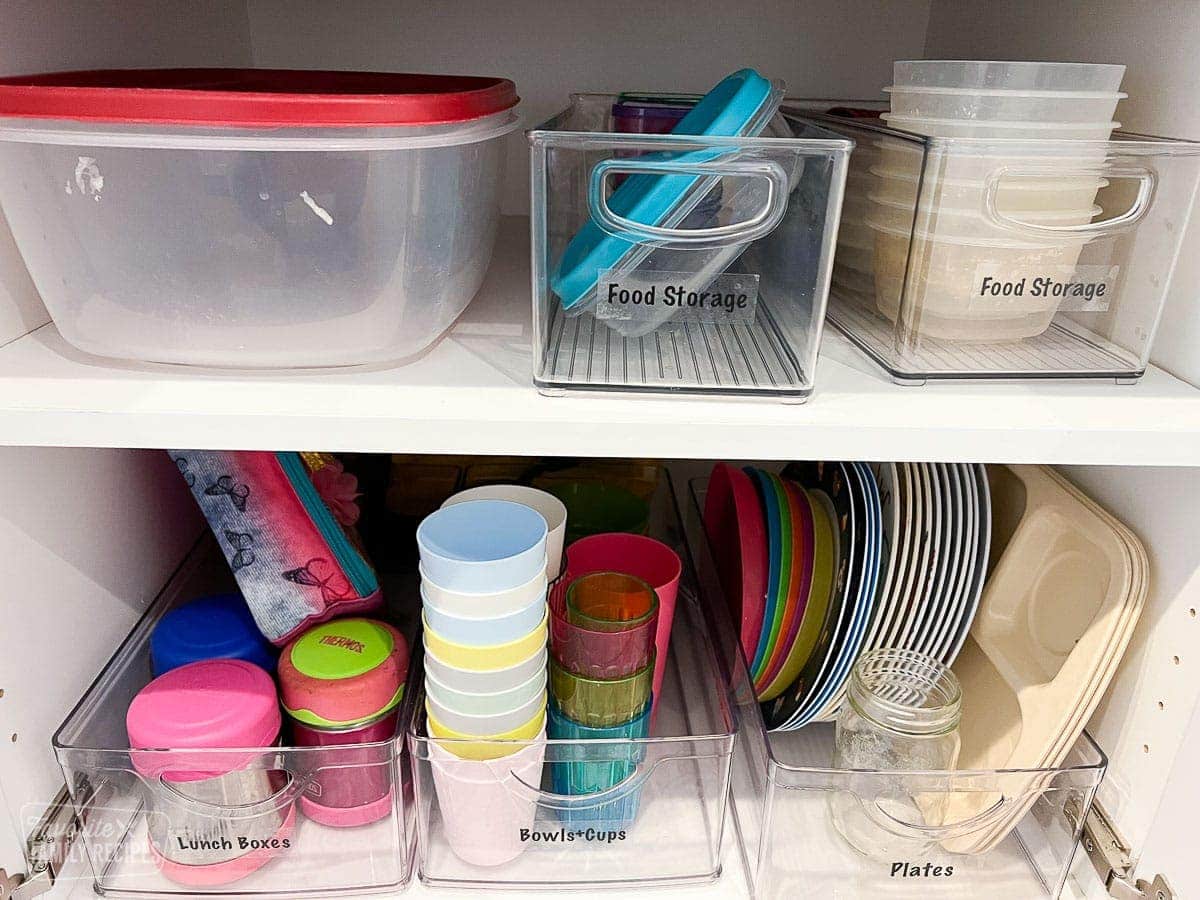
Designate A Kids “Zone”
I absolutely LOVE the idea of having all the kids cups and plates separate from my nicer glassware. PLUS, these are in a lower cupboard so my kids aren’t climbing up on the counters to reach cups. It keeps the upper kitchen cabinets looking nice and cohesive. This also makes it easier for the kids to pack their own lunchboxes in the morning. My kids have been loving this. Less clutter, less mess, more organized. It is a GENIUS idea and one of my favorite kitchen organization ideas.
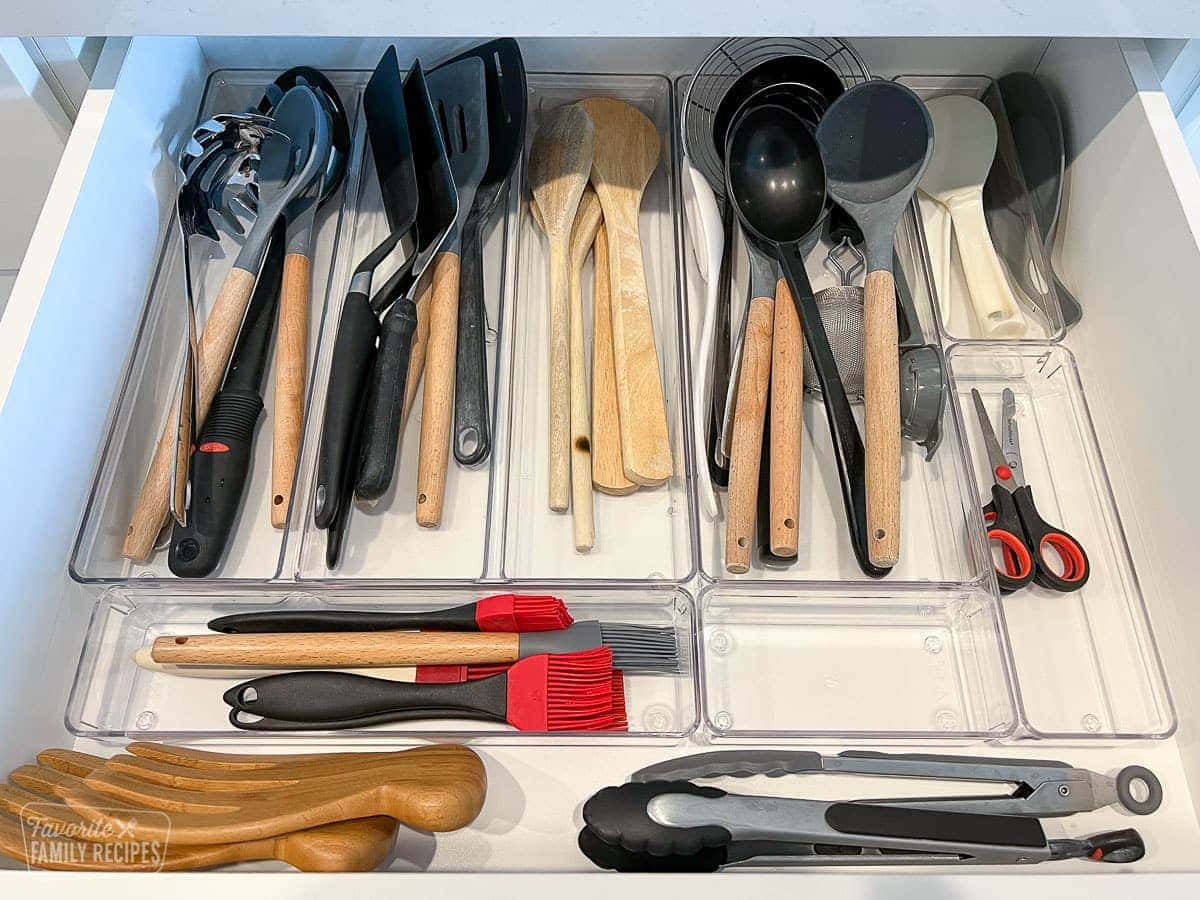
Keep the cooking utensils off the counter (if you can). A clear, clean counter space has been SO nice. I used to keep my utensils in a ceramic utensil holder (and that can be ok if you have pretty utensils but I do not) and I like the feel of this so much more. It frees up a good amount of countertop space. If you have the storage space, I highly recommend.
Keeping the spice rack next to my cooking space has been a game changer. Most people probably already do this but before I had a wire spice rack in the pantry and it was kind of a pain running back and forth. As you can see, they organized these spices alphabetically and put them on little tiered shelves. I’m a huge fan.
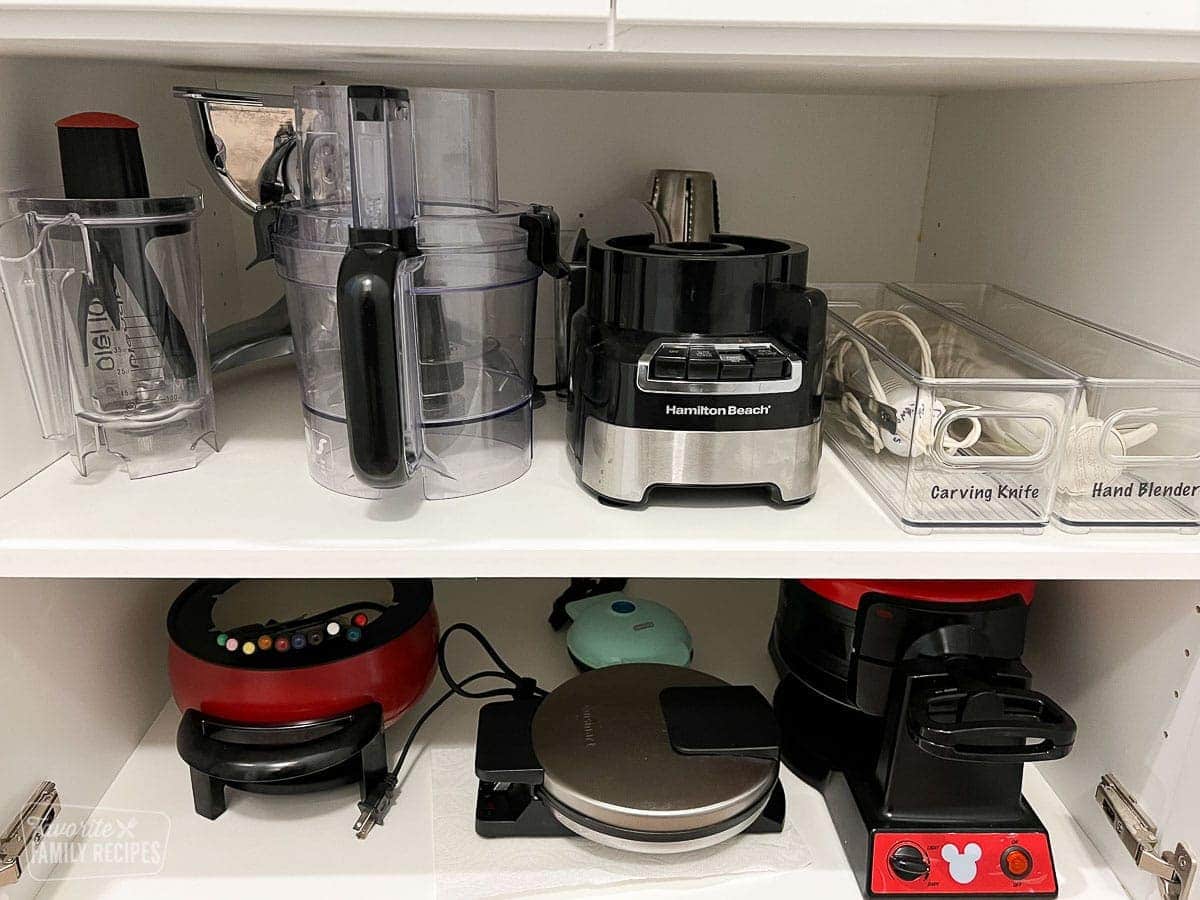
Keep small appliances such as your blender, toaster, waffle maker.. etc… hidden in cabinets or cupboards (if you have extra storage space.
So there you have it! Hopefully this has given you some good kitchen organization ideas and inspiration to help with your kitchen storage! Don’t forget to follow @tidystylehome on Instagram for more organization tips for your kitchen AND your entire house. They literally organize EVERYTHING.
More Great DIY Ideas
Heather’s Multi-Purpose Kitchen Cleaner
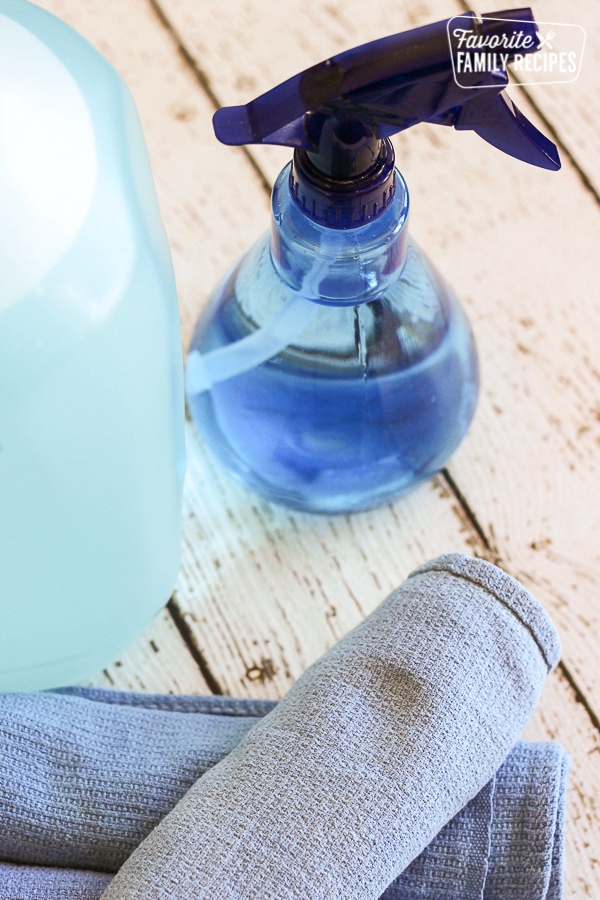
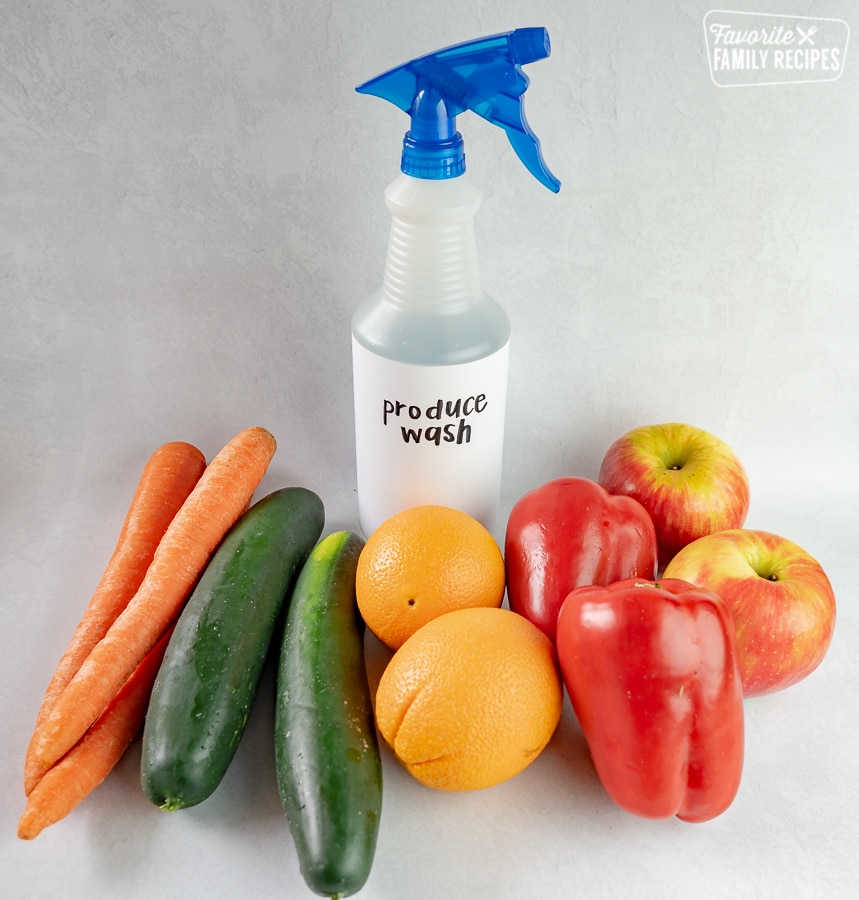
As mentioned above, here is Heather’s “recipe” for a great multi-purpose cleaner that smells like the cleaning version of “Skittles”. It will clean your kitchen right up and will make it smell as dreamy as it looks. Use with paper towels for cleaning the stove top, microwave, stainless steel appliances, dishwasher, and refrigerator (inside and out). DO NOT USE on wood, granite, quartz, or marble surfaces (these surfaces are porous and it is better to use specialty cleaners for these specific surfaces).
Ingredients
- 1 cup water
- 1 cup white vinegar
- 8-10 drops lavender essential oil
- 8-10 drops wild sweet orange essential oil
Instructions
- Combine water and vinegar in a spray bottle.
- Add 8-10 drops each of lavender essential oil and wild orange essential oil. Place spray cap on the bottle and gently shake until well combined.
- Use for cleaning the stove top, microwave, stainless steel appliances, dishwasher, and refrigerator (inside and out). DO NOT USE on wood, granite, quartz, or marble surfaces.
Equipment
- 1 Spray bottle
These kitchen organization hacks are so helpful! A clutter-free kitchen makes cooking so much more enjoyable and efficient. I’ve found that using stackable storage, drawer dividers, and under-cabinet organizers can make a huge difference. Excited to try some of these ideas
This post was so helpful! & I came across it at the perfect time! Can’t wait to get to organizing this weekend!
I love this organization tips! Simple but so helpful. Where do you get some of the things mentioned? Interested in what was mentioned for deep drawers and water bottles.