We may earn a commission when you click on the affiliate links in this post.
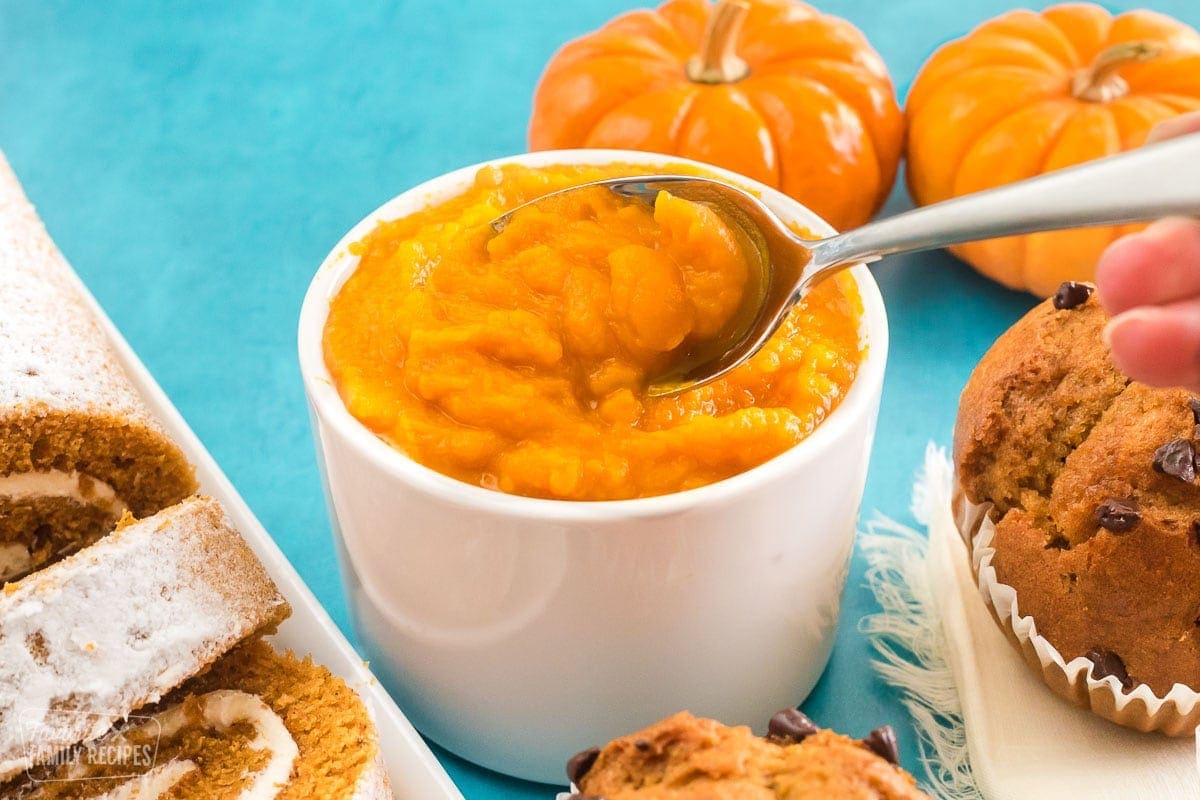
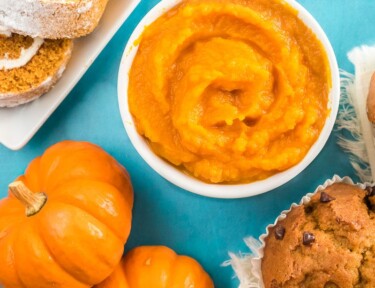
Making your own pumpkin puree is a breeze! Forget about canned pumpkin and make your own at home with these 3 EASY methods!
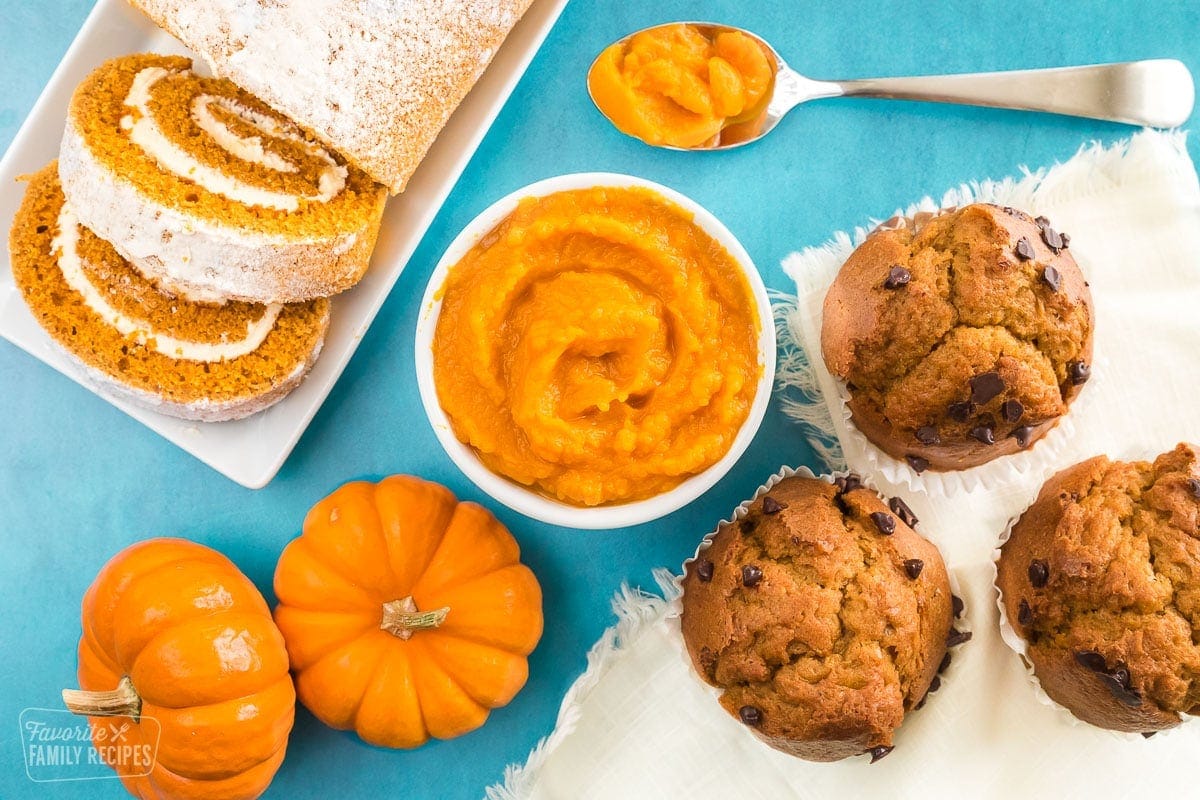
Featured with this Recipe
- Homemade Pumpkin Puree
- What’s In Pumpkin Puree
- Best Pumpkins to Use for Pumpkin Puree
- Pumpkin Puree Nutrition
- How To Cut A Pumpkin
- How to Make Pumpkin Puree (3 Ways)
- Rave Reviews about this Recipe
- Cooking/Baking With Homemade Pumpkin Puree
- Storing Pumpkin Puree
- Questions About Pumpkin Puree
- Recipe Tips:
- Pumpkin Puree Recipes
- How to Make Pumpkin Puree
- How To Make Pumpkin Puree (3 Easy Ways) Recipe
Homemade Pumpkin Puree
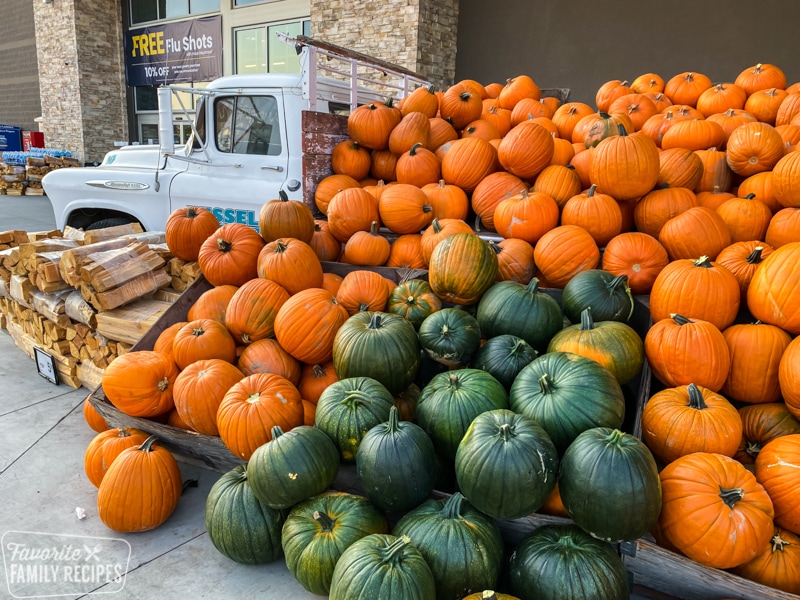
Have you noticed there has been a canned pumpkin puree shortage this year? Seriously! People are hoarding canned pumpkin like toilet paper! I had a frustrated friend call me and complain that she had looked at over seven grocery stores with no success. Finally, she and I got in the car and headed over to Albertsons. Though there were no cans of pumpkins on the shelves, there were HUNDREDS of pie pumpkins outside! There may be a shortage of canned pumpkin but there is no shortage whatsoever in PUMPKINS. We each grabbed a bunch of pumpkins and headed home to make our own pumpkin puree. Let me just tell you, homemade pumpkin puree is hands-down better than the canned stuff! Don’t let this canned pumpkin shortage get you down. Think of it as an excuse to make your own! You will be glad you did.
What’s In Pumpkin Puree
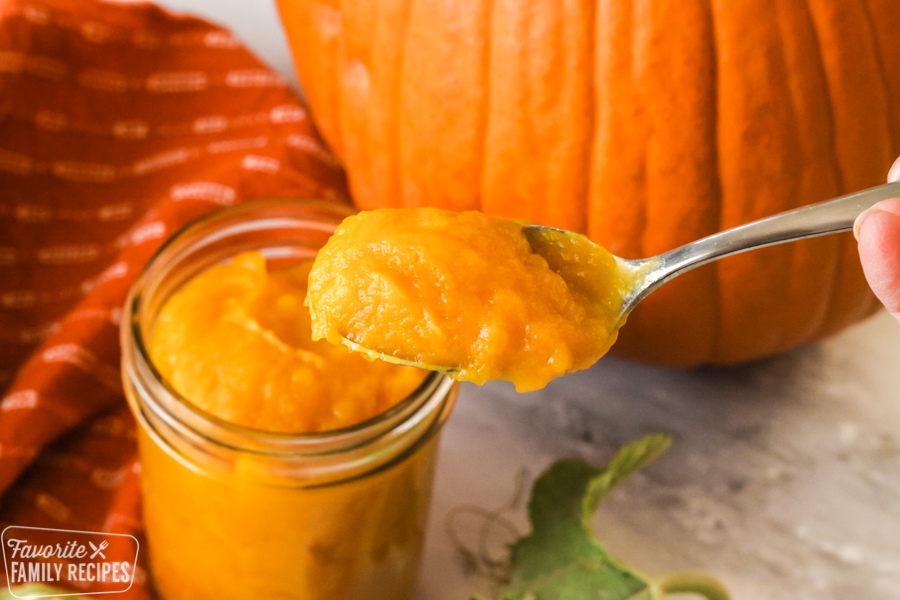
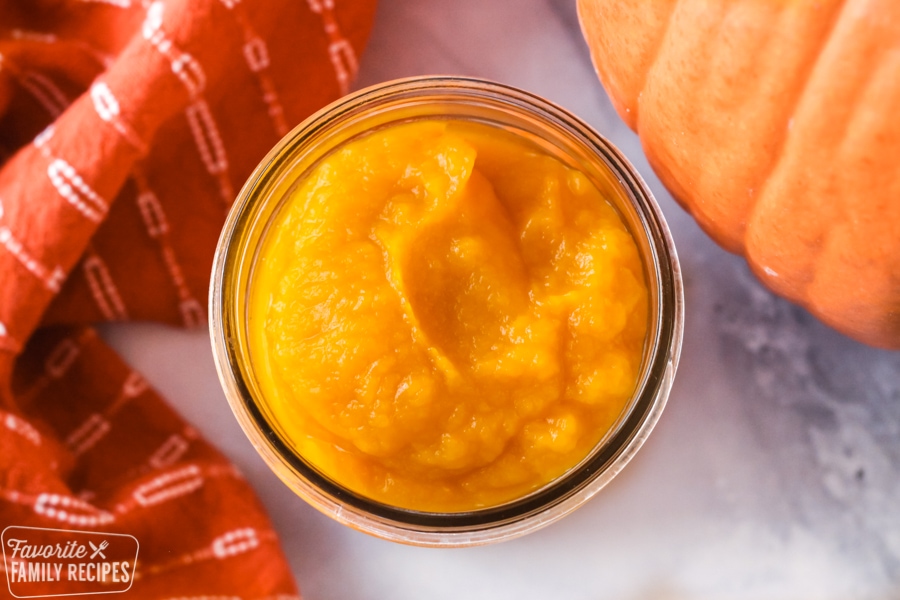
Pumpkin. That’s it. Pumpkins have that rich pumpkin-y flavor all on their own and nothing else needs to be added. After your pumpkin is done cooking and you are to the pureeing part, you can add a tiny bit of water if you feel that your puree is too thick. Most of the time when I make pumpkin puree it is actually on the thinner side and needs to be drained a little. If you feel the need to season your pumpkin puree, you can always add some spices such as nutmeg, cinnamon, cloves, ginger, and/or allspice. You can also make your pumpkin sweeter by adding granulated sugar, brown sugar, or even honey. When my kids were babies and I would puree pumpkin for baby food, I would add a tiny bit of brown sugar to their puree to make it a little more palatable.
Best Pumpkins to Use for Pumpkin Puree
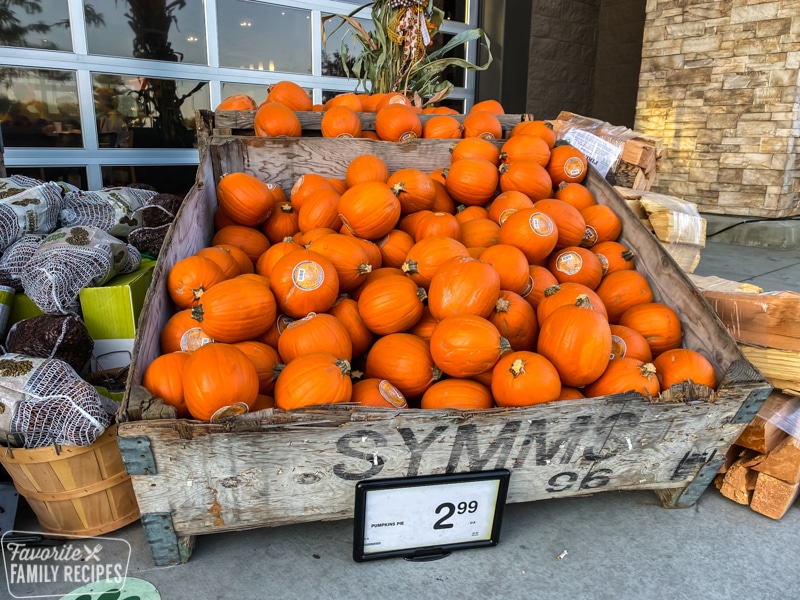
For this recipe I used “pie pumpkins”. Pie pumpkins, also known as “sugar pumpkins” or “sweet pumpkins”, are smaller and sweeter than your typical carving pumpkin. When you cut a pie pumpkin open, you will notice that the flesh is more of an orange color. Carving pumpkins have more of a yellowish-orange flesh. Pie pumpkins are also more dense and heavy for their size, whereas carving pumpkins are more hollow. You can certainly still cook up and use a carving pumpkin or any kind of pumpkin or squash, but it probably won’t be as sweet or have as smooth of a texture as a pie pumpkin.
Pumpkin Puree Nutrition
Pumpkins, in general, are a very nutritious fruit (yes, pumpkins have seeds which qualifies them as a fruit. Crazy right?). They are VERY high in Vitamin A and have a decent amount of fiber, protein, vitamin C, Vitamin B12, manganese, potassium, copper, Vitamin E, and iron. Pumpkins are also low in calories and fat. We love adding pumpkin to chili or curries to not only boost the flavor but to also add more nutritional value.
How To Cut A Pumpkin
I am pretty sure most kitchen related ER visits are from people cutting pumpkins (or watermelon). Don’t quote me on that, but cutting pumpkins can be scary! The skin is tough and they are hard to cut. Oh, and they are ROUND which makes cutting them even more fun. However, I have found that if I make a slice from the base of the stem all the way around the pumpkin to the other side of them stem (not ever cutting the stem itself). I can just pull the pumpkin apart the and stem will naturally just break off to one side. This is really easy to do especially with the smaller pumpkins, such as pie pumpkins. For larger pumpkins, make two cuts, one on each side from the stem base to the bottom of the pumpkin and just pull it apart. It should break apart easily from the top and bottom.
How to Make Pumpkin Puree (3 Ways)
We have three favorite ways of cooking pumpkin to be pureed. There are advantages to all three ways so I will go through each one:
1. Roasting Method
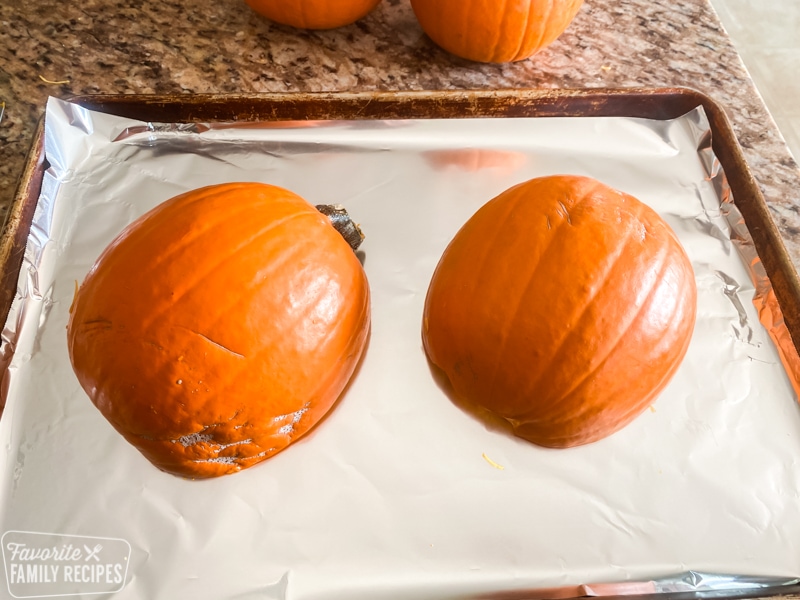
Overall, roasting is my favorite way of cooking pumpkin. It may be in my head, but I just think the flavor is better when it’s roasted. The pumpkin tends to dry out a little in the oven, which is actually a good thing so you don’t have to sorry about straining your puree later on. It’s easier to add a little water at the end than wait for the water to strain out because the puree is too thin. To roast your pumpkin, simply cut it in half (see “How To Cut A Pumpkin” above), scoop out the seeds and gunk, and place it cut-side down on a baking sheet lined with foil or parchment. Bake for 50-60 minutes depending on the size of your pumpkin or until soft.
2. Instant Pot Method
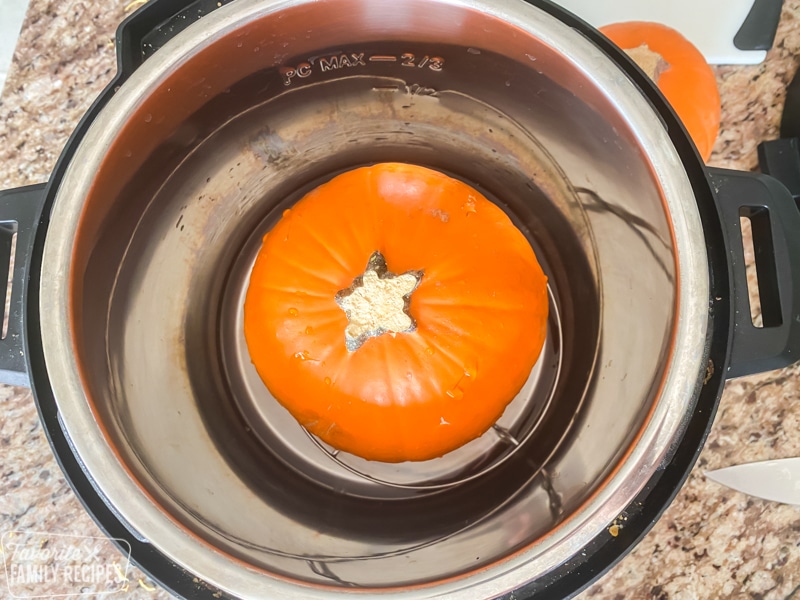
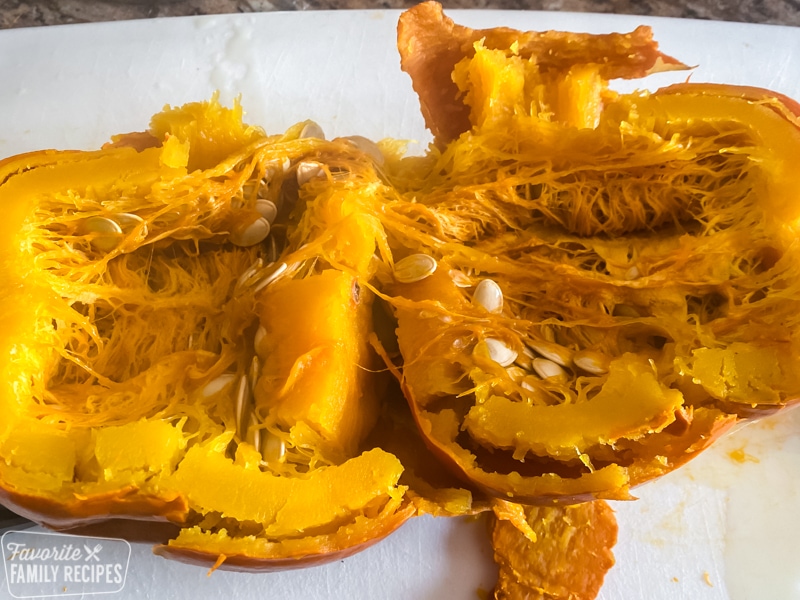
You can’t beat the ease of cooking your pumpkin in the Instant Pot. You literally put the pumpkin in the Instant Pot whole, add water, and that’s it. Cook on high pressure for 15 minutes and you’re done. When you take the pumpkin out of the Instant Pot be very careful. The pumpkin will be HOT. It’s ok to wait for a while until it is cool enough to handle. When removing the pumpkin it will be very soft and may even fall apart a little bit, but that’s ok. Place the pumpkin on a cutting board, cut it in half, and scoop out the inside stuff. I will say, it is easier to scoop out the insides AFTER it has been cooked. You can just gently scoop out the seeds and strings and you don’t have to scrape the sides down. At this point it should be very easy to use a spoon to peel the pumpkin away from the skin.
3. Steaming Method
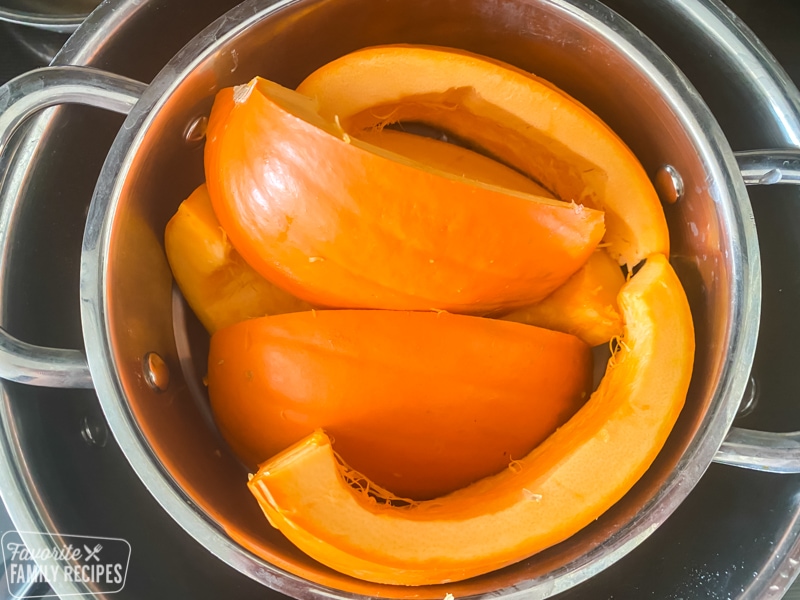
Steaming your pumpkin is a great, quick alternative if you don’t have an Instant Pot. This is how I would cook my pumpkin the fast way before Instant Pots were a thing. Simply slice your pumpkin in half and scoop out the gunk. If you have a large steamer you might be able to fit the halves right in but for those like me with a smaller steamer basket, you will need to cut the pumpkin into smaller slices. I just cut mine as if I were cutting a cantaloupe. Add water to your outer pot and bring it to a boil. Add the pumpkin to the steamer basket, place the lid, and steam for 20 minutes or until the pumpkin becomes soft.
Rave Reviews about this Recipe
Cooking/Baking With Homemade Pumpkin Puree
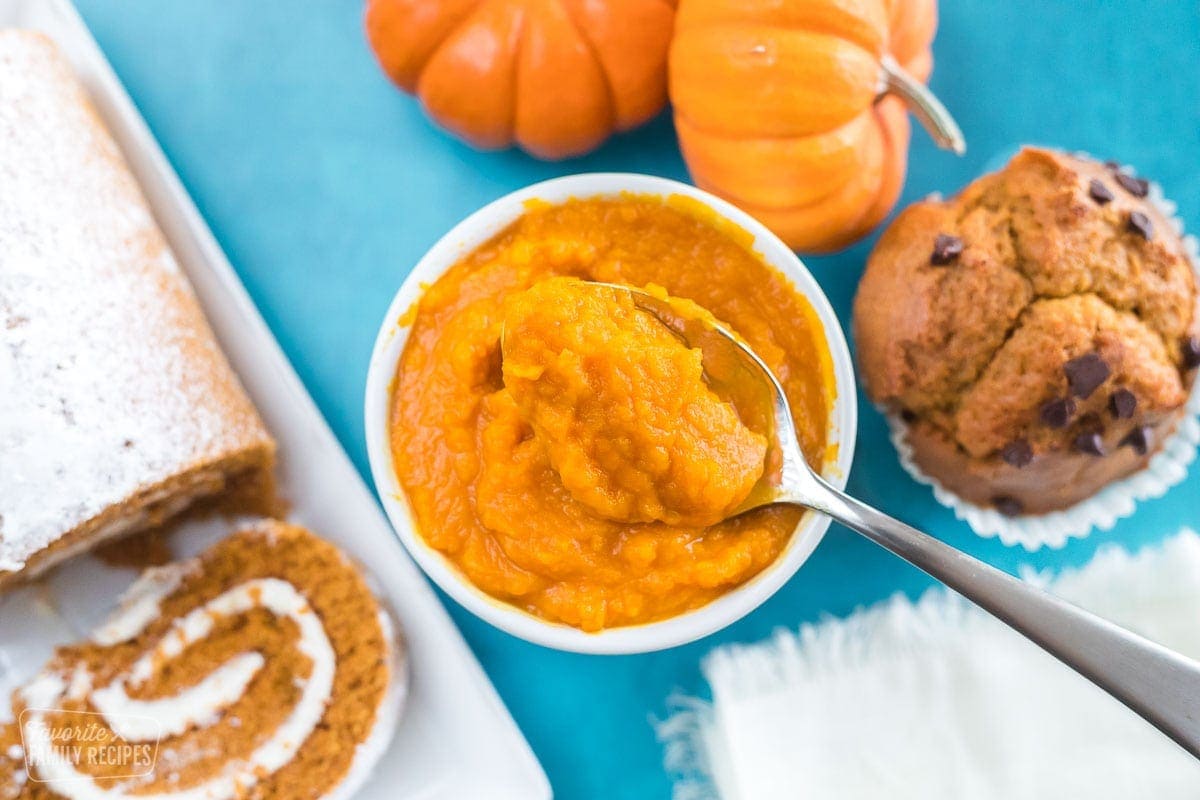
Depending on the size of your pie pumpkin, this recipe makes approximately 2 cups of pumpkin puree, which is the same as a 15 oz. can of canned pumpkin. Because this recipe is pure pumpkin, you can use at a 1:1 ratio with any recipe that calls for canned pumpkin. Pie pumpkins are usually sold by unit rather than by weight so it’s never a bad idea to try and get the biggest one you can find. That way if you are using it for a recipe, you won’t be short on pumpkin. It’s always a good idea to have a little extra than not enough!
Storing Pumpkin Puree
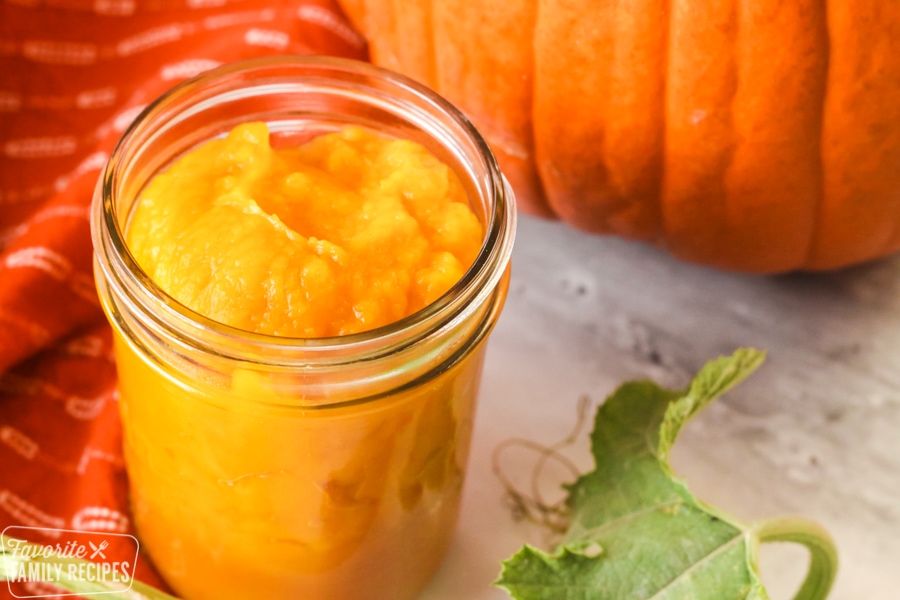
After you have pureed your pumpkin, you can scoop it into jars, plastic lidded containers or Ziplock bags. Allow the puree to cool to room temperature and then store in your refrigerator. You can keep your pumpkin in the fridge for 5-7 days. When ready to use, just give it a good stir. If you have found that some liquid has separated from the pumpkin you can drain it off or just stir it back into the pumpkin. I like my puree on the thicker side so I will usually drain off excess liquid before stirring and using.
Questions About Pumpkin Puree
YES! You can store your pumpkin puree in any kind of freezer-safe container. Freezing is a great way to go if you make a big batch and don’t want to use it all at once. You can keep it frozen for up to 4-5 months in the freezer before losing freshness and quality. When my kids were babies I would freeze the puree in muffins tins. Once frozen I would put them in a freezer bag and take out one serving at a time to thaw for baby food. HUGE money saver. To thaw, place it in the fridge overnight, or put your container of puree in a bowl of cold water for 10-15 minutes. As mentioned above, you will probably have liquid that forms on the top. You can stir it in or drain it off before stirring.
For this recipe I used “pie pumpkins”. Pie pumpkins, also known as “sugar pumpkins” or “sweet pumpkins”, are smaller and sweeter than your typical carving pumpkin. When you cut a pie pumpkin open, you will notice that the flesh is more of an orange color. Carving pumpkins have more of a yellowish-orange flesh. Pie pumpkins are also more dense and heavy for their size, whereas carving pumpkins are more hollow. You can certainly still cook up and use a carving pumpkin or any kind of pumpkin or squash, but it probably won’t be as sweet or have as smooth of a texture as a pie pumpkin.
Recipe Tips:
- To make a thicker puree, strain the water out by putting paper towels in a strainer and leaving the puree in the strainer for 1-2 hours.
- Portion the pumpkin out in a greased muffin tin (½ cup per potion) and freeze. Once frozen, place the frozen discs in a freezer-safe container or bag. Pull out the amount your need each time and thaw to use in your favorite recipes (or use as baby food)
- 2 cups of homemade pumpkin puree = 1 (15oz) can of canned pumpkin.
Pumpkin Puree Recipes
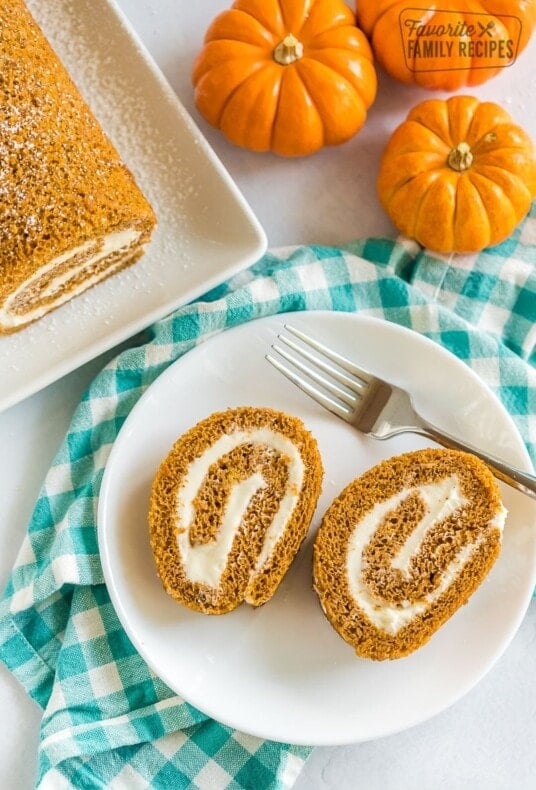
Here’s even more pumpkin recipes where you can use your homemade pumpkin puree:
- Easy Pumpkin Cobbler
- Pumpkin Chocolate Chip Cookies
- Pumpkin Dip
- Chocolate Chip Pumpkin Bread
- Pumpkin Poke Cake
- Pumpkin Cheesecake
How to Make Pumpkin Puree
How To Make Pumpkin Puree (3 Easy Ways)
Video
Ingredients
- 1 pie pumpkin (3-5 pounds)
- parchment paper (for baking method)
Instructions
For Roasting:
- Preheat oven to 375-degrees. Cut pumpkin in half and scoop out seeds and stringy pieces. Scrape until clean.
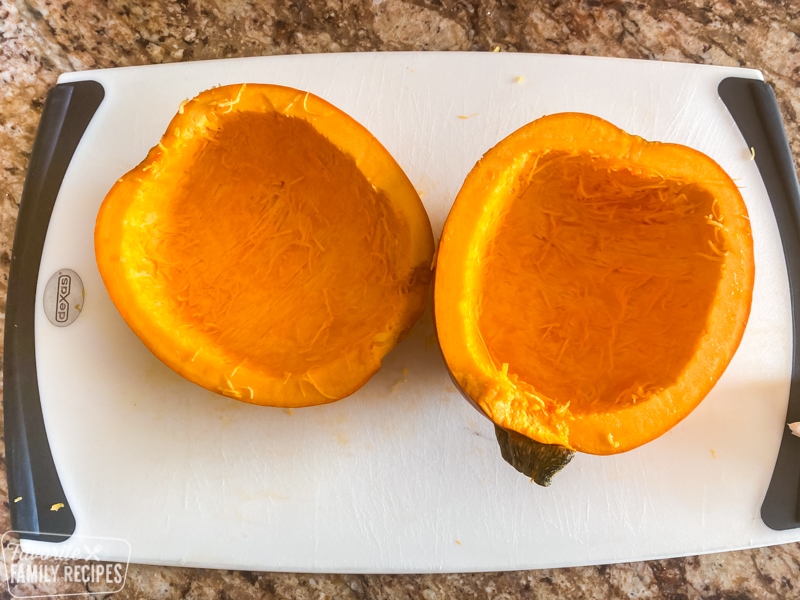
- Place cut side down on a baking sheet lined with foil of parchment paper. Bake for 50-60 minutes or until soft.

For Instant Pot:
- Place entire pumpkin in the Instant Pot and add 1 cup water (you may need to break off the stem if it doesn't fit). Cover and seal.

- On manual, cook on high pressure for 15 minutes. Quick release. Allow pumpkin to cool slightly and CAREFULLY remove from the Instant Pot. Slice the pumpkin in half and scoop out the seeds and stringy pieces.
For Steaming:
- Cut pumpkin in half and scoop out seeds and stringy pieces. Scrape until clean.
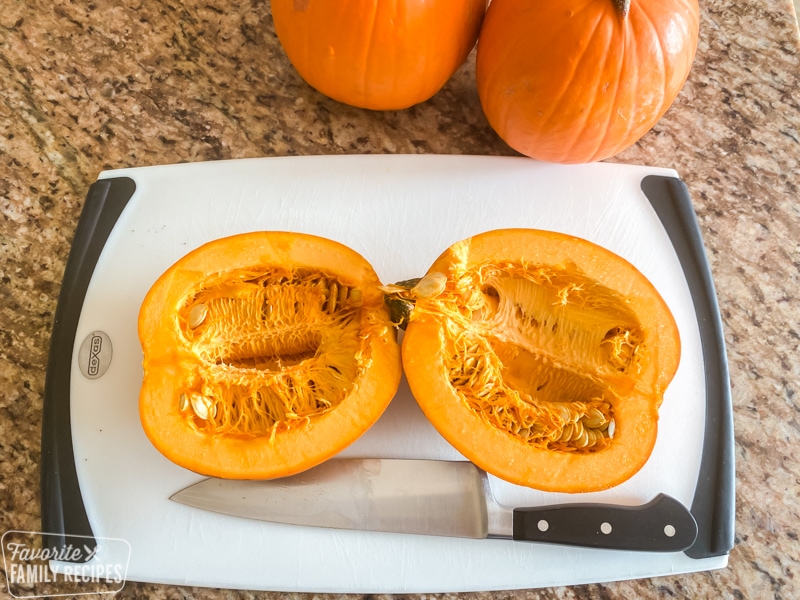
- Fill your pot with a few inches of water and place the steamer basket inside, making sure it doesn't touch the water below. Bring the water to a boil. Add pumpkin to the steamer basket. Cut the pumpkin into smaller pieces if needed to fit.
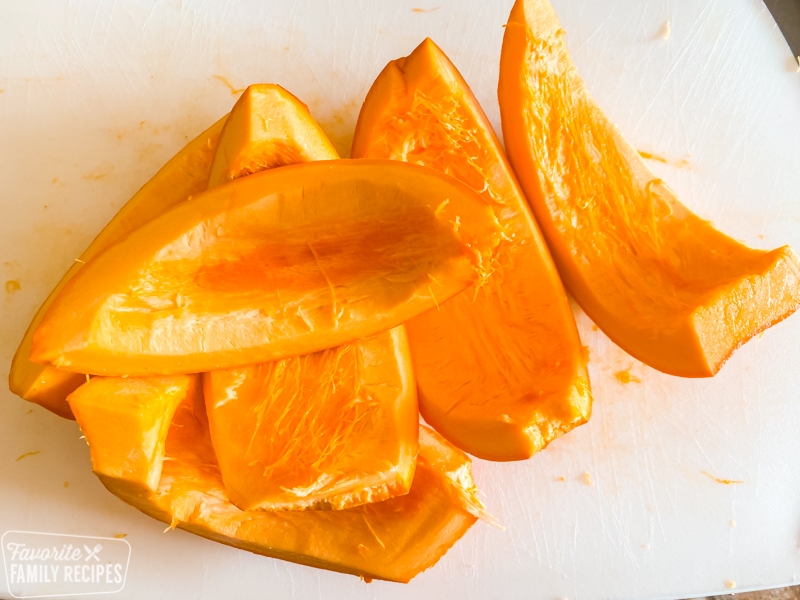
- Steam for 20-30 minutes or until the flesh is soft when peirced with a fork. Carefully remove pumpkin peices and allow to cool until you are able to handle. Scrape the flesh into a bowl and discard the skin.

Pureeing The Pumpkin:
- Scoop your cooked, soft pumpkin into a blender or large food processer. Pulse until smooth.
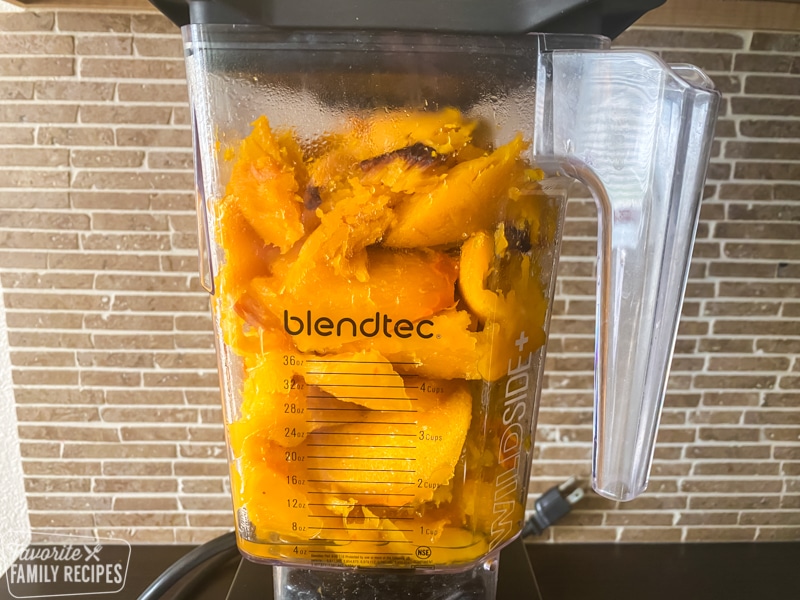
- If your puree is too thick, add one tablespoon of water at a time until you reach your desired consistency.If your pumpkin puree is too thin and watery, lay some cheesecloth or paper towels over a mesh strainer and over a large bowl. Pour in the pumpkin puree and allow to strain until thickened (this could take several hours).
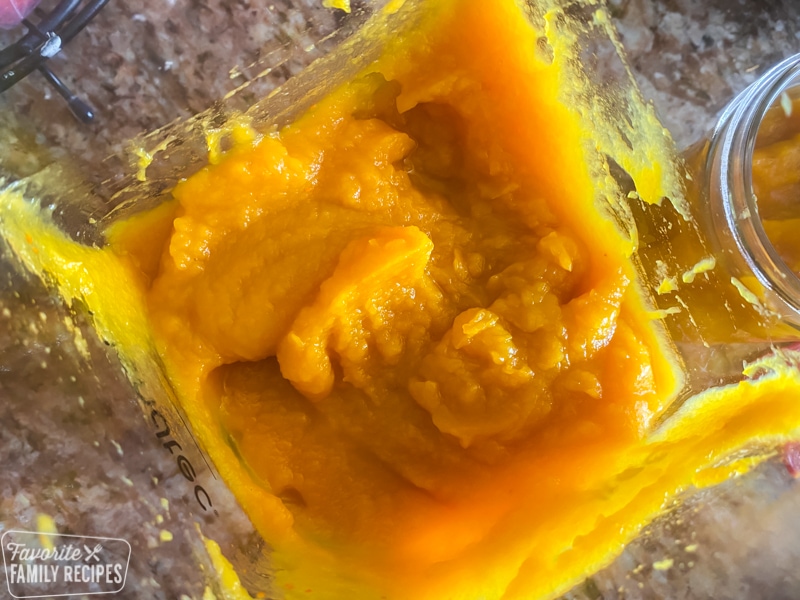
- Refrigerate in an airtight container for up to a week or freeze for up to 4 months.

Notes
- To make a thicker puree, strain the water out by putting paper towels in a strainer and leaving the puree in the strainer for 1-2 hours.
- Portion the pumpkin out in a greased muffin tin (½ cup per potion) and freeze. Once frozen, place the frozen discs in a freezer-safe container or bag. Pull out the amount your need each time and thaw to use in your favorite recipes (or use as baby food)
- 2 cups of homemade pumpkin puree = 1 (15oz) can of canned pumpkin

This is so easy!! Saving this! Thanks so much for the recipe!
So easy and works perfectly every time! Thank you!
Thank you so much for sharing this amazing recipe! Will surely have this again! It’s really easy to make and it tasted so delicious! Highly recommended!
I am so glad I found this recipe! I had two pie pumpkins waiting for me to process them and I hadn’t even thought of the instant pot, so easy! It worked perfectly!
I couldn’t find any puree at the store so I used this recipe to make my own for a pie filling and it turned out delicious!