We may earn a commission when you click on the affiliate links in this post.
Homemade ravioli is way better than store-bought and can be filled any way you like. Our favorite is this tasty three cheese filling!
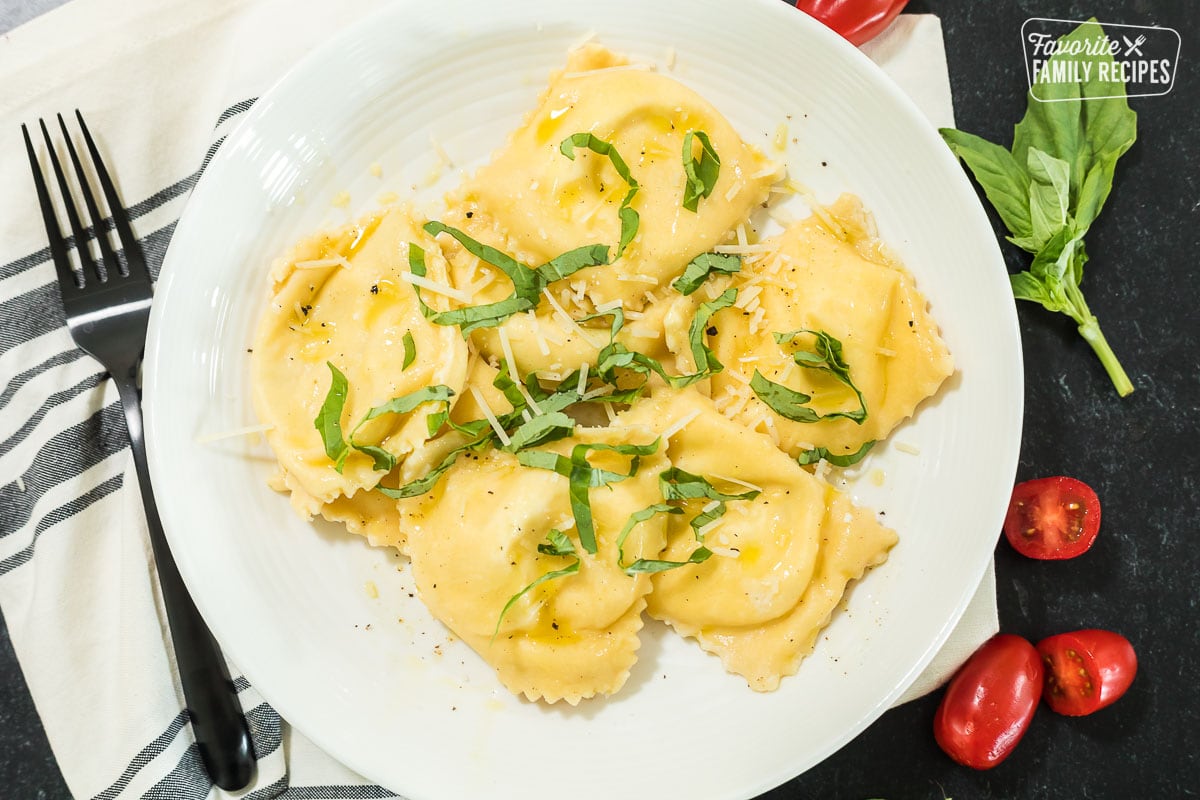
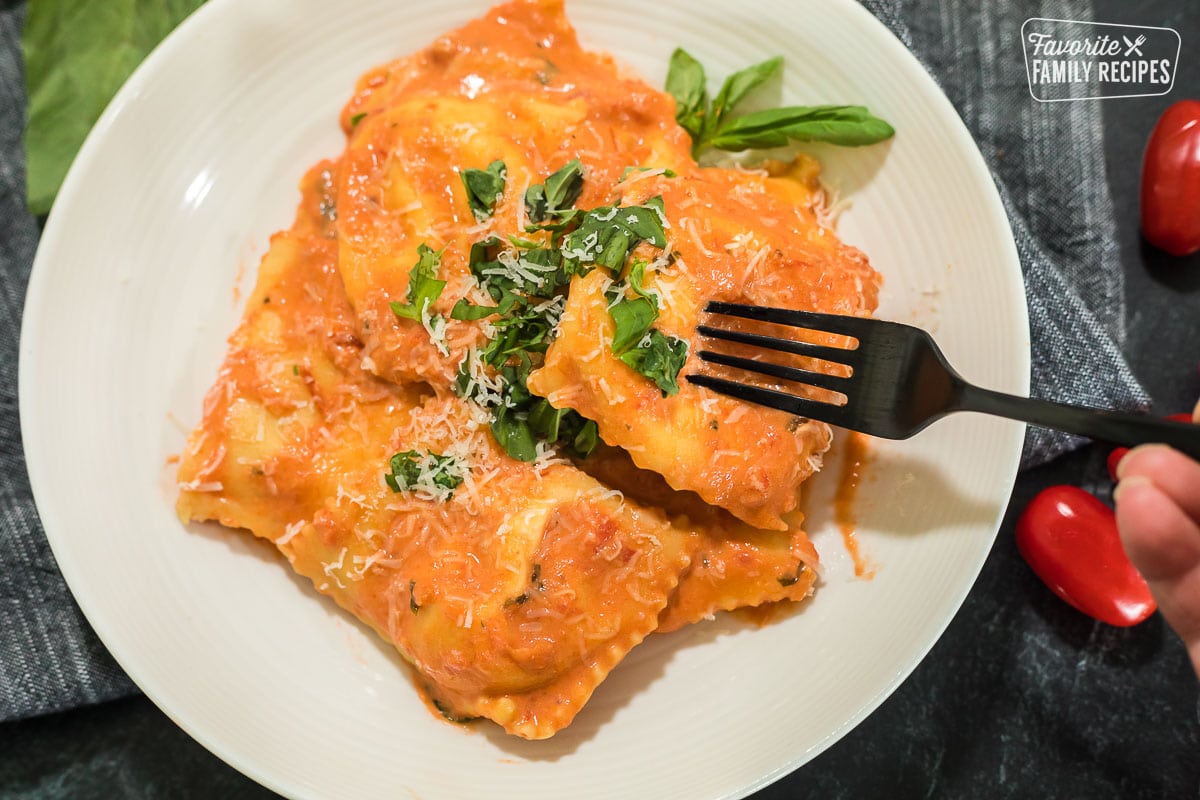
This homemade ravioli recipe is a little bit of work but well worth it! There is no ravioli out there that tastes better than fresh, homemade ravioli. You just can’t beat it! Keep it simple and top it with some melted butter and fresh basil or try it with our Italian Pomodoro Sauce (recipe straight from Italy). No matter what you top it with, you are sure to love this recipe!
Ingredients For Homemade Ravioli
- Tipo “00” Flour – This is a great Italian chef’s flour and the very best for pasta dough. I prefer this to all purpose flour, however all purpose flour can be used if that’s all you have
- Eggs (Extra large)
- Extra Virgin Olive Oil
Four Cheese Filling
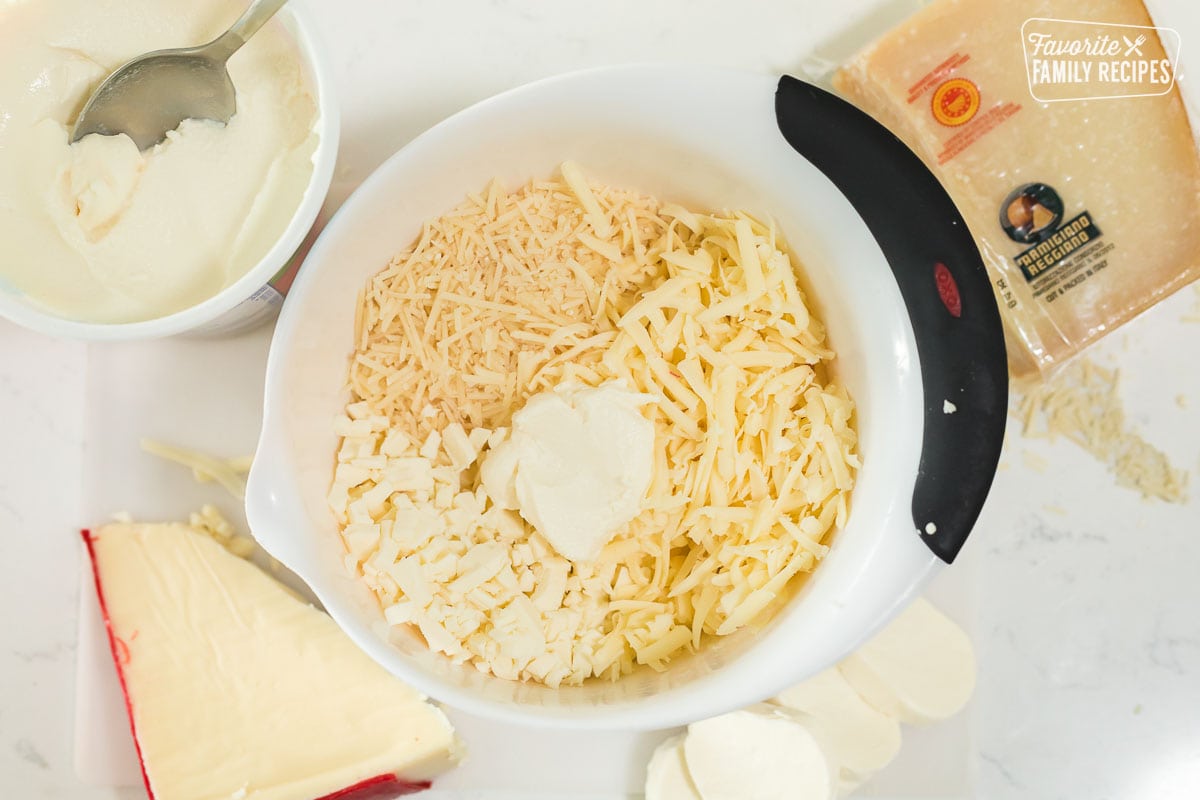
Our favorite filling for ravioli is this simple, but delicious three-cheese filling. If you are wanting to add a little more you can always add some steamed spinach to the mix. However, we like it just the way it is!
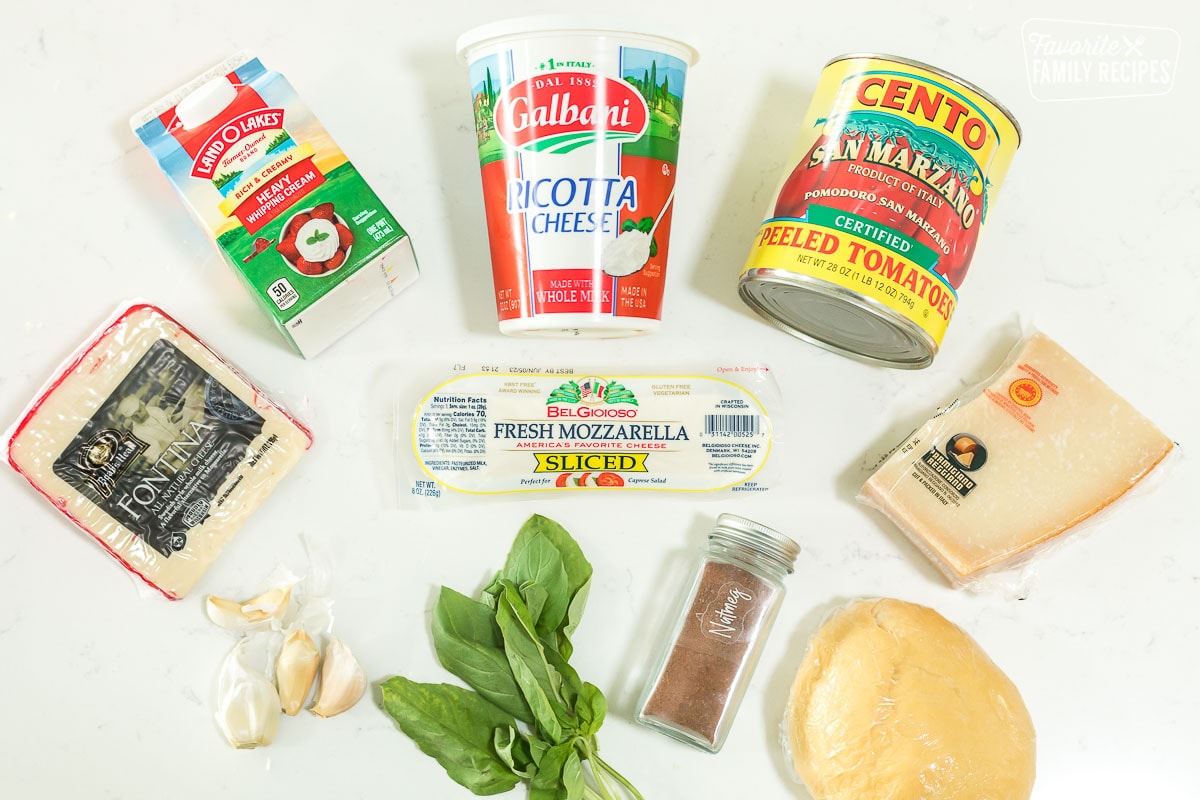
- Ricotta – We used Galbani ricotta for this recipe. We prefer a smooth ricotta and found that Galbani is the smoothest, almost like a thick mascarpone.
- Fontina – You can also use gruyere, havarti, or provolone
- Parmigiano Reggiano – Try to find the Parmigiano Reggiano with the red and yellow “DOP” seal
- Fresh Mozzarella – The fresh kind is difficult to shred but you can use a knife to finely chop it.
- Egg – Just 1 large egg to help hold everything together
- Seasonings – Salt, pepper, and a little bit of nutmeg is all you need to season the filling.
Tools for Making Ravioli From Scratch
You can always make ravioli with just a rolling pin and your hands, but having a few tools can make it MUCH easier! Here are the tools I like to use:
- Kitchen scale – When making pasta I like to weigh the flour just so I can get it right every time. This is just a personal preference.
- Pasta Roller – I like using the Kitchen Air pasta roller to roll out my dough because it’s much easier than a hand-crank roller. However, a hand-crank roller is still much easier than rolling the dough out with a rolling pin. Plus, it gives your pasta sheets a consistent thickness.
- Cookie scoop – this give you nice, even dollops of filling for your ravioli
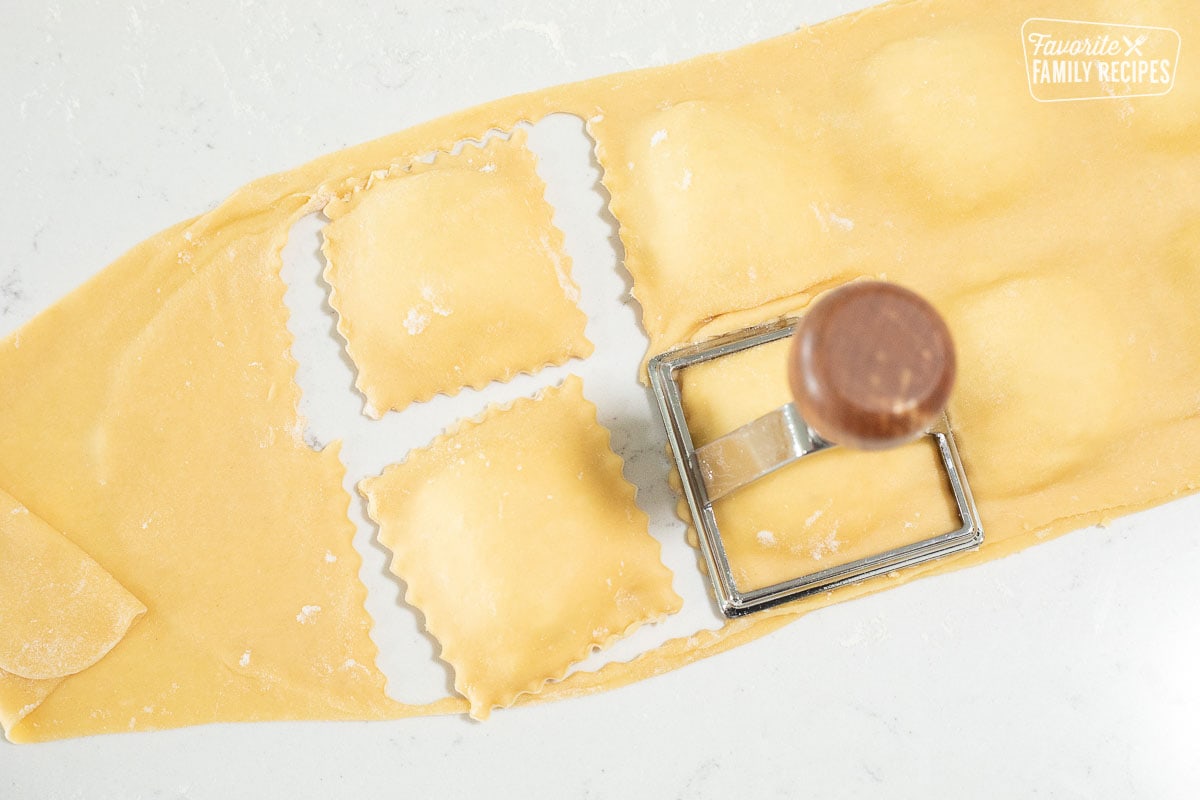
- Ravioli Stamps – This makes pressing the filled dough much easier than just using your hands and a pizza cutter.
- Pasta wheel – This can be used instead of the stamps. Just roll the wheel along the dough to pinch it closed.
Tips for Making Ravioli
- Always keep your work area lightly floured to prevent the pasta sheets and ravioli from sticking.
- Use a cookie scoop to get even dollops of cheese filling over the pasta sheets.
- If you are using a ravioli stamp, gently press the stamp along the bottom sheet of pasta to give yourself a guide on where to put your filling.
- Boil the ravioli in batches to prevent them from sticking together. Overcrowding the pot can also cause it to boil over so keep an eye on the pasta as it cooks.
More Ravioli Filling Ideas
Not a fan of cheese filling? Or just want to try something new? Try some of these other filling ideas:
- Cheese filling + cooked spinach
- Cheese filling + sautéed mushrooms, finely chopped
- Lemon zest (added to the cheese filling)
- Shredded chicken
- Beef
- Butternut squash
- Pumpkin
- Crab
- Lobster
What to Put On Homemade Ravioli
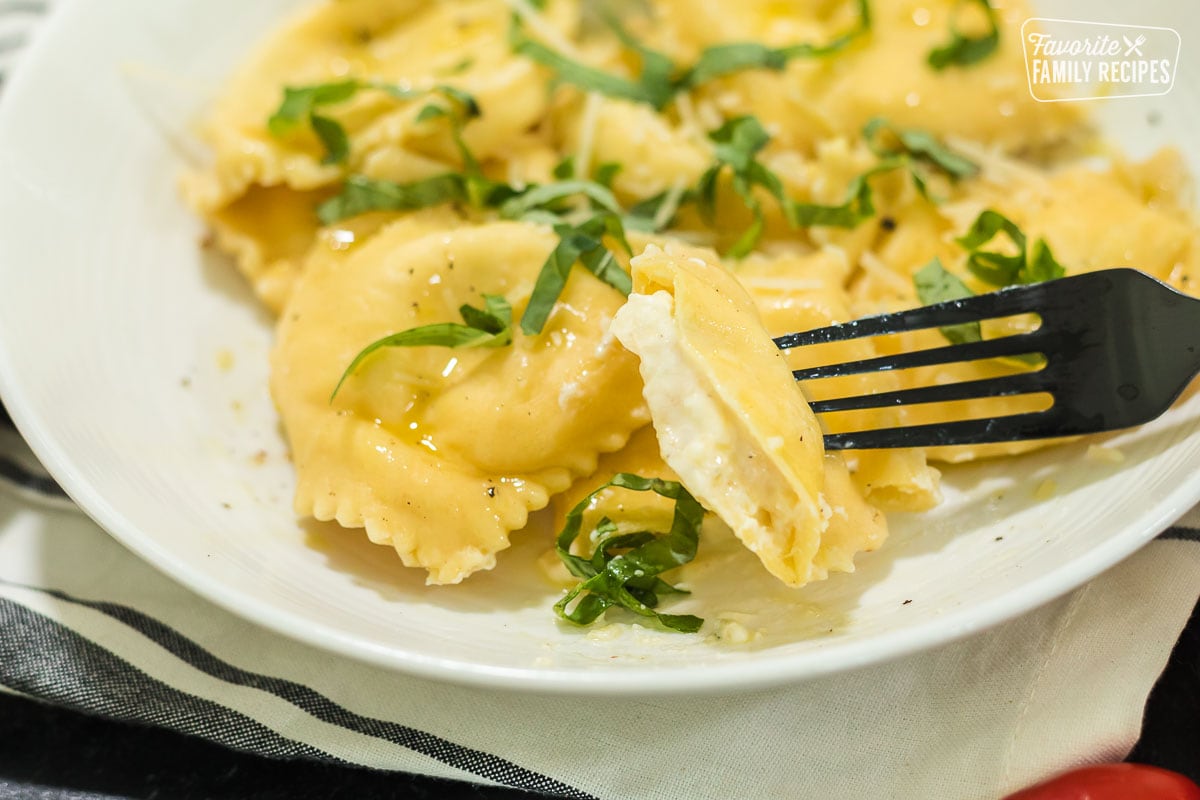
If you want to be a purist, you can top your ravioli with a little bit of melted butter or extra virgin olive oil, some fresh grated Parmigiano Reggiano, some fresh basil, and maybe a little cracked black pepper. You can also top your homemade ravioli with just about any kind of pasta sauce you like. Here are some popular sauce ideas:
- Marinara
- Meat Sauce / Bolognese
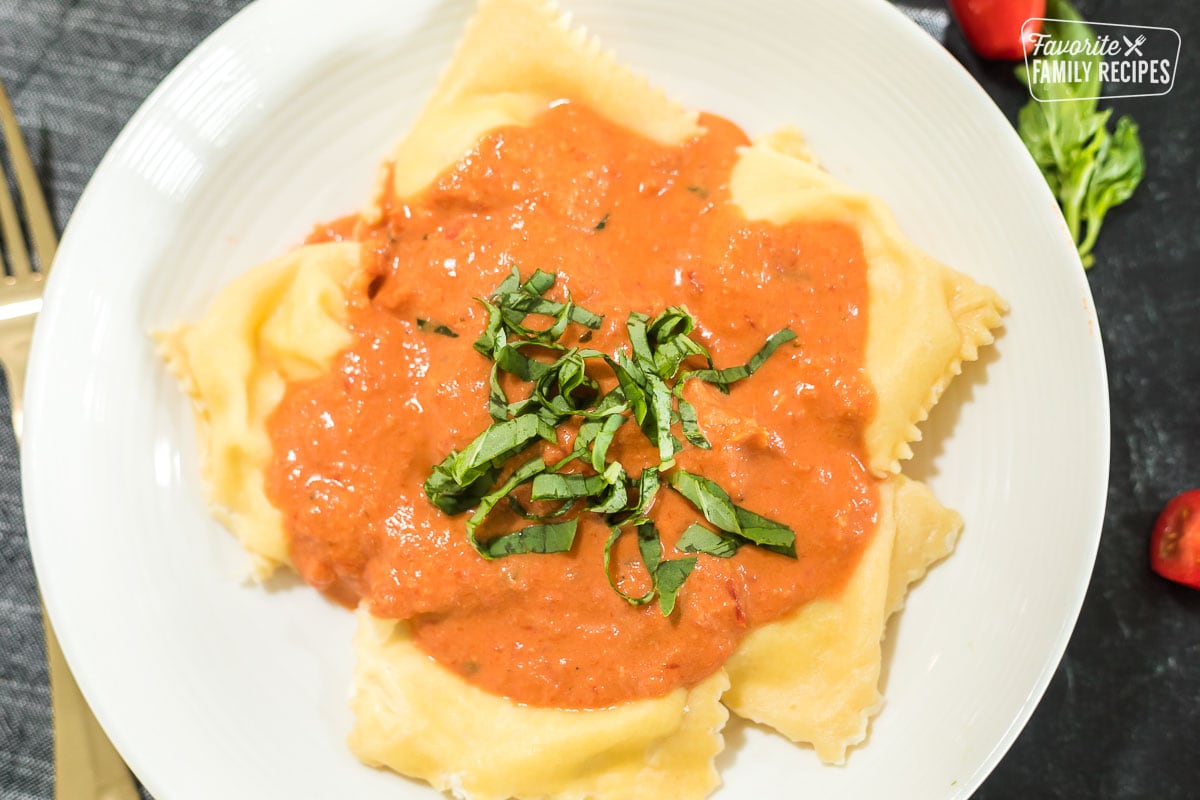
- Tomato Sauce/Pomodoro Sauce (Sugo Di Pomodoro)
- Creamy Tomato Sauce (Pomodoro sauce with cream and parmesan cheese added)
- Pesto
- Alfredo sauce or your favorite cream sauce
- Lobster sauce
- Creamy mushroom sauce
- Aglio e Olio (Sauteed garlic and extra virgin olive oil)
What to Serve with Ravioli
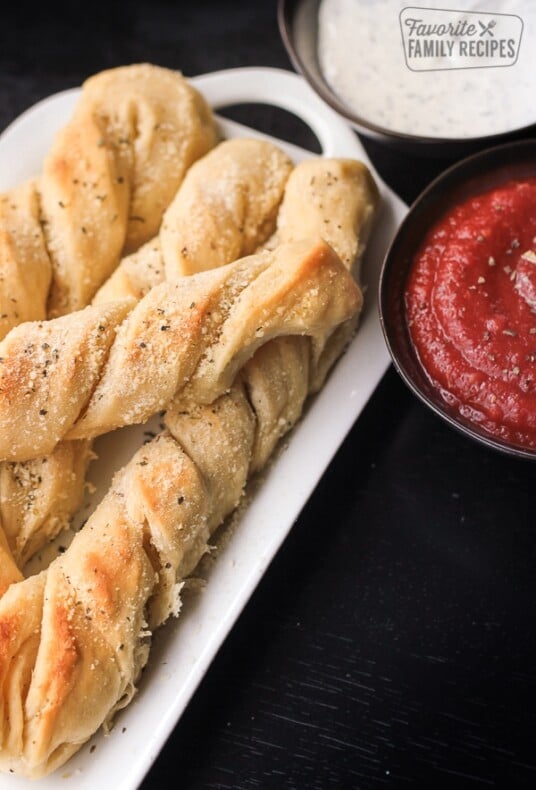
You can never go wrong with some fresh bread and a green salad as a side to ravioli. Here are some more tasty side dishes you can serve with your homemade ravioli!
Frequently Asked Questions
Tipo “00” flour or semolina flour works best for ravioli or any homemade pasta.
The most popular filling for ravioli is cheese. For this recipe we use a mixture of ricotta cheese, Fontina, Mozzarella cheese, and Parmigiano Reggiano.
Yes. If you are making a meat-filled ravioli you will want to cook the meat first.
Read Next: 35+ Easy Dinner Ideas
More Delicious Authentic Italian Recipes
How to Make Homemade Ravioli
Homemade Ravioli with Four Cheese Filling
Equipment
- pasta maker (optional)
- Kitchen Scale (optional)
- Rolling Pin
- Ravioli Presses
Ingredients
- 300 grams Tipo "00" flour (about 2 ¼ cups)
- 3 extra large eggs (or about 4 large eggs)
- olive oil (to taste, optional)
Cheese Filling
- 2 cups ricotta (We like Galbani brand)
- 1 cup fontina (or gruyere, havarti, or provolone), shredded
- ½ cup mozzarella cheese (shredded or finely chopped)
- 1/2 cup parmigiano reggiano (freshly grated)
- 1 large egg (lightly beaten)
- 1/4 teaspoon nutmeg
- sea salt and fresh black pepper (to taste)
Instructions
- Combine cheese filling ingredients in a medium-sized mixing bowl and mix until well combined. Cover and refrigerate until ready to use.
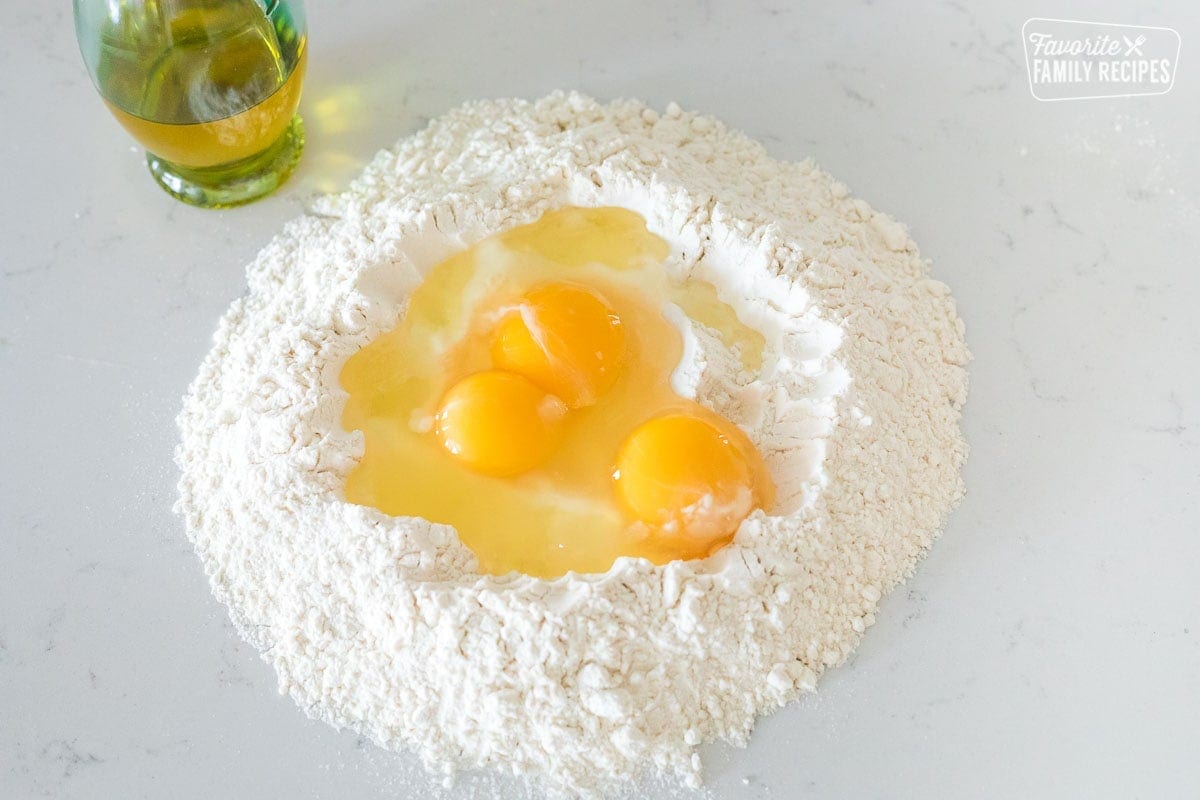
- On a clean surface, place flour in a mound and use hands to form a well in the middle. Crack eggs into a bowl and then pour the eggs into the middle of the well. Add a small drizzle of olive oil to the middle if desired.
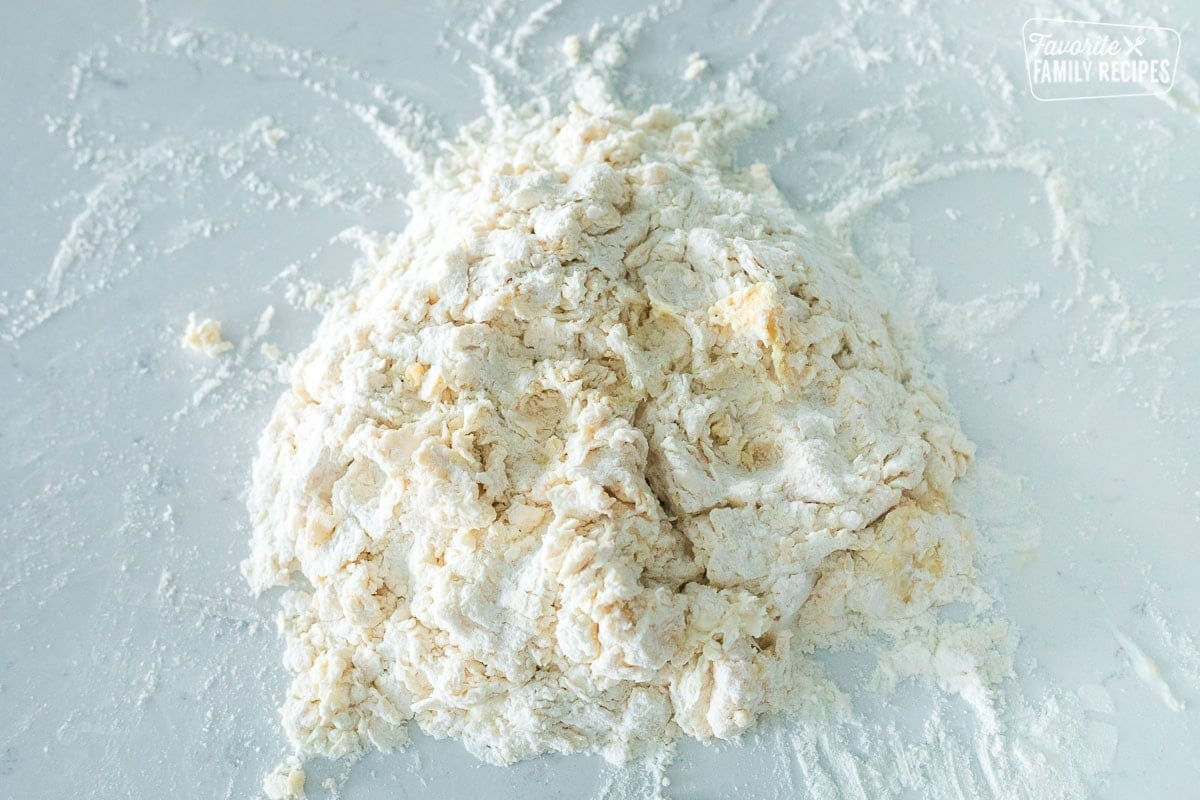
- Beat the eggs with a fork while adding a little bit of the flour from the sides at a time until all the flour is incorporated into the egg and the mixture becomes somewhat dry and crumbly.
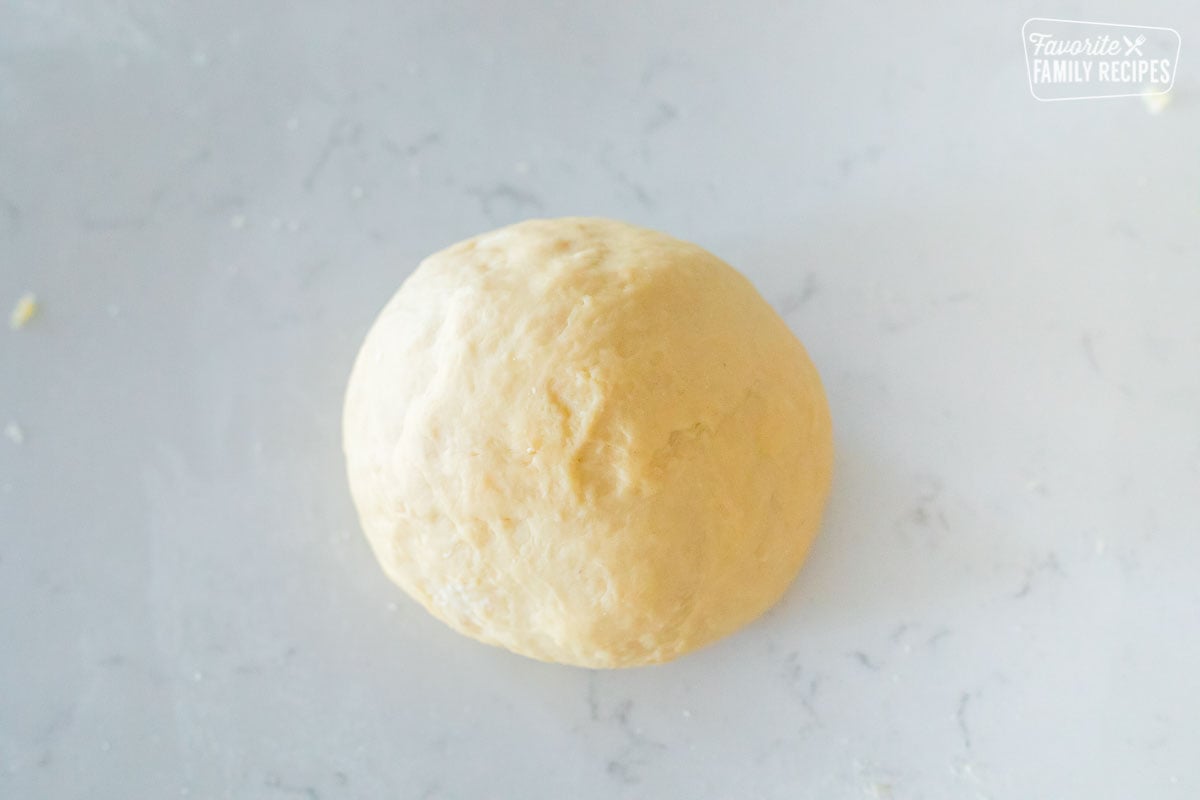
- Use hands to knead the dough for 10 minutes. If the dough it too dry, wet your hands with water and continue to knead. Don't add water directly to the dough because it won't incorporate as well. If the dough is too wet and sticky, add a sprinkle of flour. After kneading for 10 minutes, there should be no more visible flour on the dough and it should have a smooth, soft, yet dense texture. It won't be light and airy like a yeast dough. Place the dough in a small bowl and cover with plastic wrap. Allow to rest for 20-30 minutes. Use a bench scraper or knife to cut the dough into 4 equal pieces. Work with one piece at a time and place the pieces that aren't being used back in the bowl and cover with plastic wrap. This will keep the other pieces from drying out.
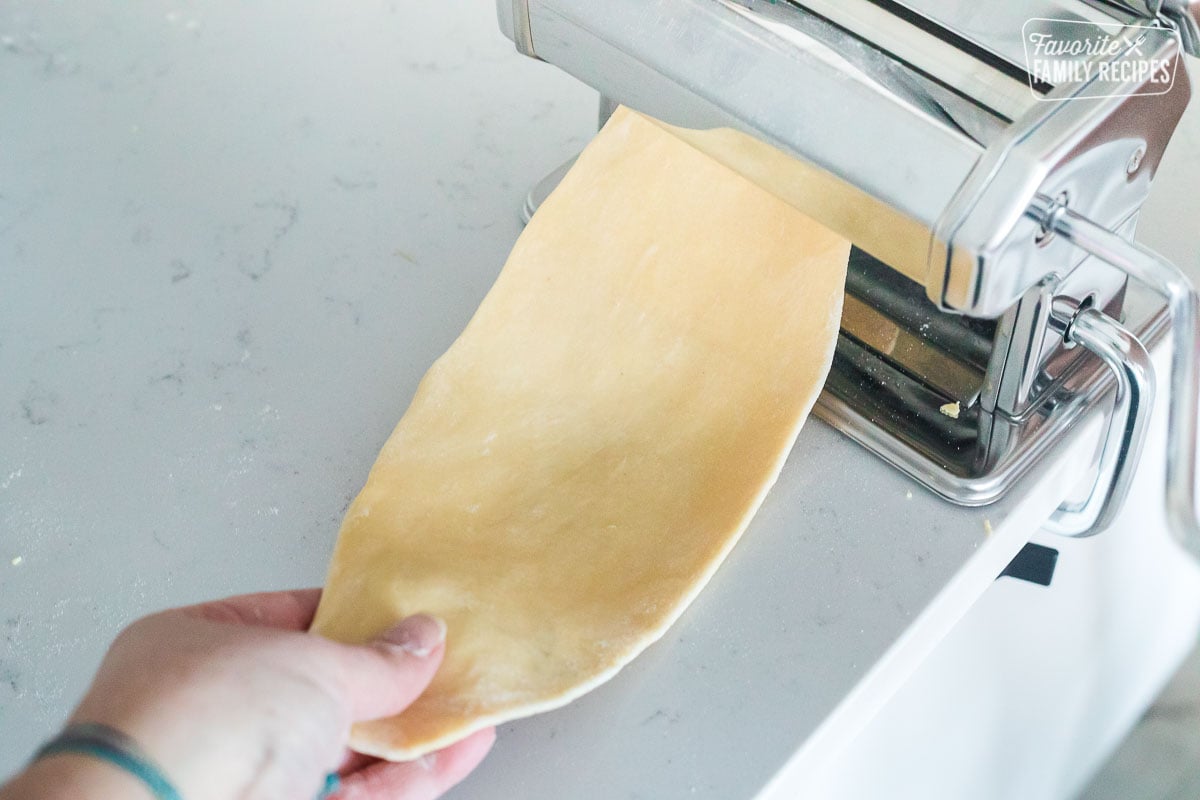
- Using your hands, flatten out one piece of dough into an oval shape. Using your pasta maker's widest setting (for my pasta roller, the widest setting is a "1", other rollers might have this flip-flopped with their widest setting as the highest number), feed the dough through 2-3 times.
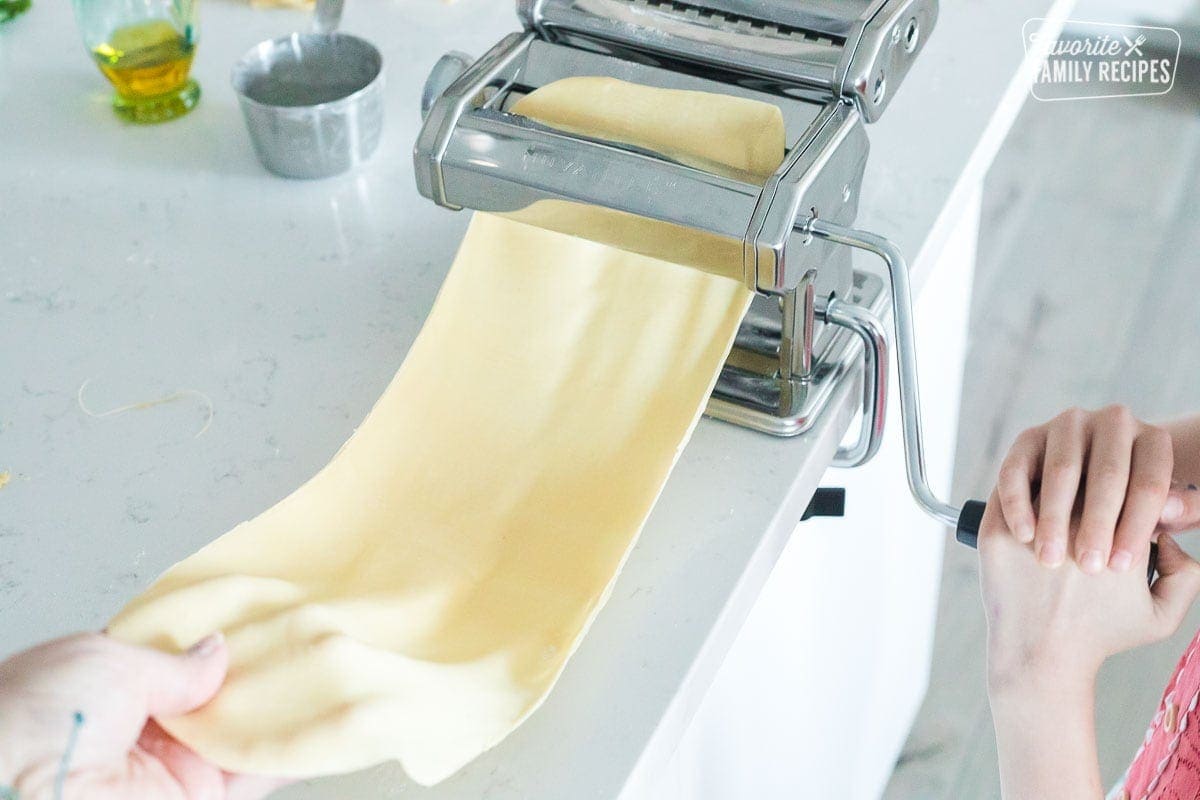
- Repeat feeding the dough through, increasing the level each time. Level 2, 3, etc… until you feed it through at your pasta maker's 2-3rd narrowest level (for a Kitchen Air roller, this is a 6 or 7). If you find the pasta starts to stick, sprinkle some more flour over the pasta and/or onto the feeder of the pasta machine. Dust a clean surface with flour and lay your large, flat, rolled pasta over the top.
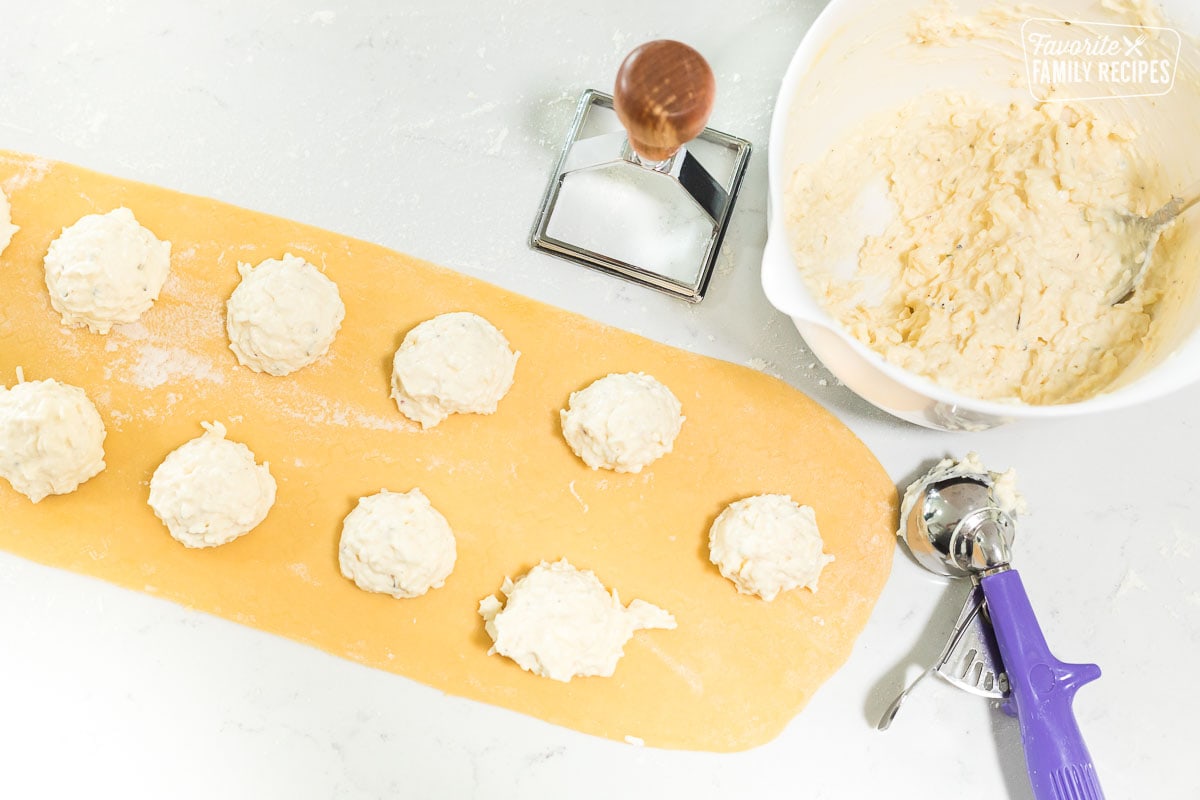
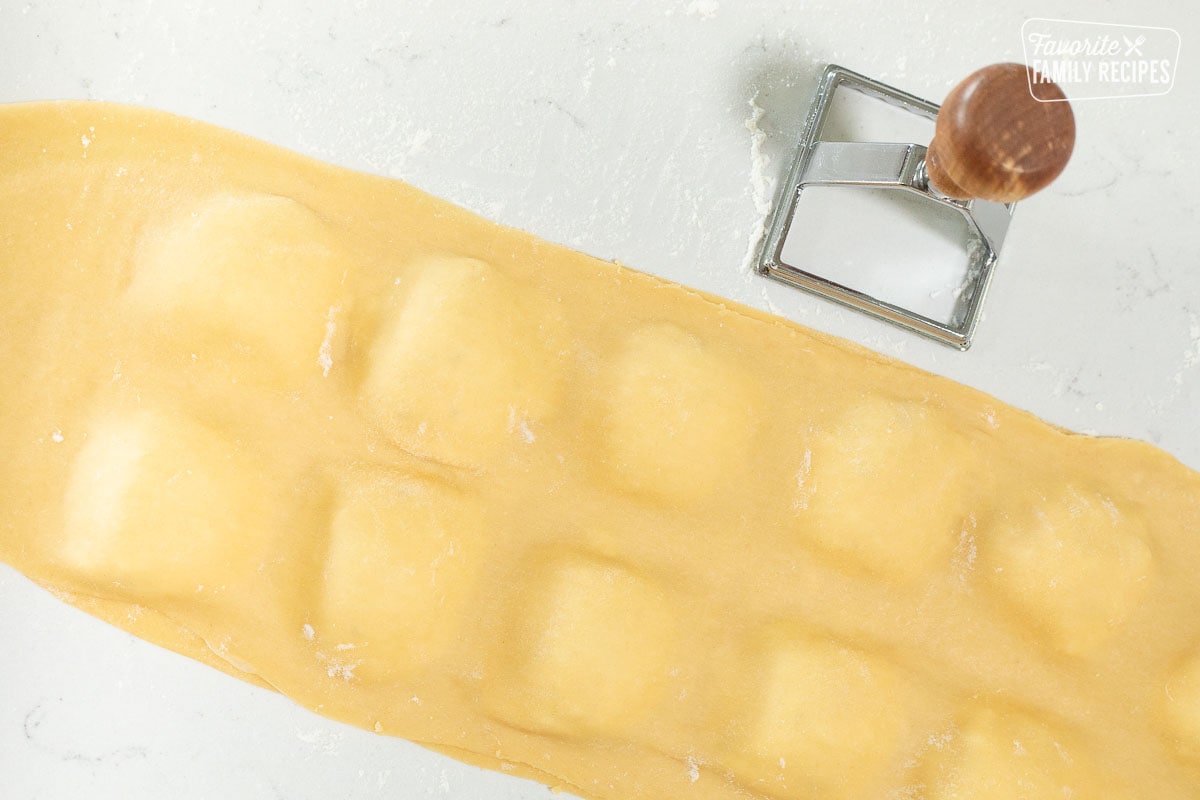
- Place dollops of filling along the pasta sheet in two rows (see picture). Until you get familiar with spacing, you can gently press the pasta sheet with the ravioli stamp to give you an outline/ guide on where to place the dollop of filling. Make sure to use enough filling to fill the ravioli pocket completely (I like to use a cookie scoop to get even amounts).
- Lay another pasta sheet over the top of the sheet with the filling and press around the filling with your fingers to get any air pockets out. Press the stamp firmly over each pocket of filling to create the ravioli. You can also press the seams firmly with your fingers and use a pasta wheel to cut into squares.Place finished ravioli on a parchment-lined baking sheet and cover with plastic wrap or a lightly damp kitchen towel.
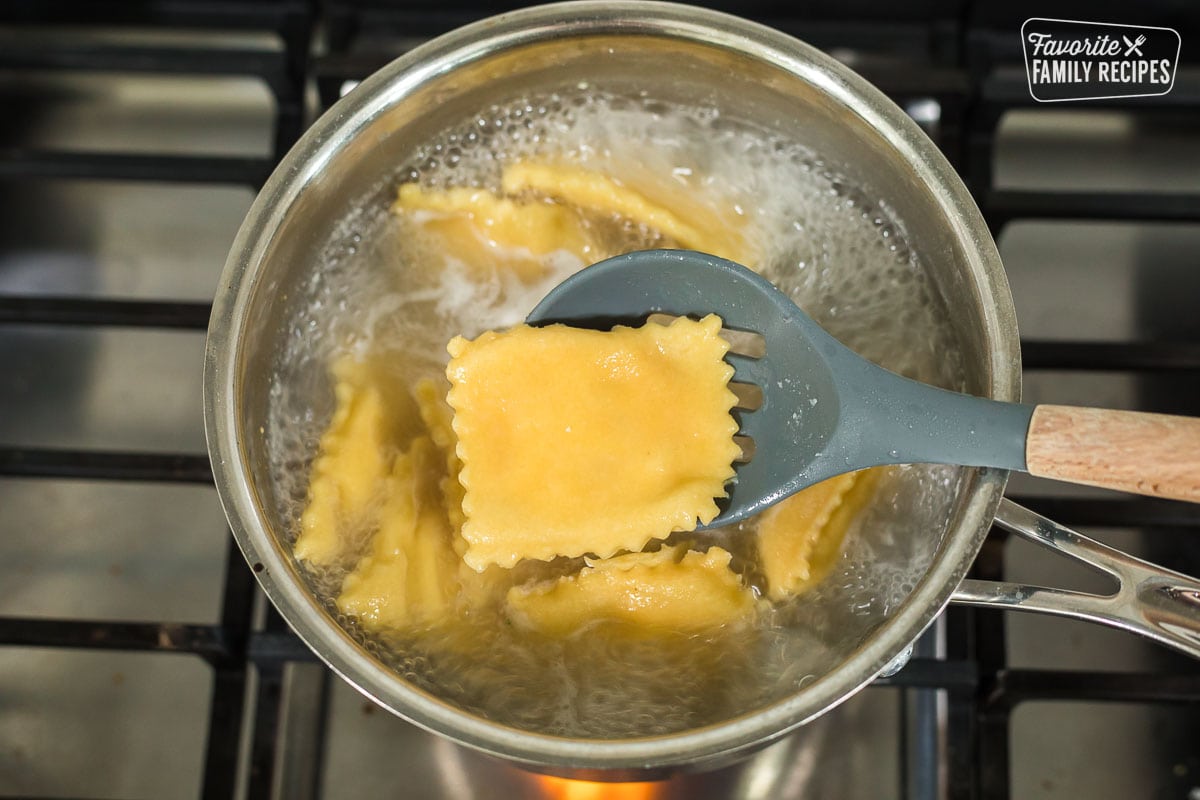
- Bring a large pot of salted water to a boil. Place a few ravioli in the water to gauge the amount of time it will take to cook the rest of the batch. It should take between 3-5 minutes depending on the thickness of your pasta. Once you are familiar with the exact time it will take until done. Cook the rest of the ravioli in 2-3 batches (you don't want to overload the pot).
- Remove the ravioli from the water with a slotted spoon and place on individual plates or in a family-style serving dish. Serve immediately with your favorite pasta sauce.


amazing